Introduction
Welcome to my blog. In this article, I will share the story of building my first house by myself. It started as a childhood dream of wanting to try and do it on my own. Now, I’ve finally made it a reality. Though it's a small house, I’m proud to have built it with my own hands.
Overview of the construction
The long construction process began in early 2022 and continues into 2023, with the project still unfinished.
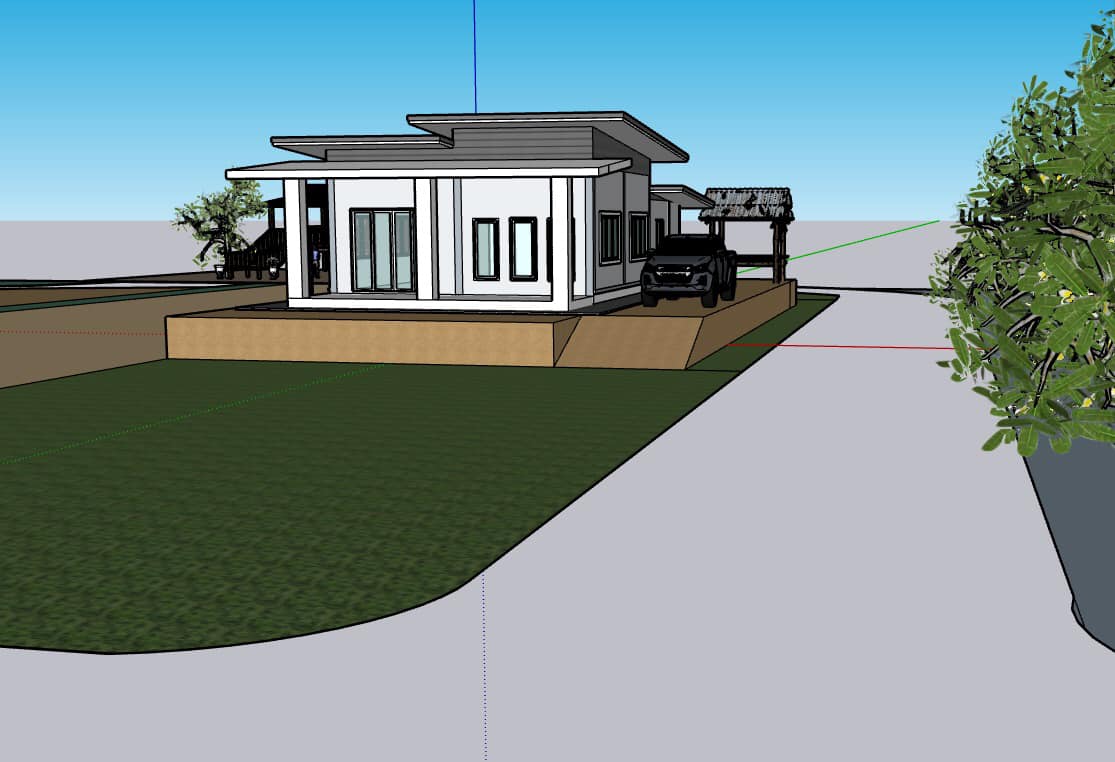
• A design based on my personal preferences
In this phase, I used SketchUp to design the house, tailoring it to my personal preferences. I found inspiration from online sources and adapted them to suit my needs. Importantly, due to budget constraints, I didn't design the house to be large or extravagant.
• Beginning the structural work
First, I surveyed the site and filled the land to level and raise the ground for aesthetic purposes.
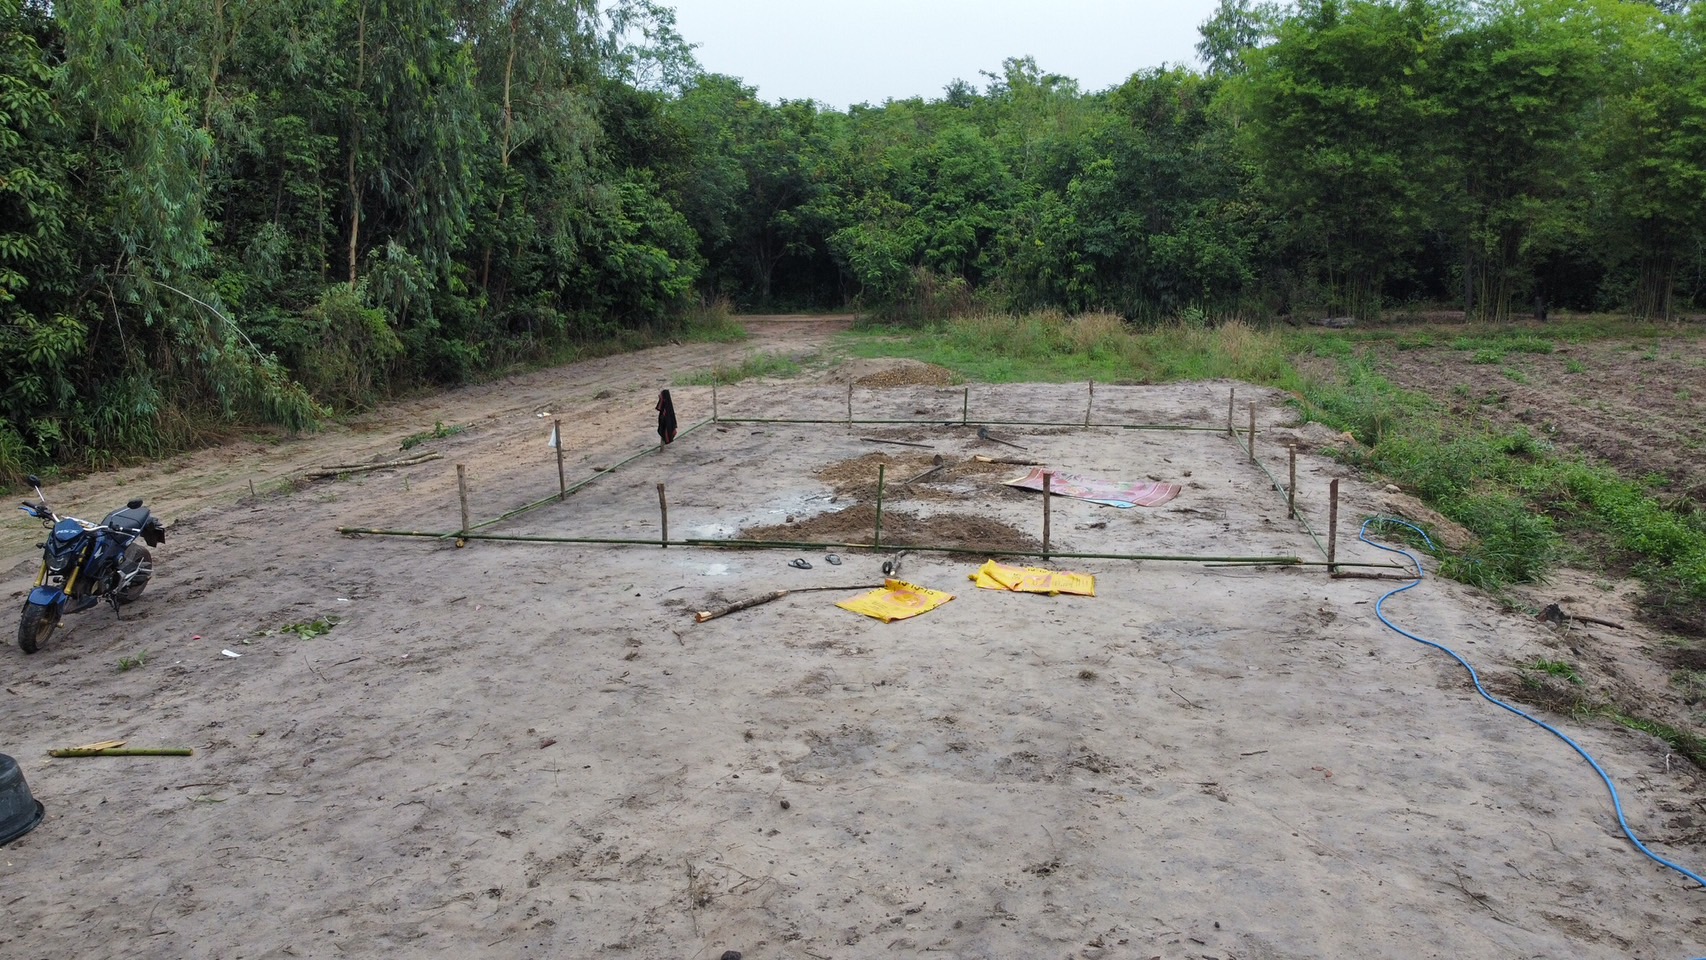
Once the land was filled to a level I was satisfied with, the next step was to set up the main pillar.
Before setting up the house pillars, I followed the tradition of the Isan people by first erecting the main pillar.

After the main pillar was set, the next step was to weld the steel reinforcements around the pillar. My grandfather and friends helped with this part of the process. Once we reached this stage, the shape of the house started to become visible, which gave me encouragement to continue.
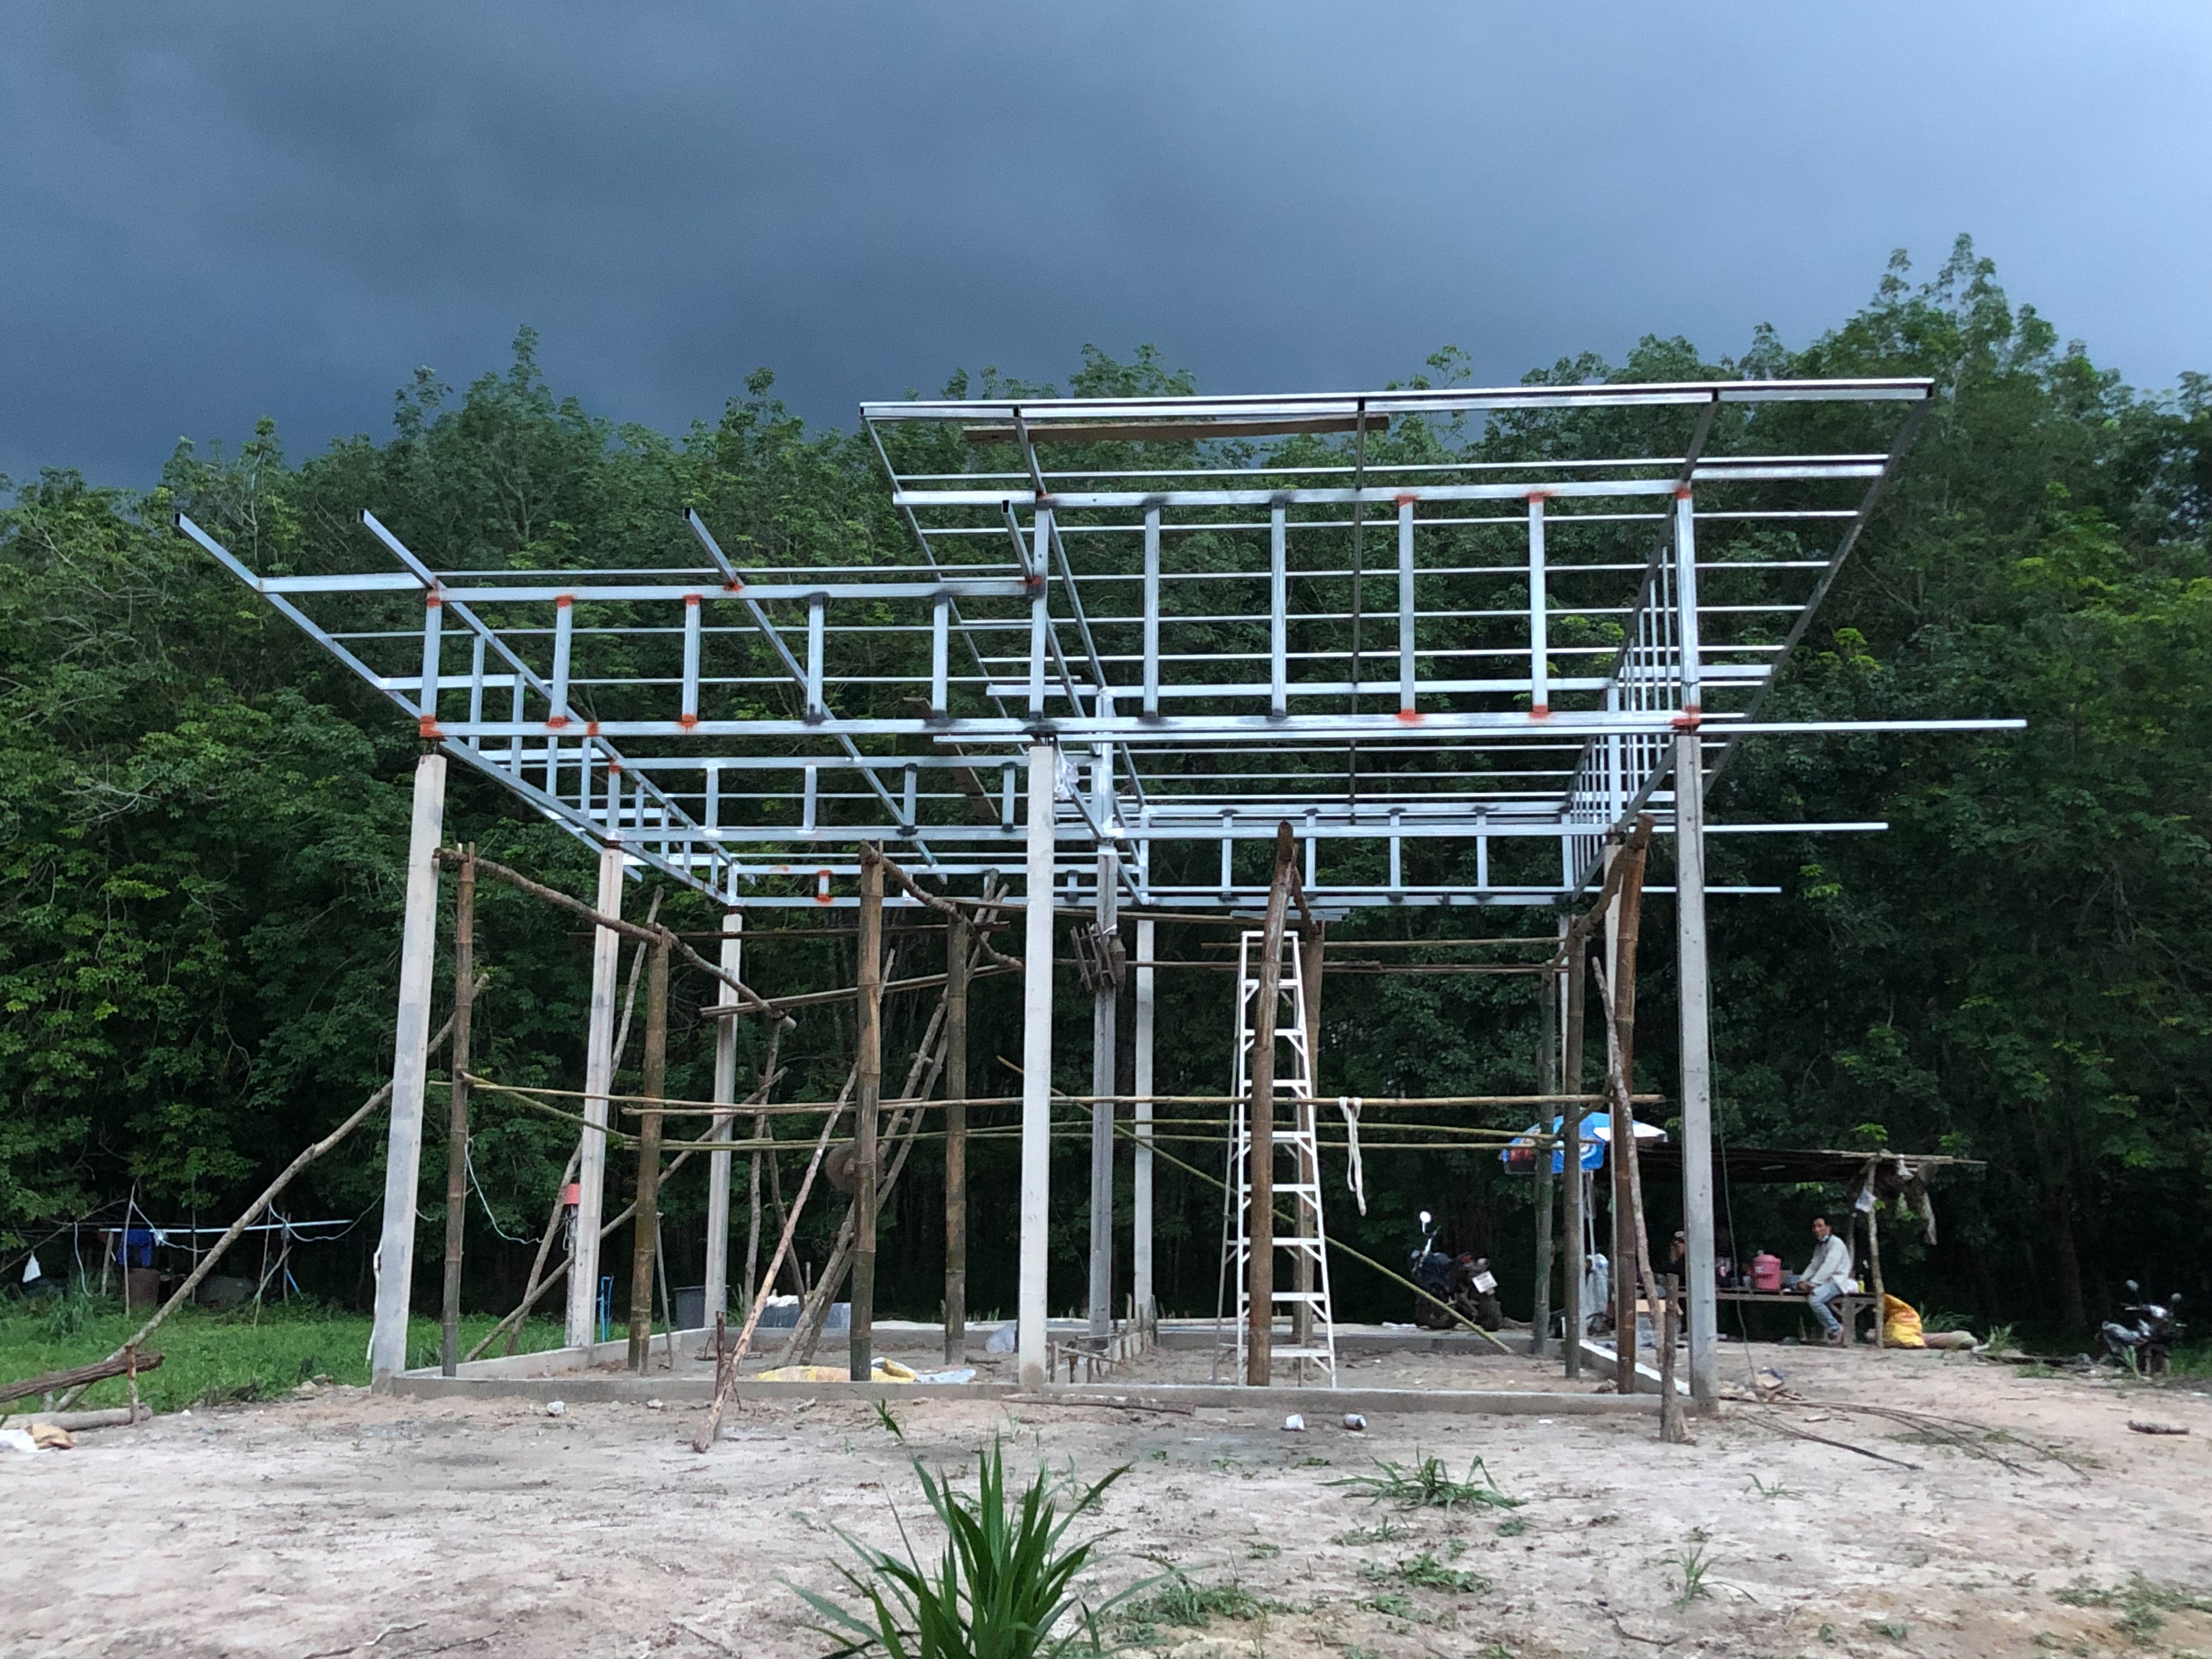
• Roof frame welding work
I believe that perseverance will lead us to success. For the roof frame welding work, my grandfather was unable to help due to his old age and inability to climb high. I took on the task of welding alone, with my grandfather guiding me and providing directions.
Perseverance will lead us to our goal.
Gradually welding bit by bit
Since I was welding alone, I focused on assembling the welds by cutting the pieces into smaller parts and then assembling them onto the structure.
Finally, the day came when we finished welding. This stage also took quite a bit of time. The experience left me covered in soot.
• Beginning the roof installation and pouring the floor.
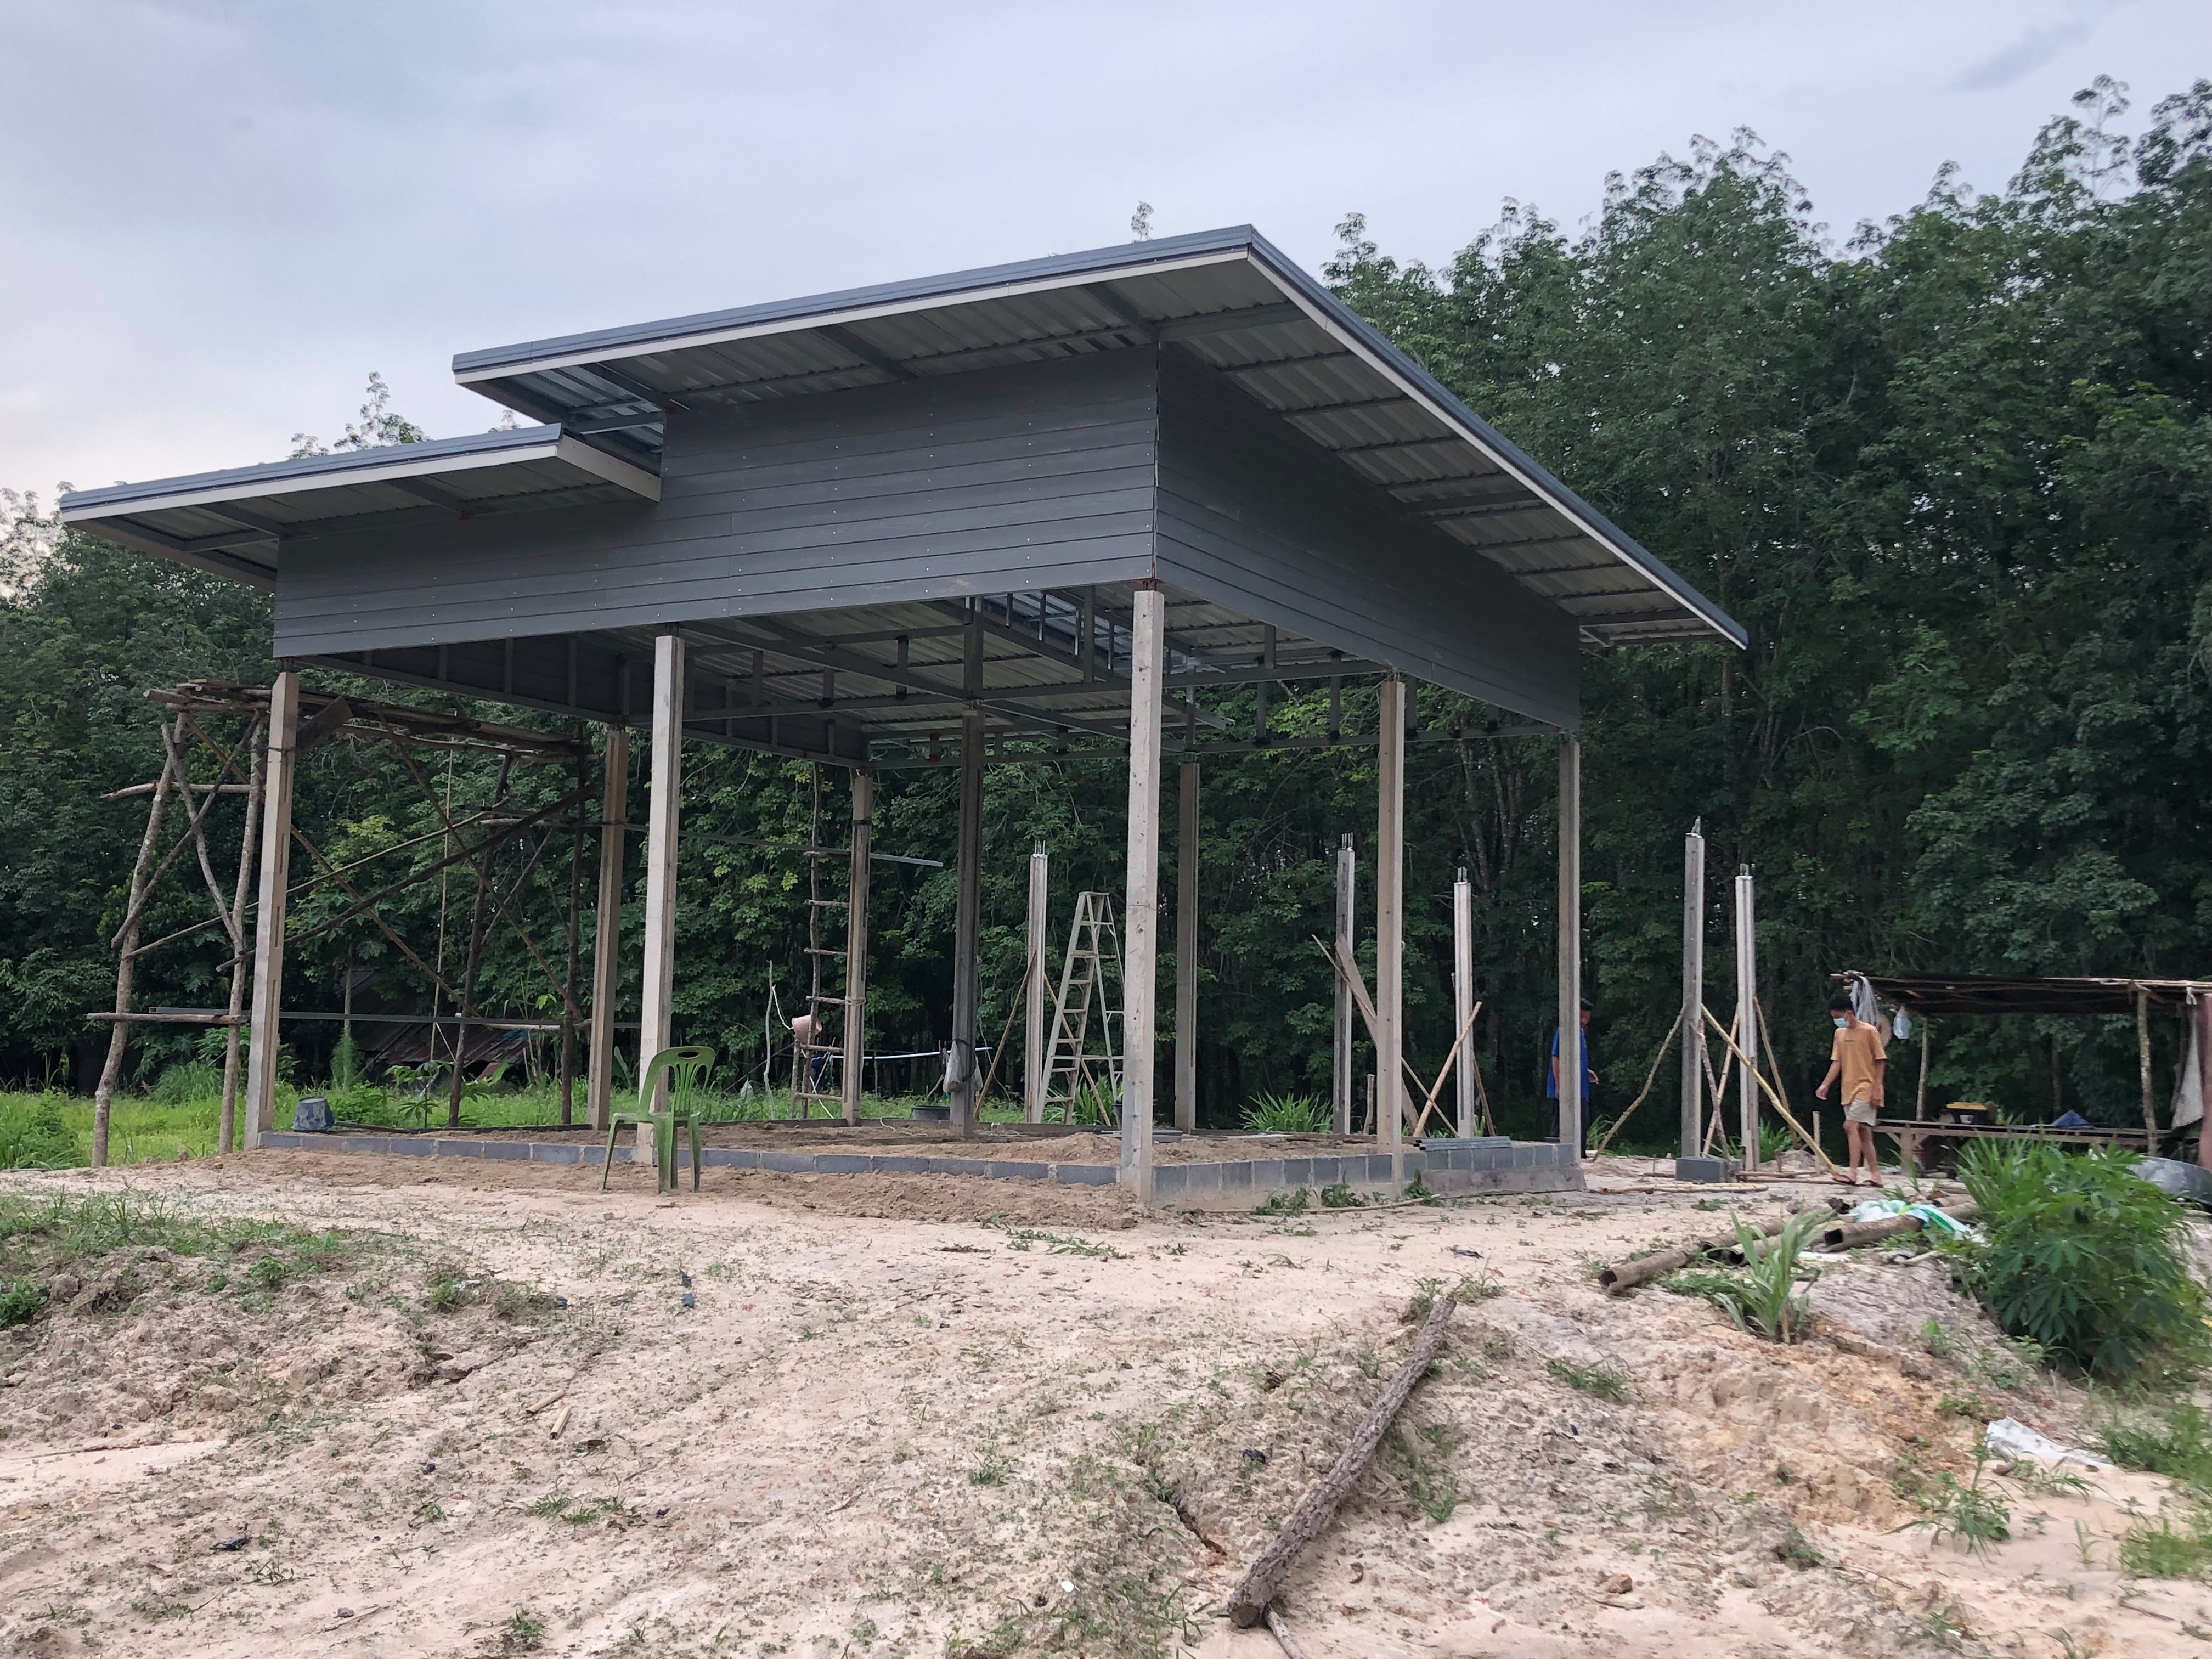
And so, the roof installation was completed. It's a pity I didn't record any videos of the process. I’m grateful to my friends for their help; I couldn't have done it without them.
• Starting to prepare the equipment for brickwork.
Preparing cement, bricks, windows, and other materials and equipment needed for brickwork.
• Starting the brickwork and installing the windows.
Started testing the window installation, working with my grandfather. It was tiring, but we persevered.

The shape is starting to take form.
Beginning to install the small windows.
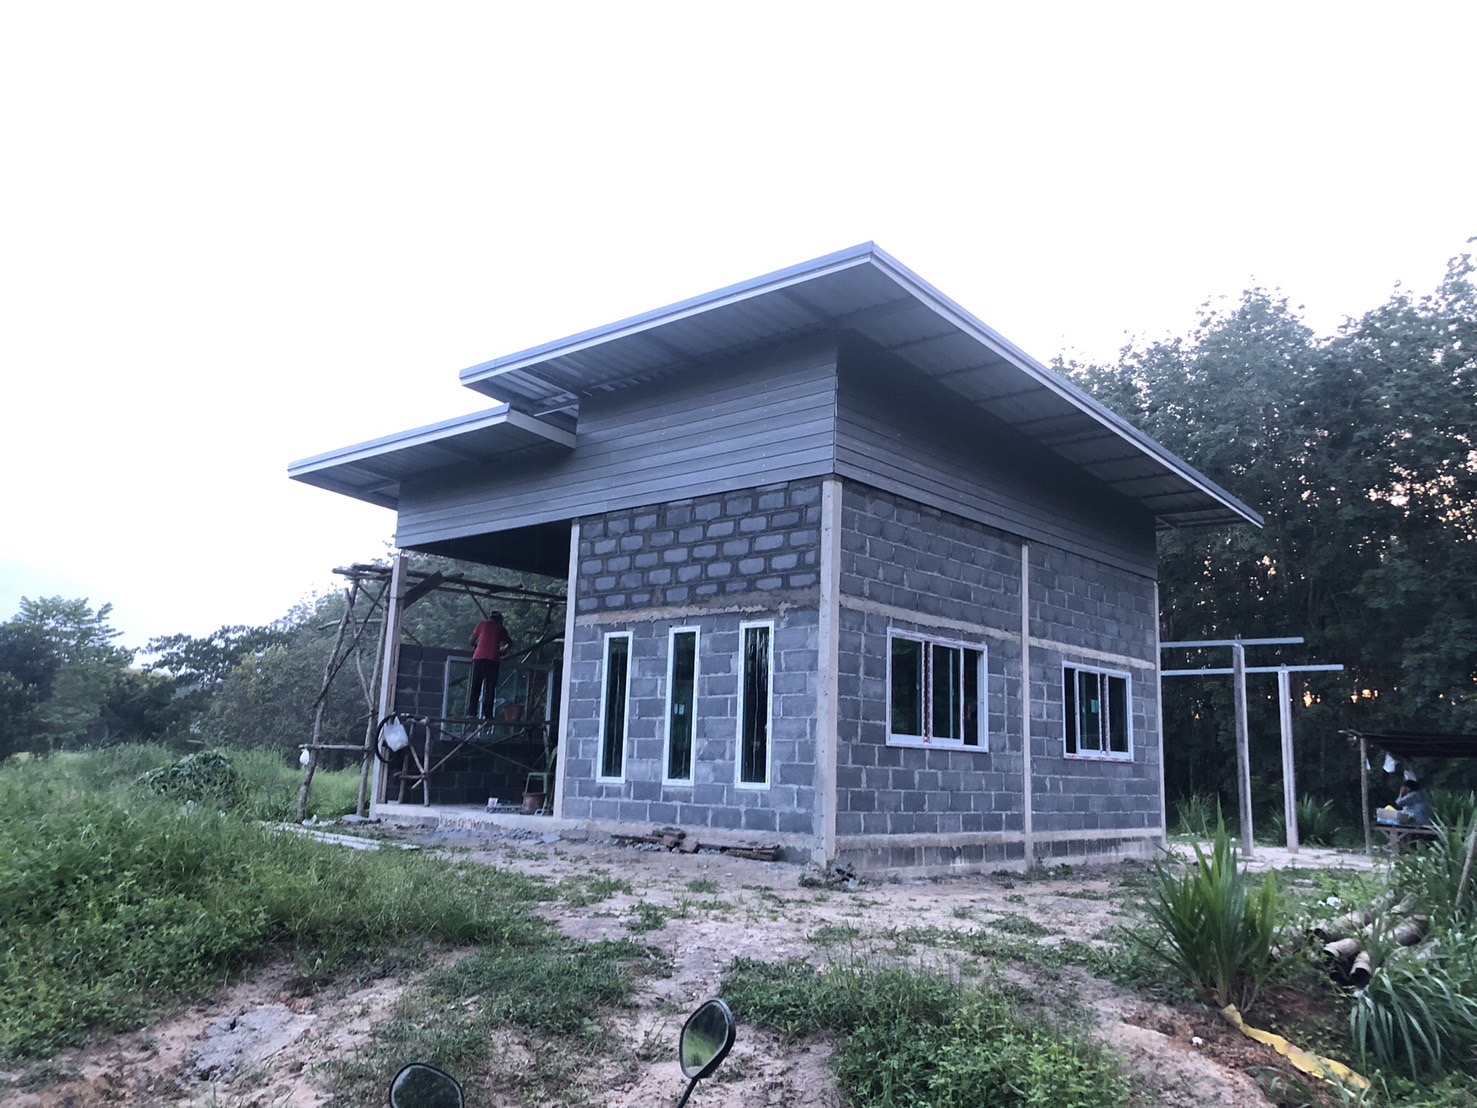
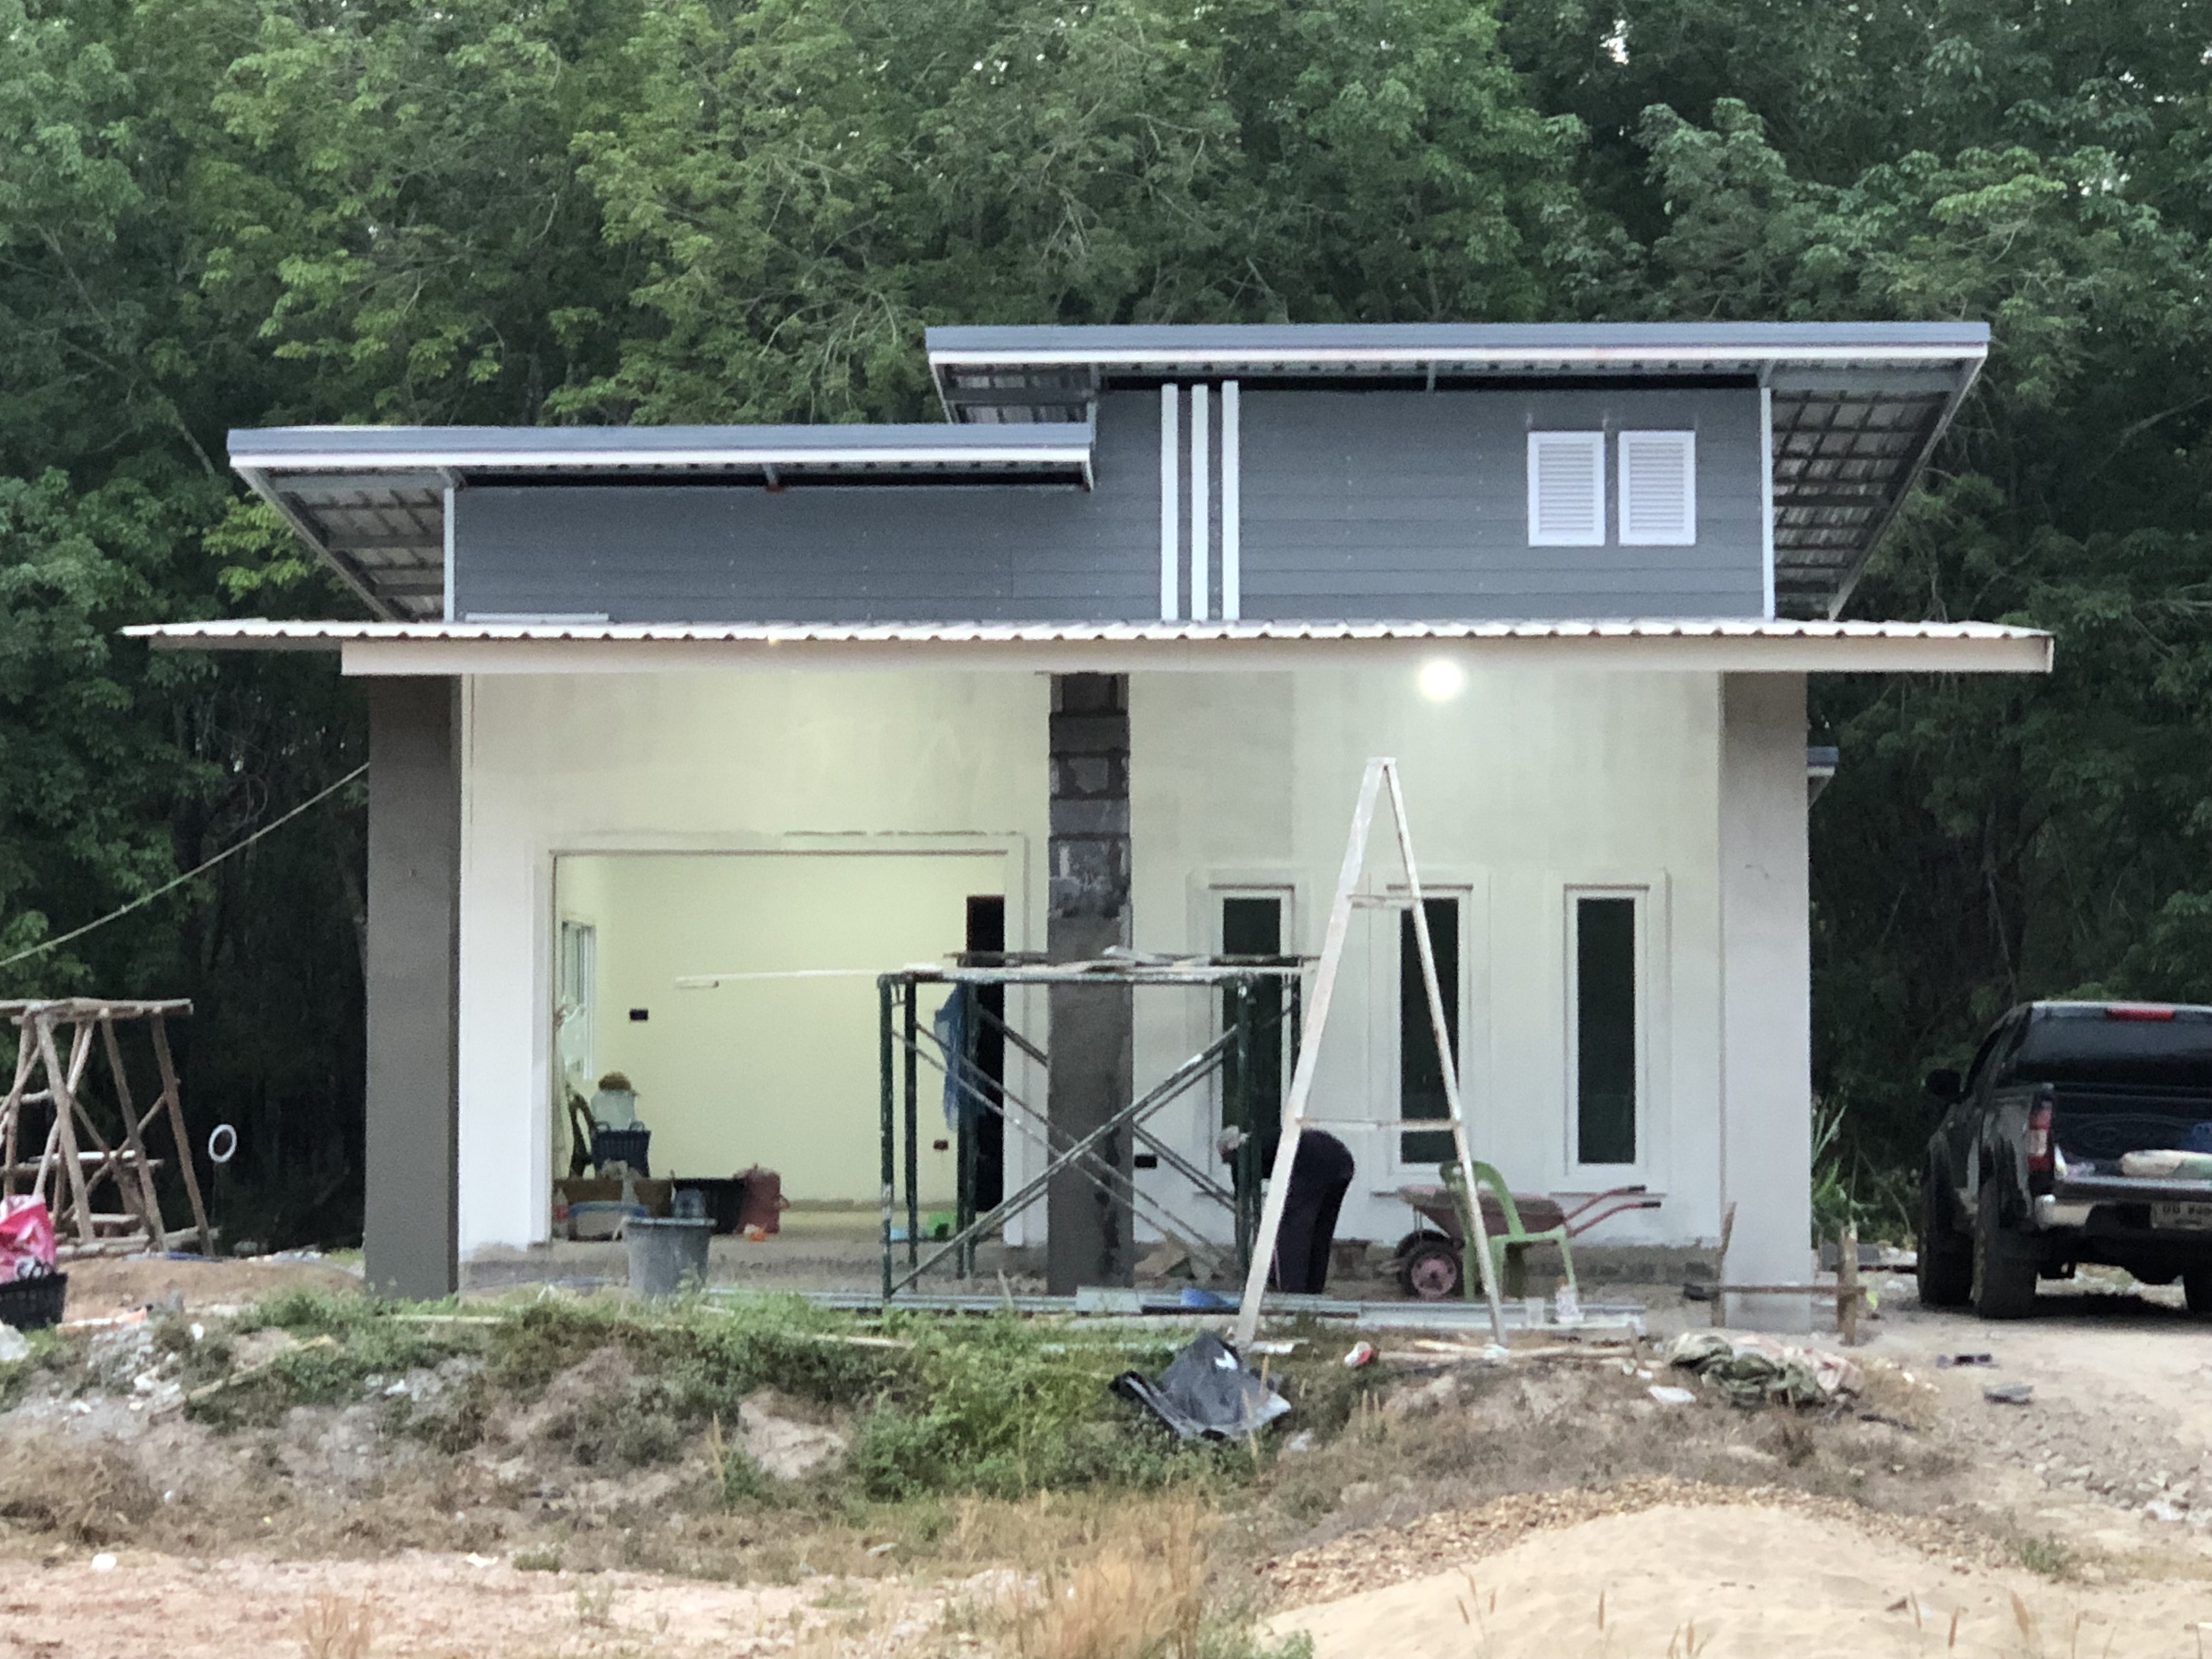
The brickwork is nearly complete on all sides, and all the windows are installed. The house is starting to take shape.
• Planning an extension to the back
The term 'house' really means the budget has gone over. Since we’ve come this far, extending a bit more will give us additional space.
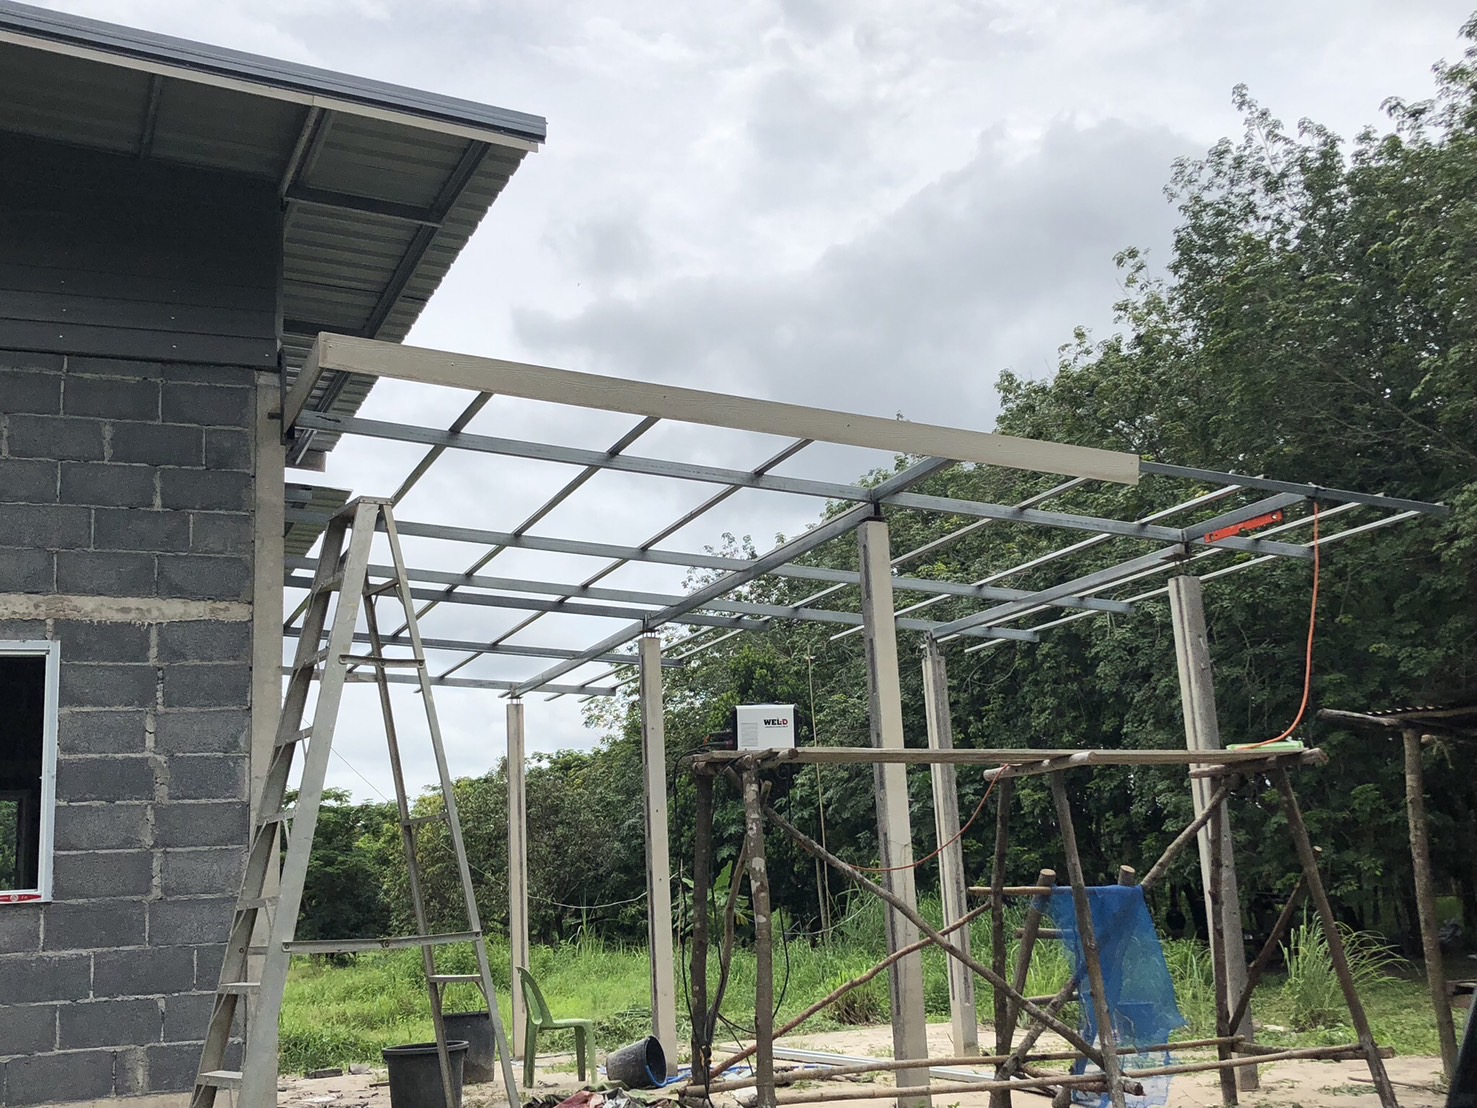
With the structure complete, the next step was to install the roof. My grandfather helped by handing over the roofing sheets.
• Electrical wiring and conduit installation
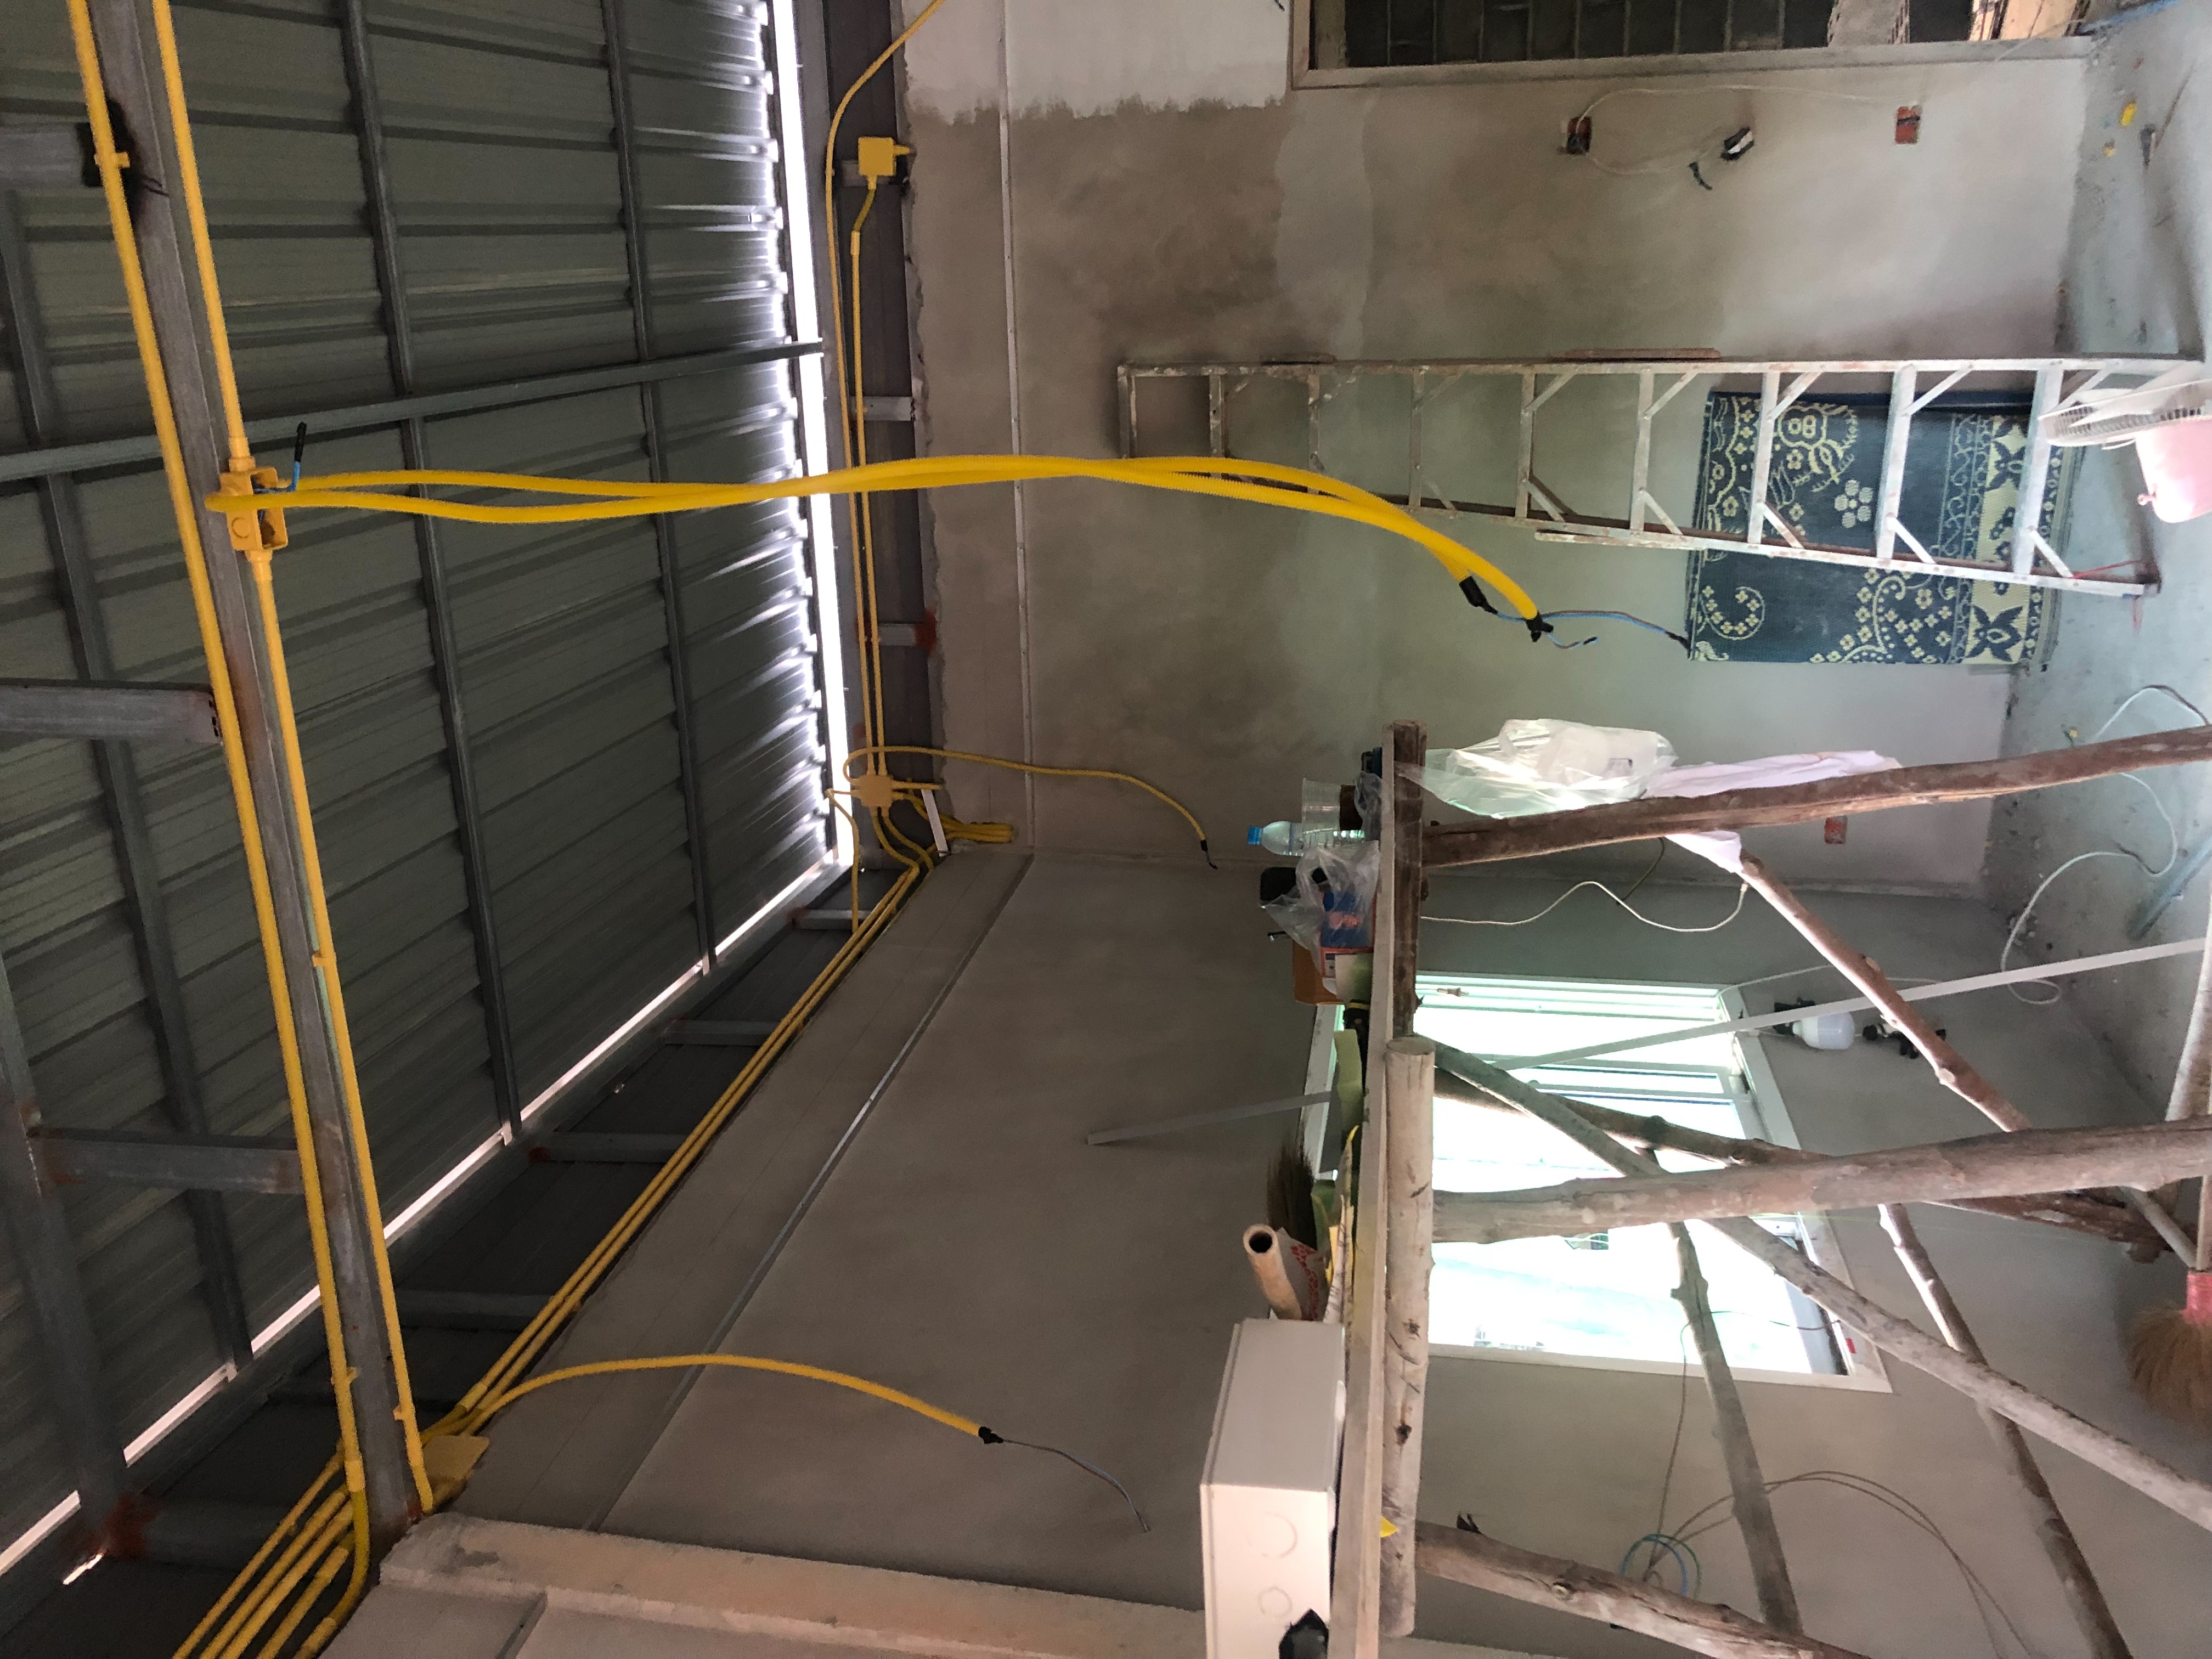
Started designing and planning the electrical conduit layout, using an in-wall wiring system. I began chiseling the walls to embed the conduit. It seemed easy at first, but it turned out to be quite exhausting.
After chiseling the walls, I proceeded to lay the conduits and run the electrical wiring.
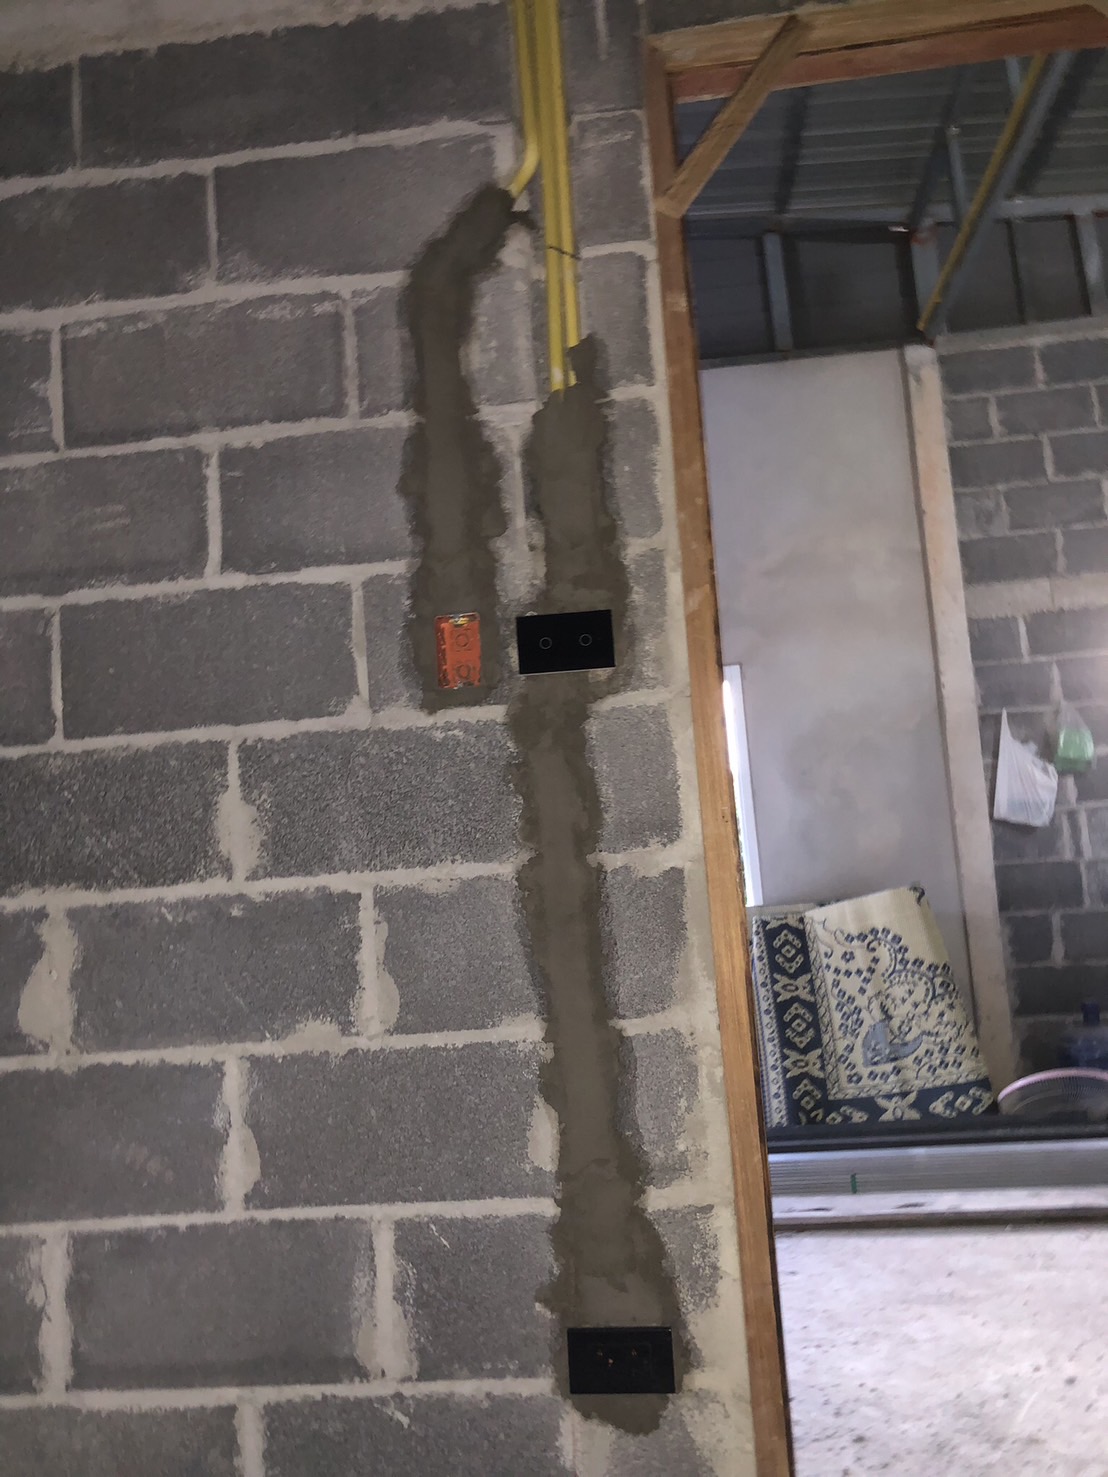
Finally, the conduit wiring is almost complete. Next, I’ll prepare to plaster the walls for a smooth finish and install the ceiling to cover everything up.
• After completing the electrical wiring, the next task is plastering the walls.
My first time plastering a wall—honestly, it was more exhausting than the previous tasks. Since it was my first attempt, it might not be perfect, but it's good enough.
I kept working until all the walls were plastered. This plastering job took a long time—I could only manage one wall per day. With a total of 36 walls, it took me 36 days to complete the plastering.
• Starting the ceiling installation.
I started by watching YouTube and learning through trial and error. I’m thankful to all the teachers on YouTube. I took advice from various channels and adapted it to fit my preferences. Let’s dive into the process!
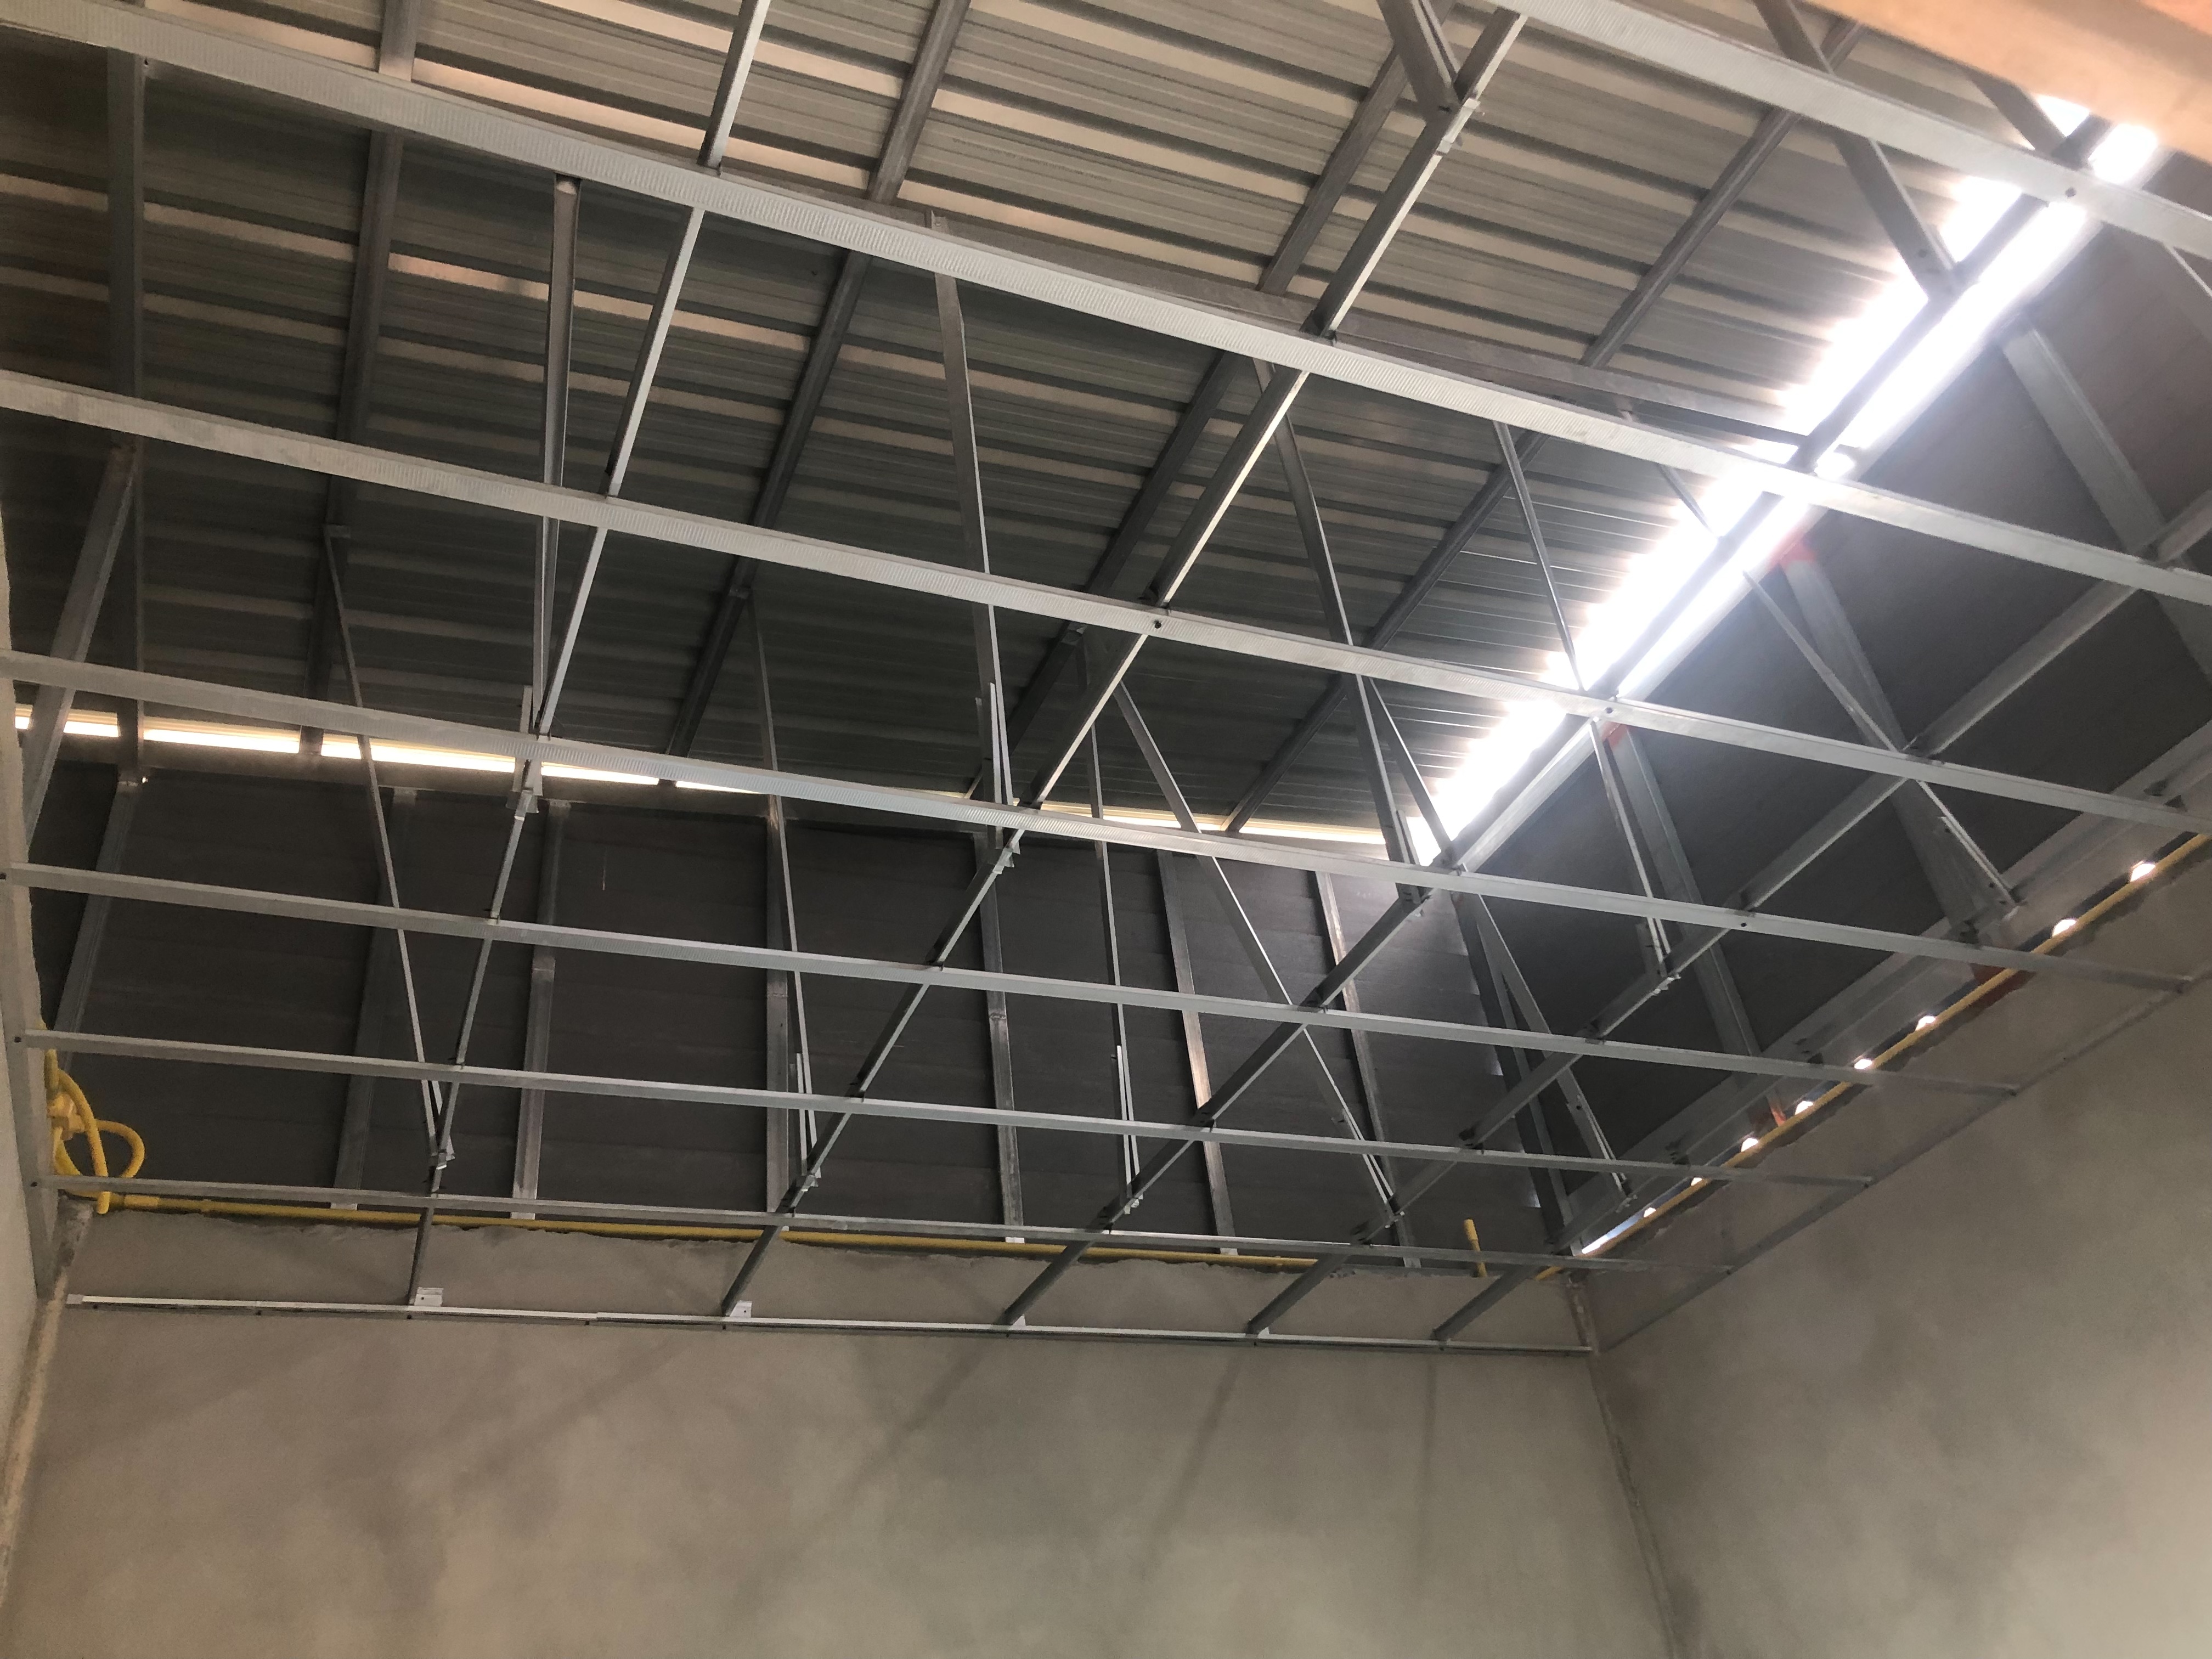
In the main hall, I attempted to create a recessed ceiling. It was my first time working with ceilings, and it was quite a challenge.
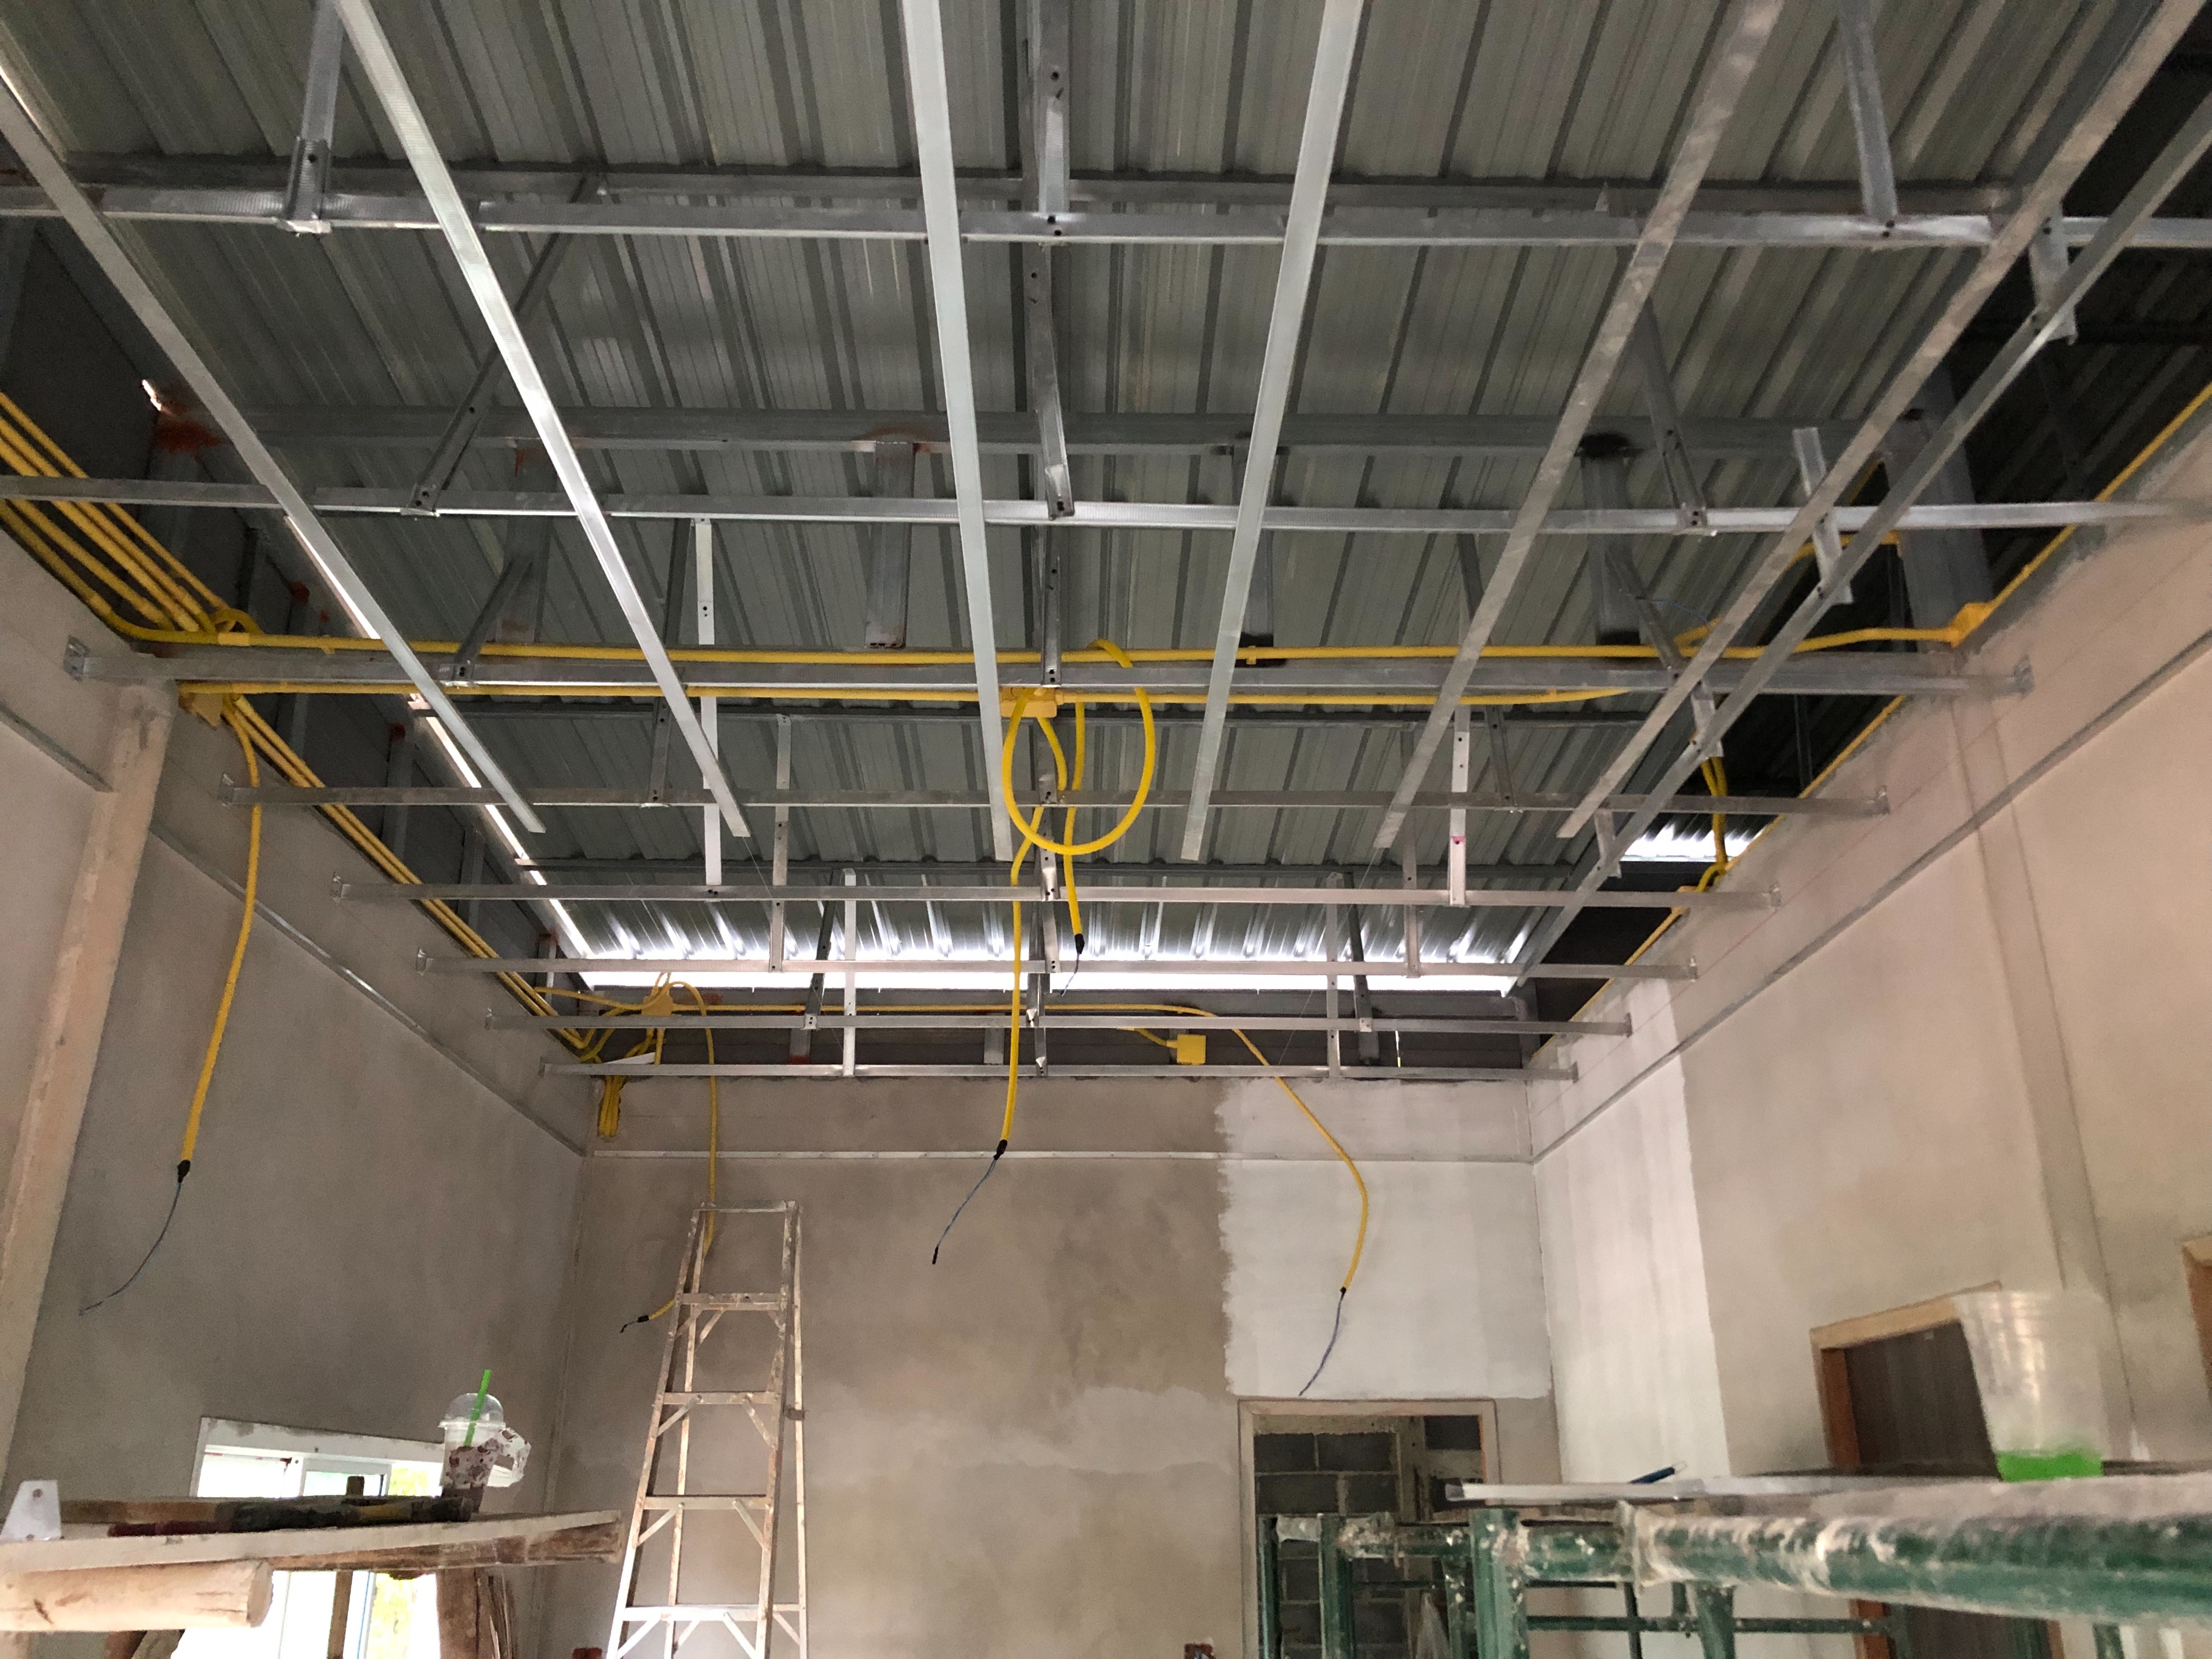
Once the frame was completed, I began lifting the gypsum boards to install them. The shape of the ceiling started to come together little by little.

After that, I painted the ceiling and began installing the lights, choosing the type of lighting that I liked.
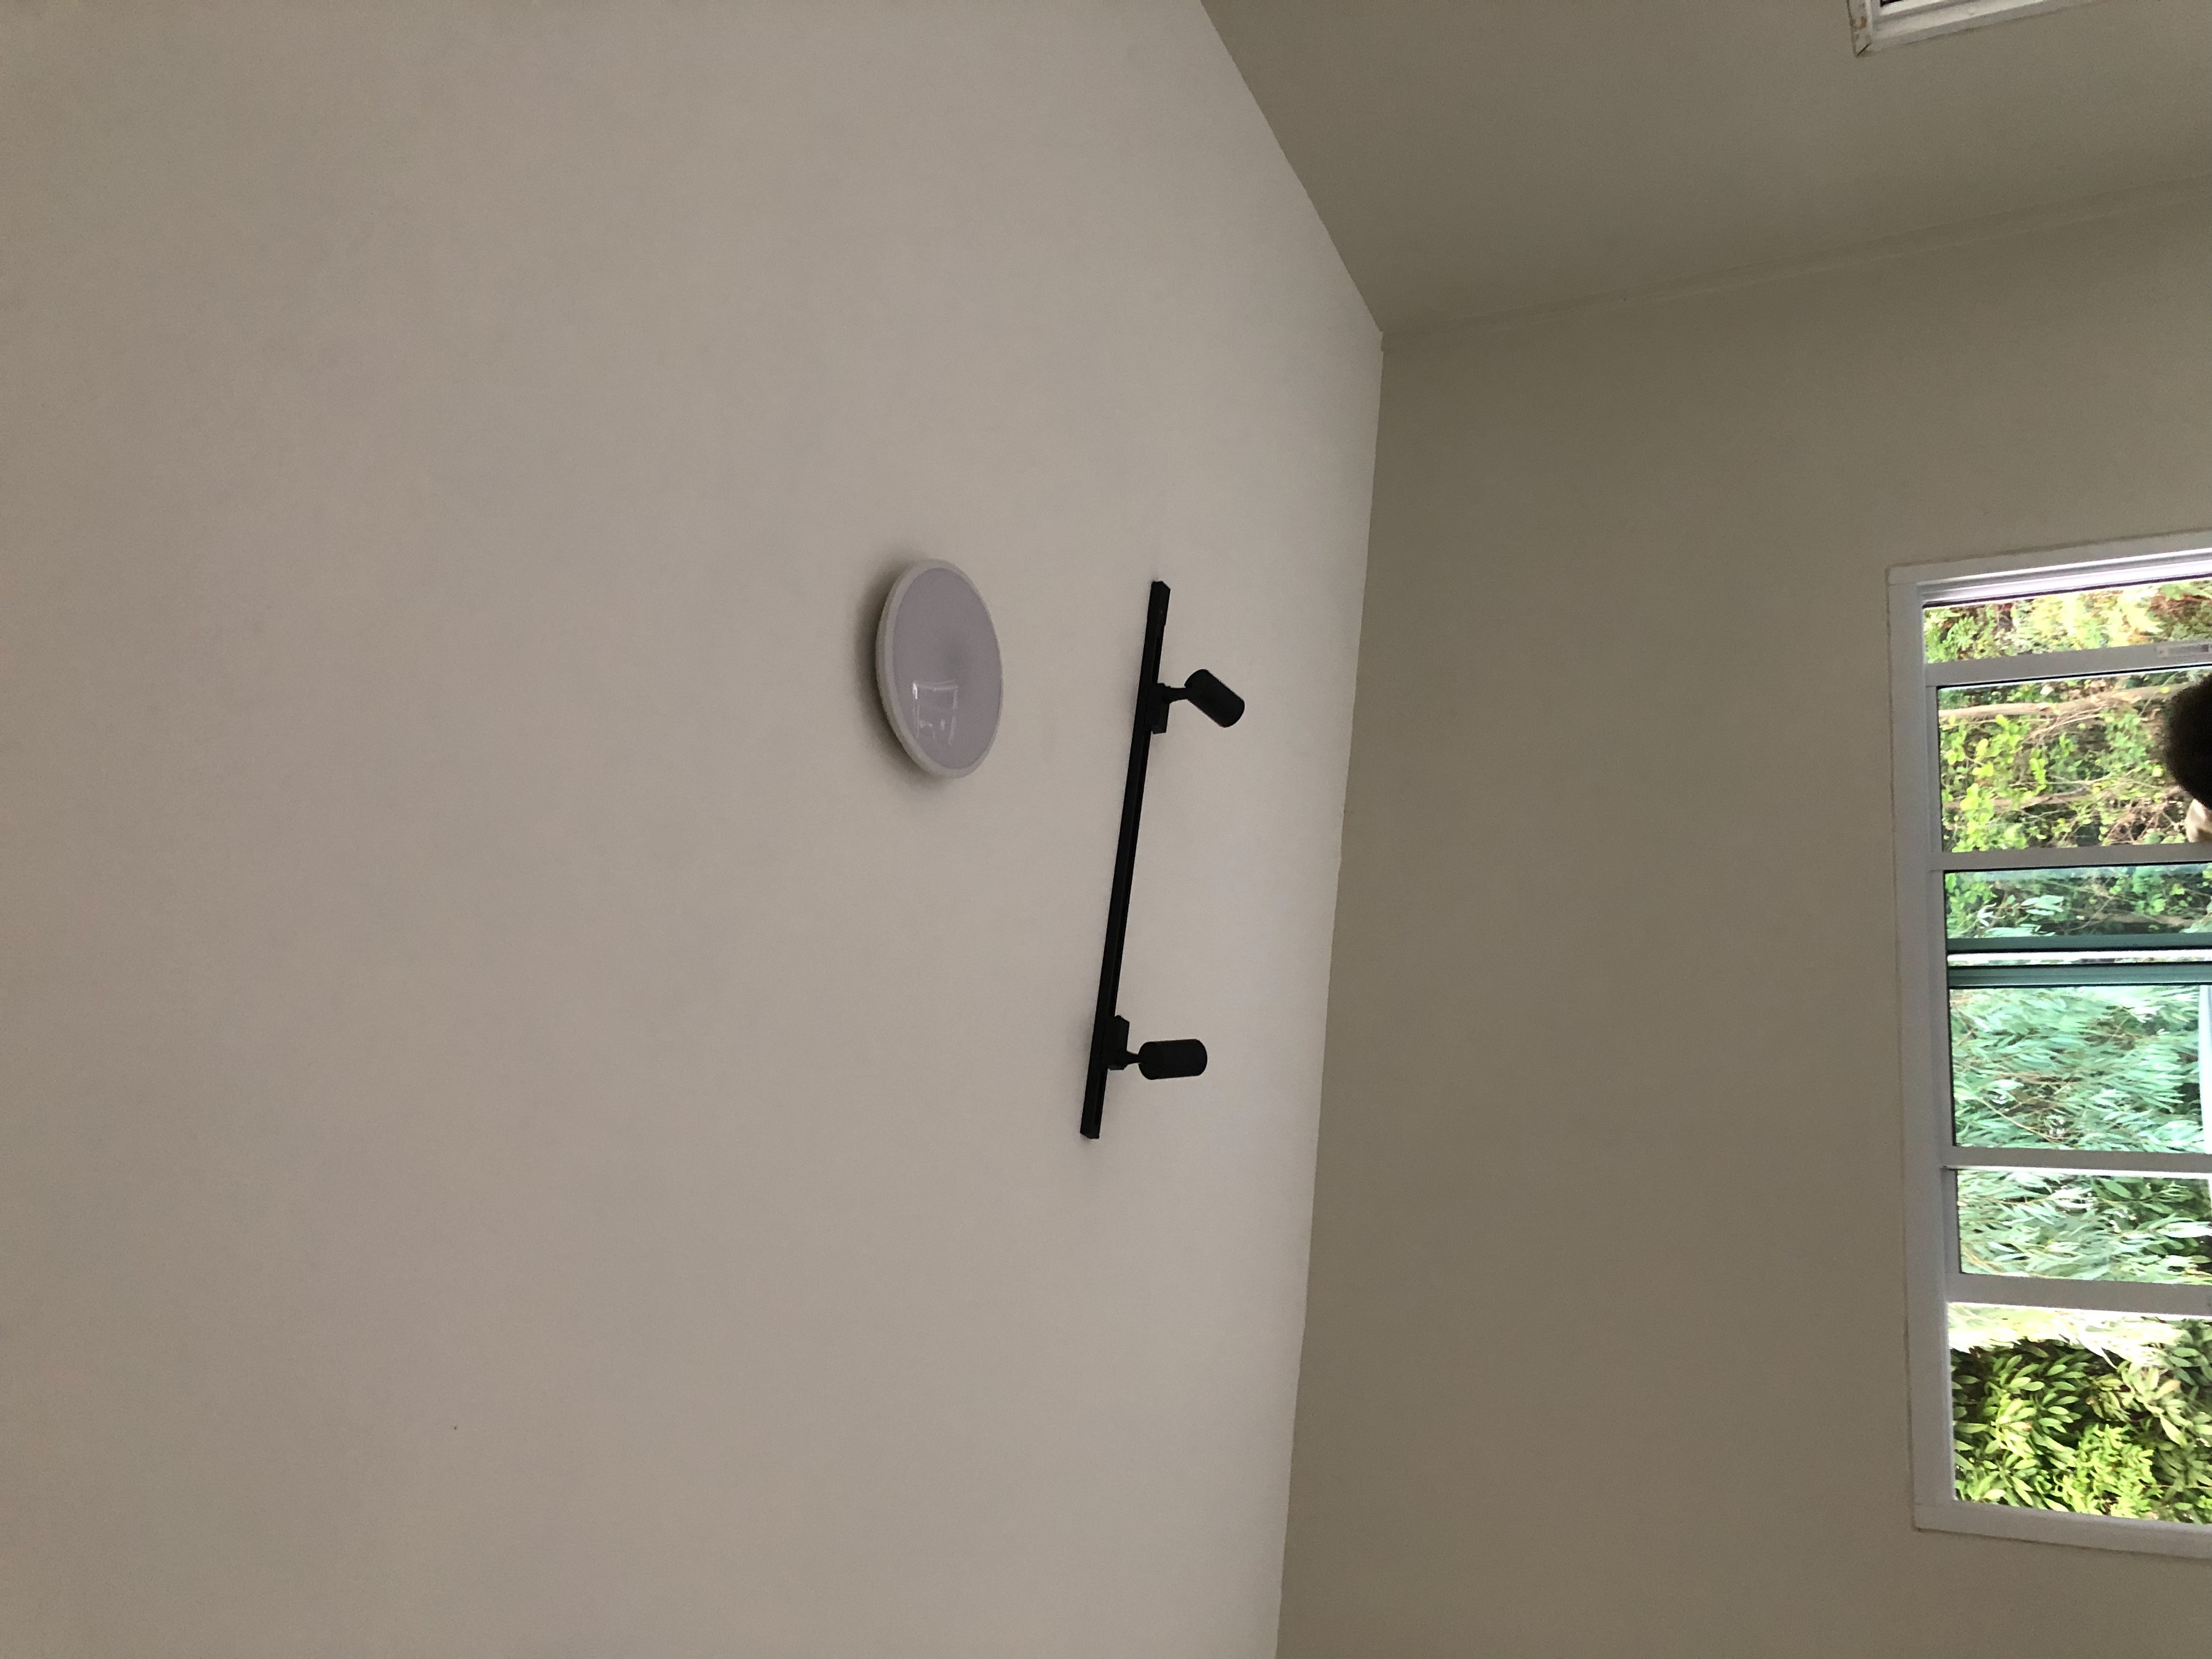
I also started installing lights in the recessed ceiling of the main hall.
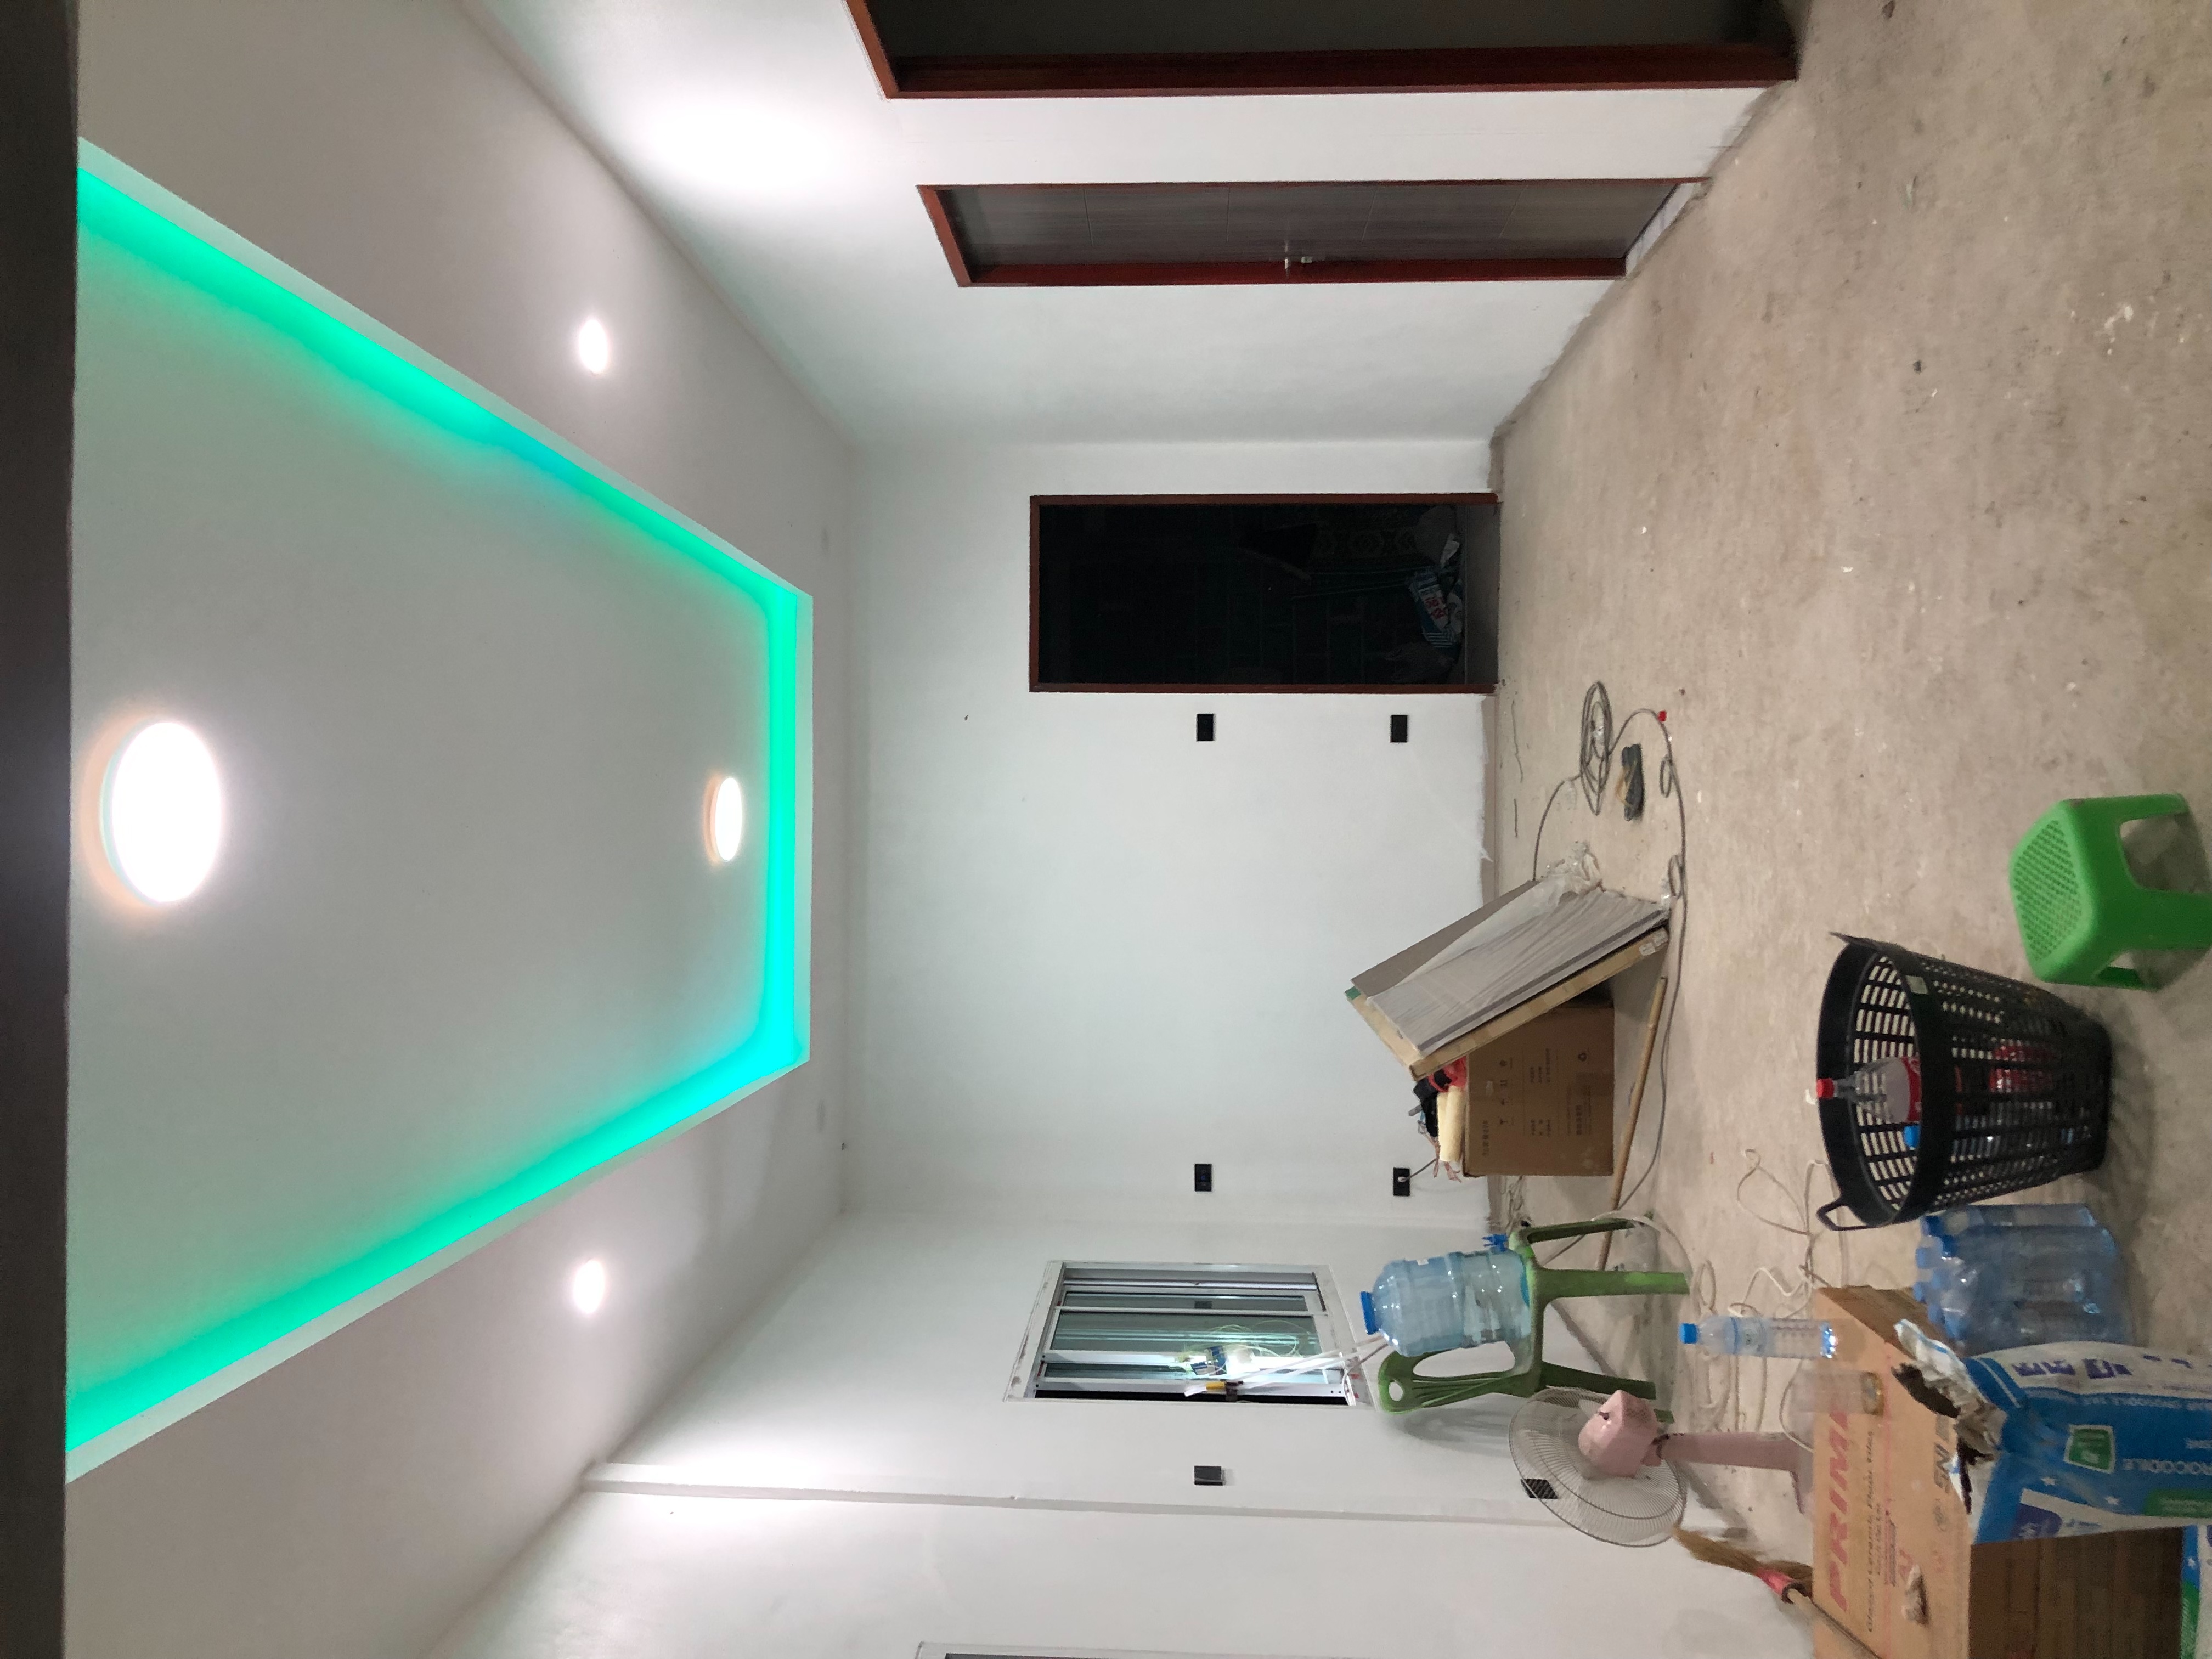
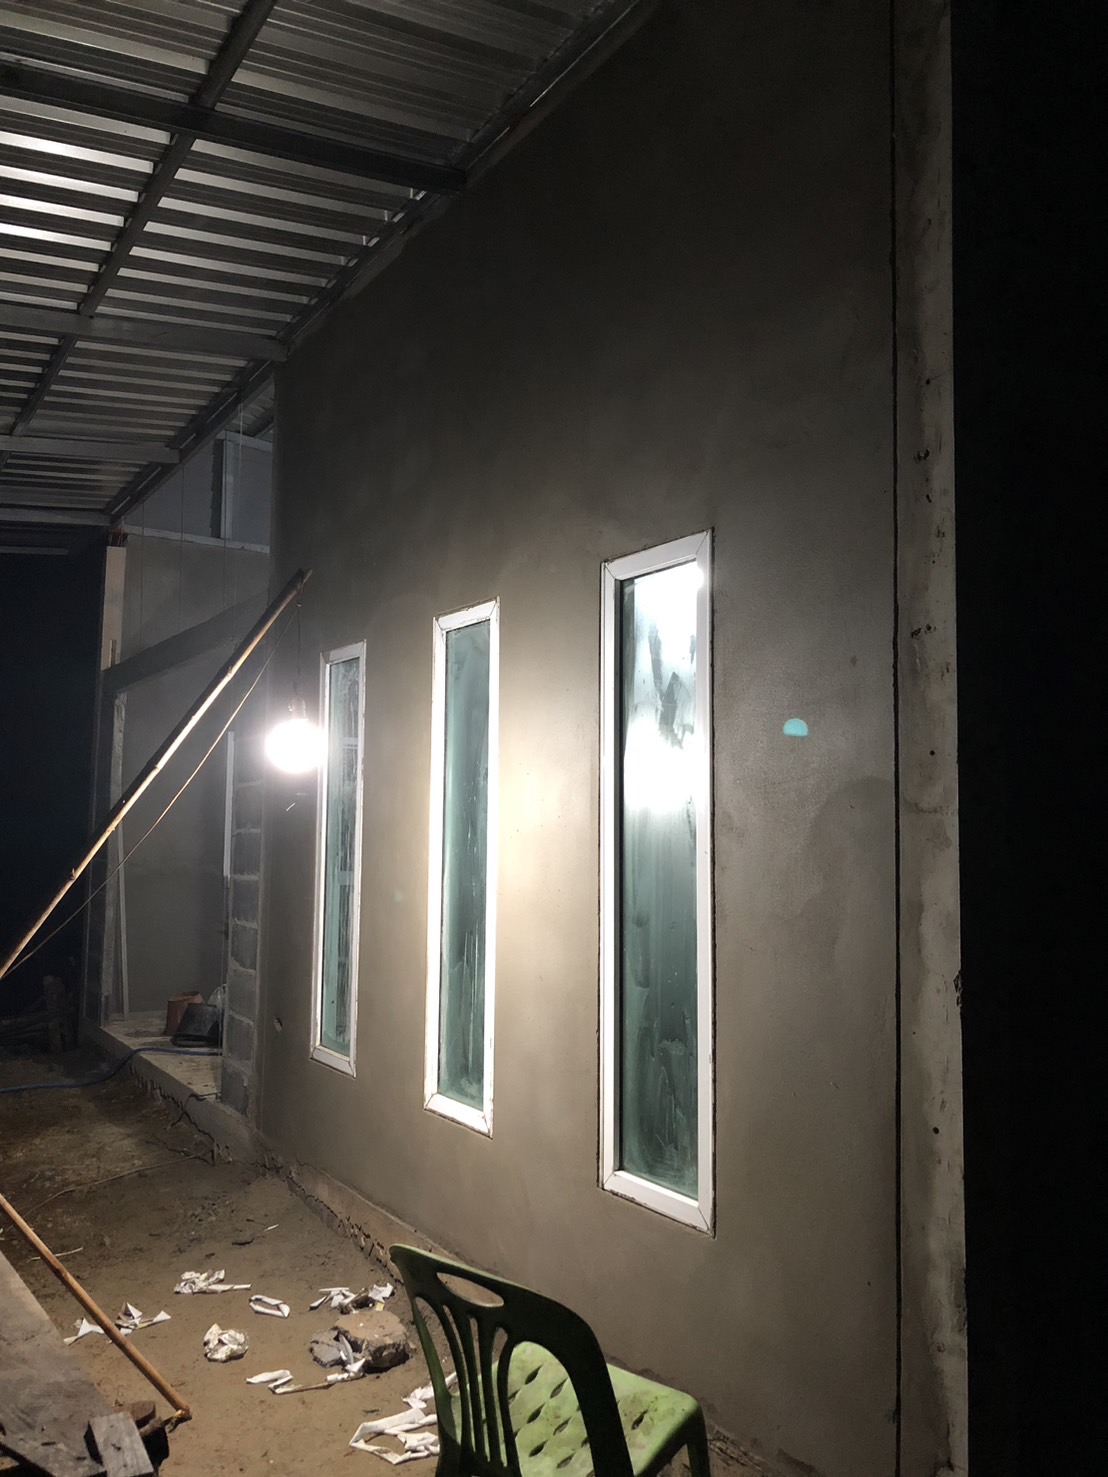
At night, I began testing my RGB lighting system. Every light is an RGB bulb that can be controlled via Wi-Fi and through my mobile phone. The lights can also be turned on and off using voice commands. I've been working to make this a smart home by using Wi-Fi-enabled bulbs and switches that can be controlled remotely.
• Next, I began working on the flooring.
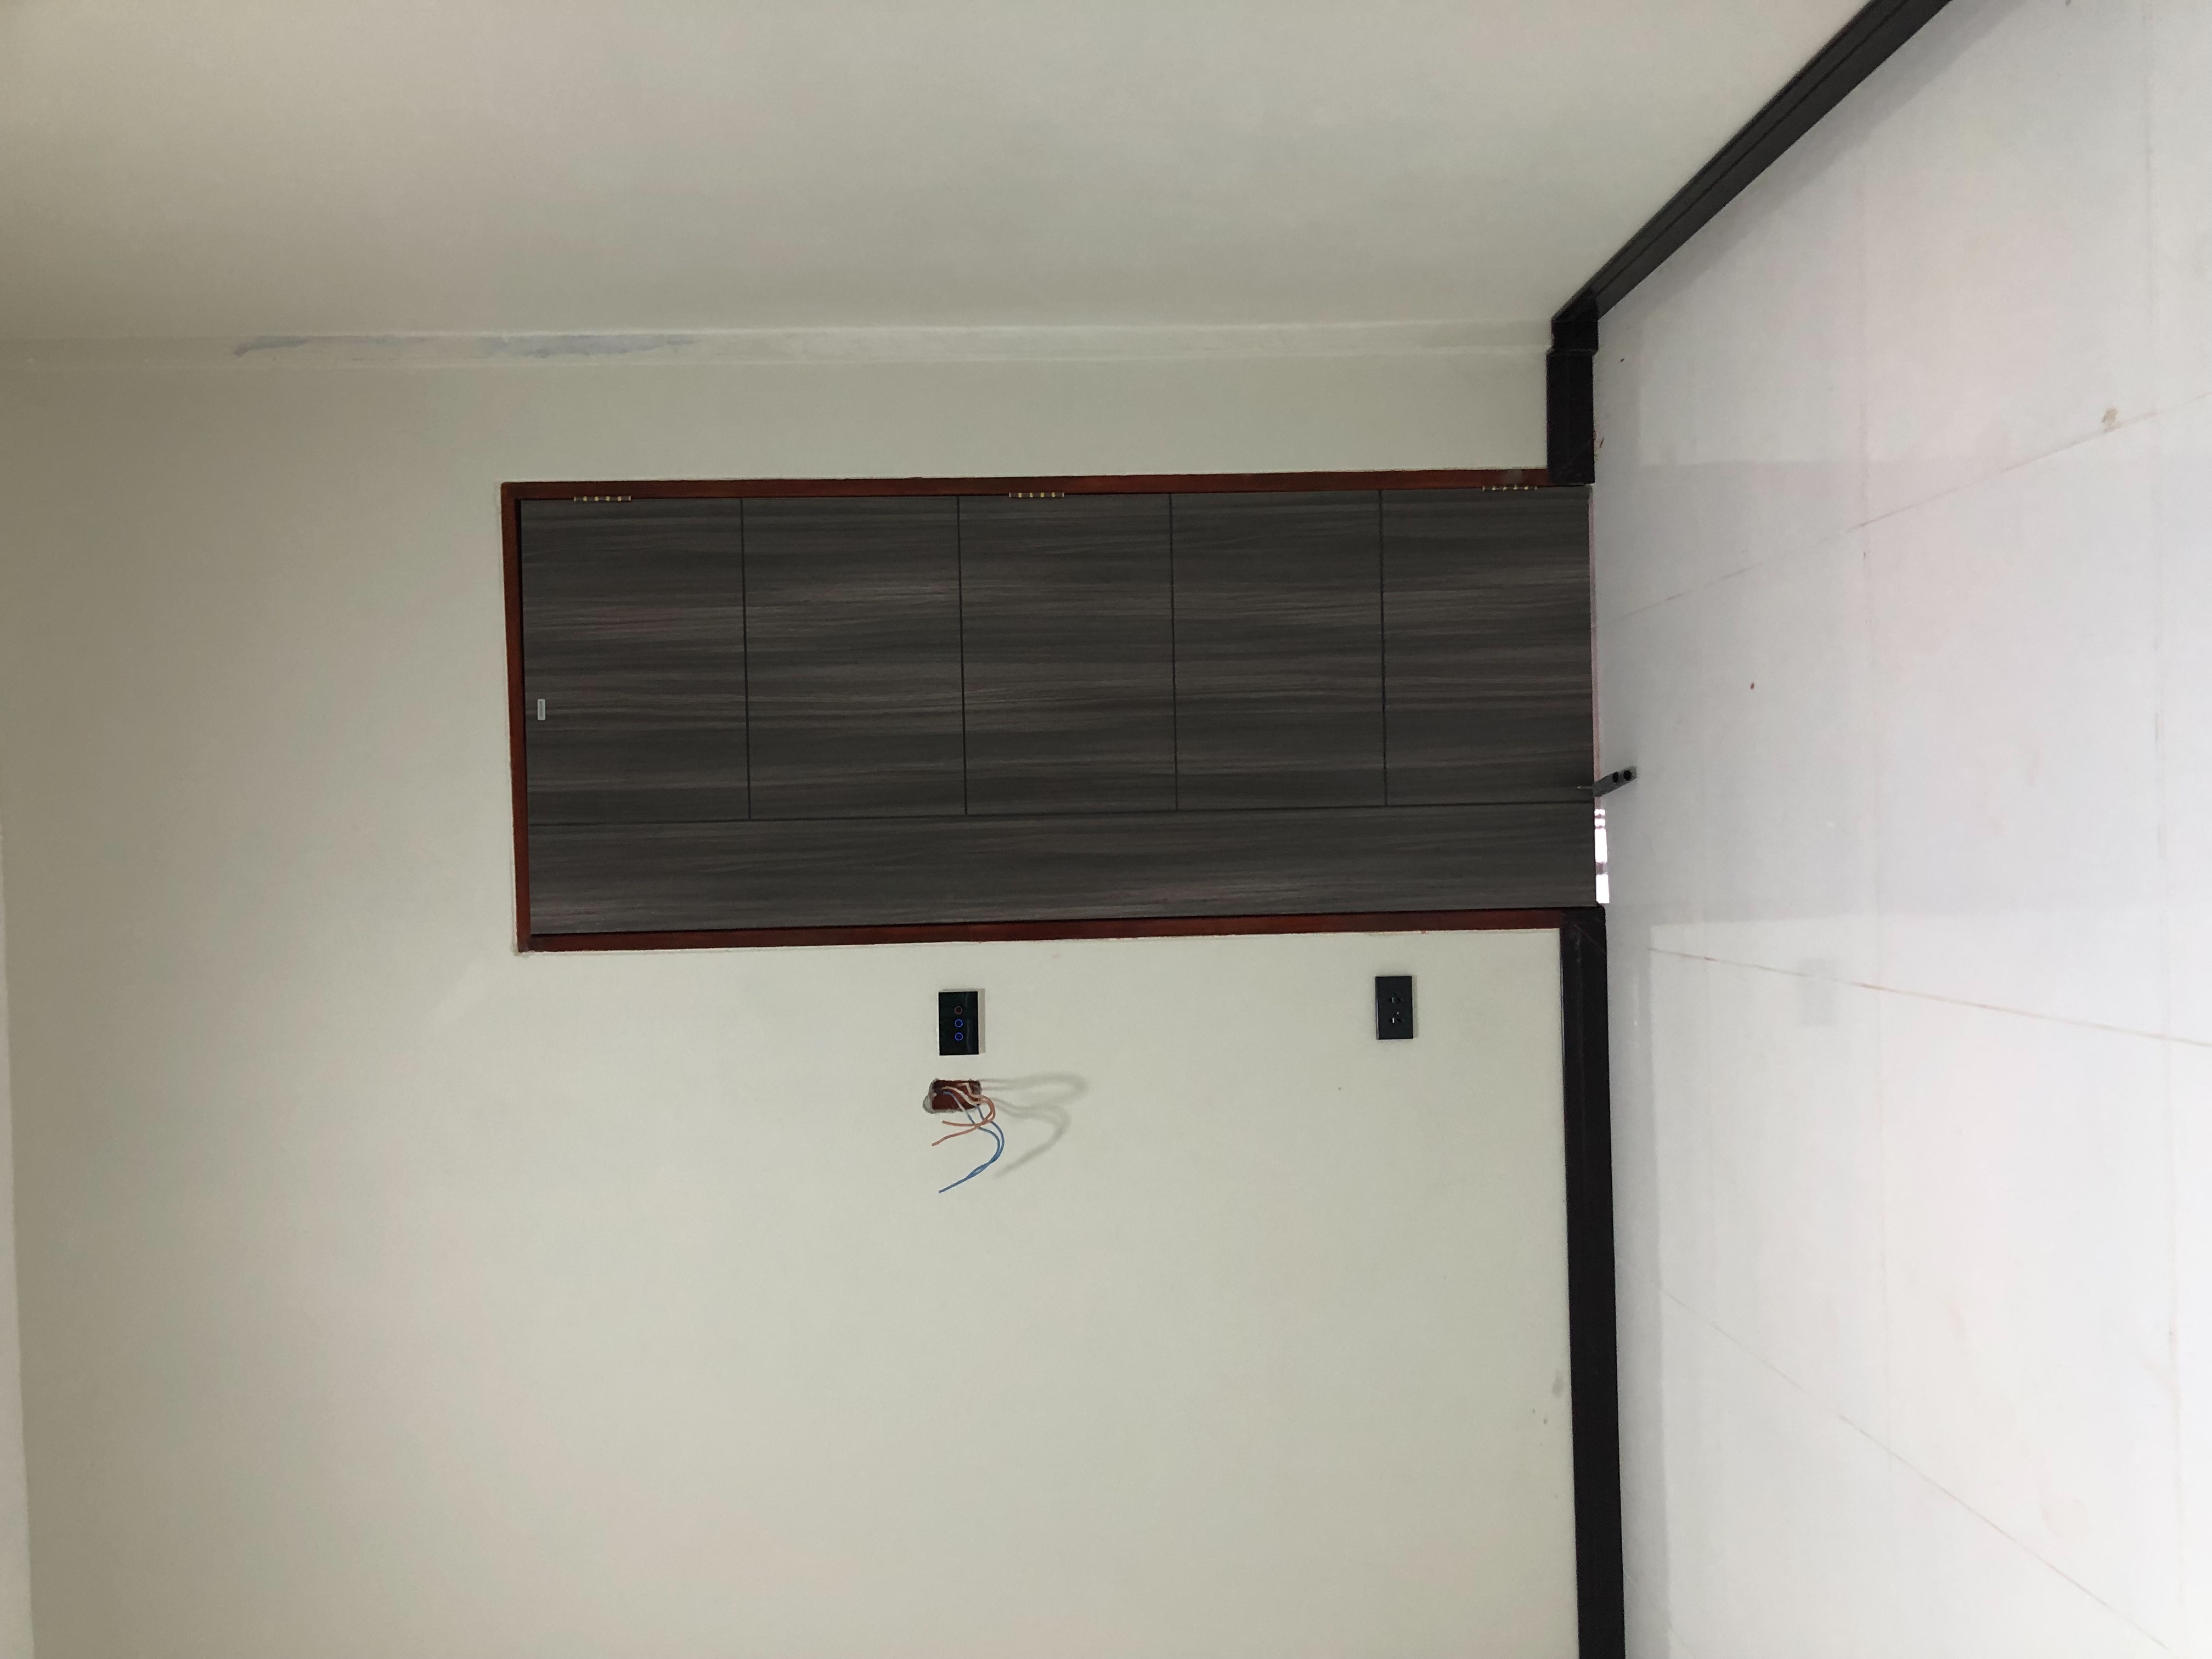
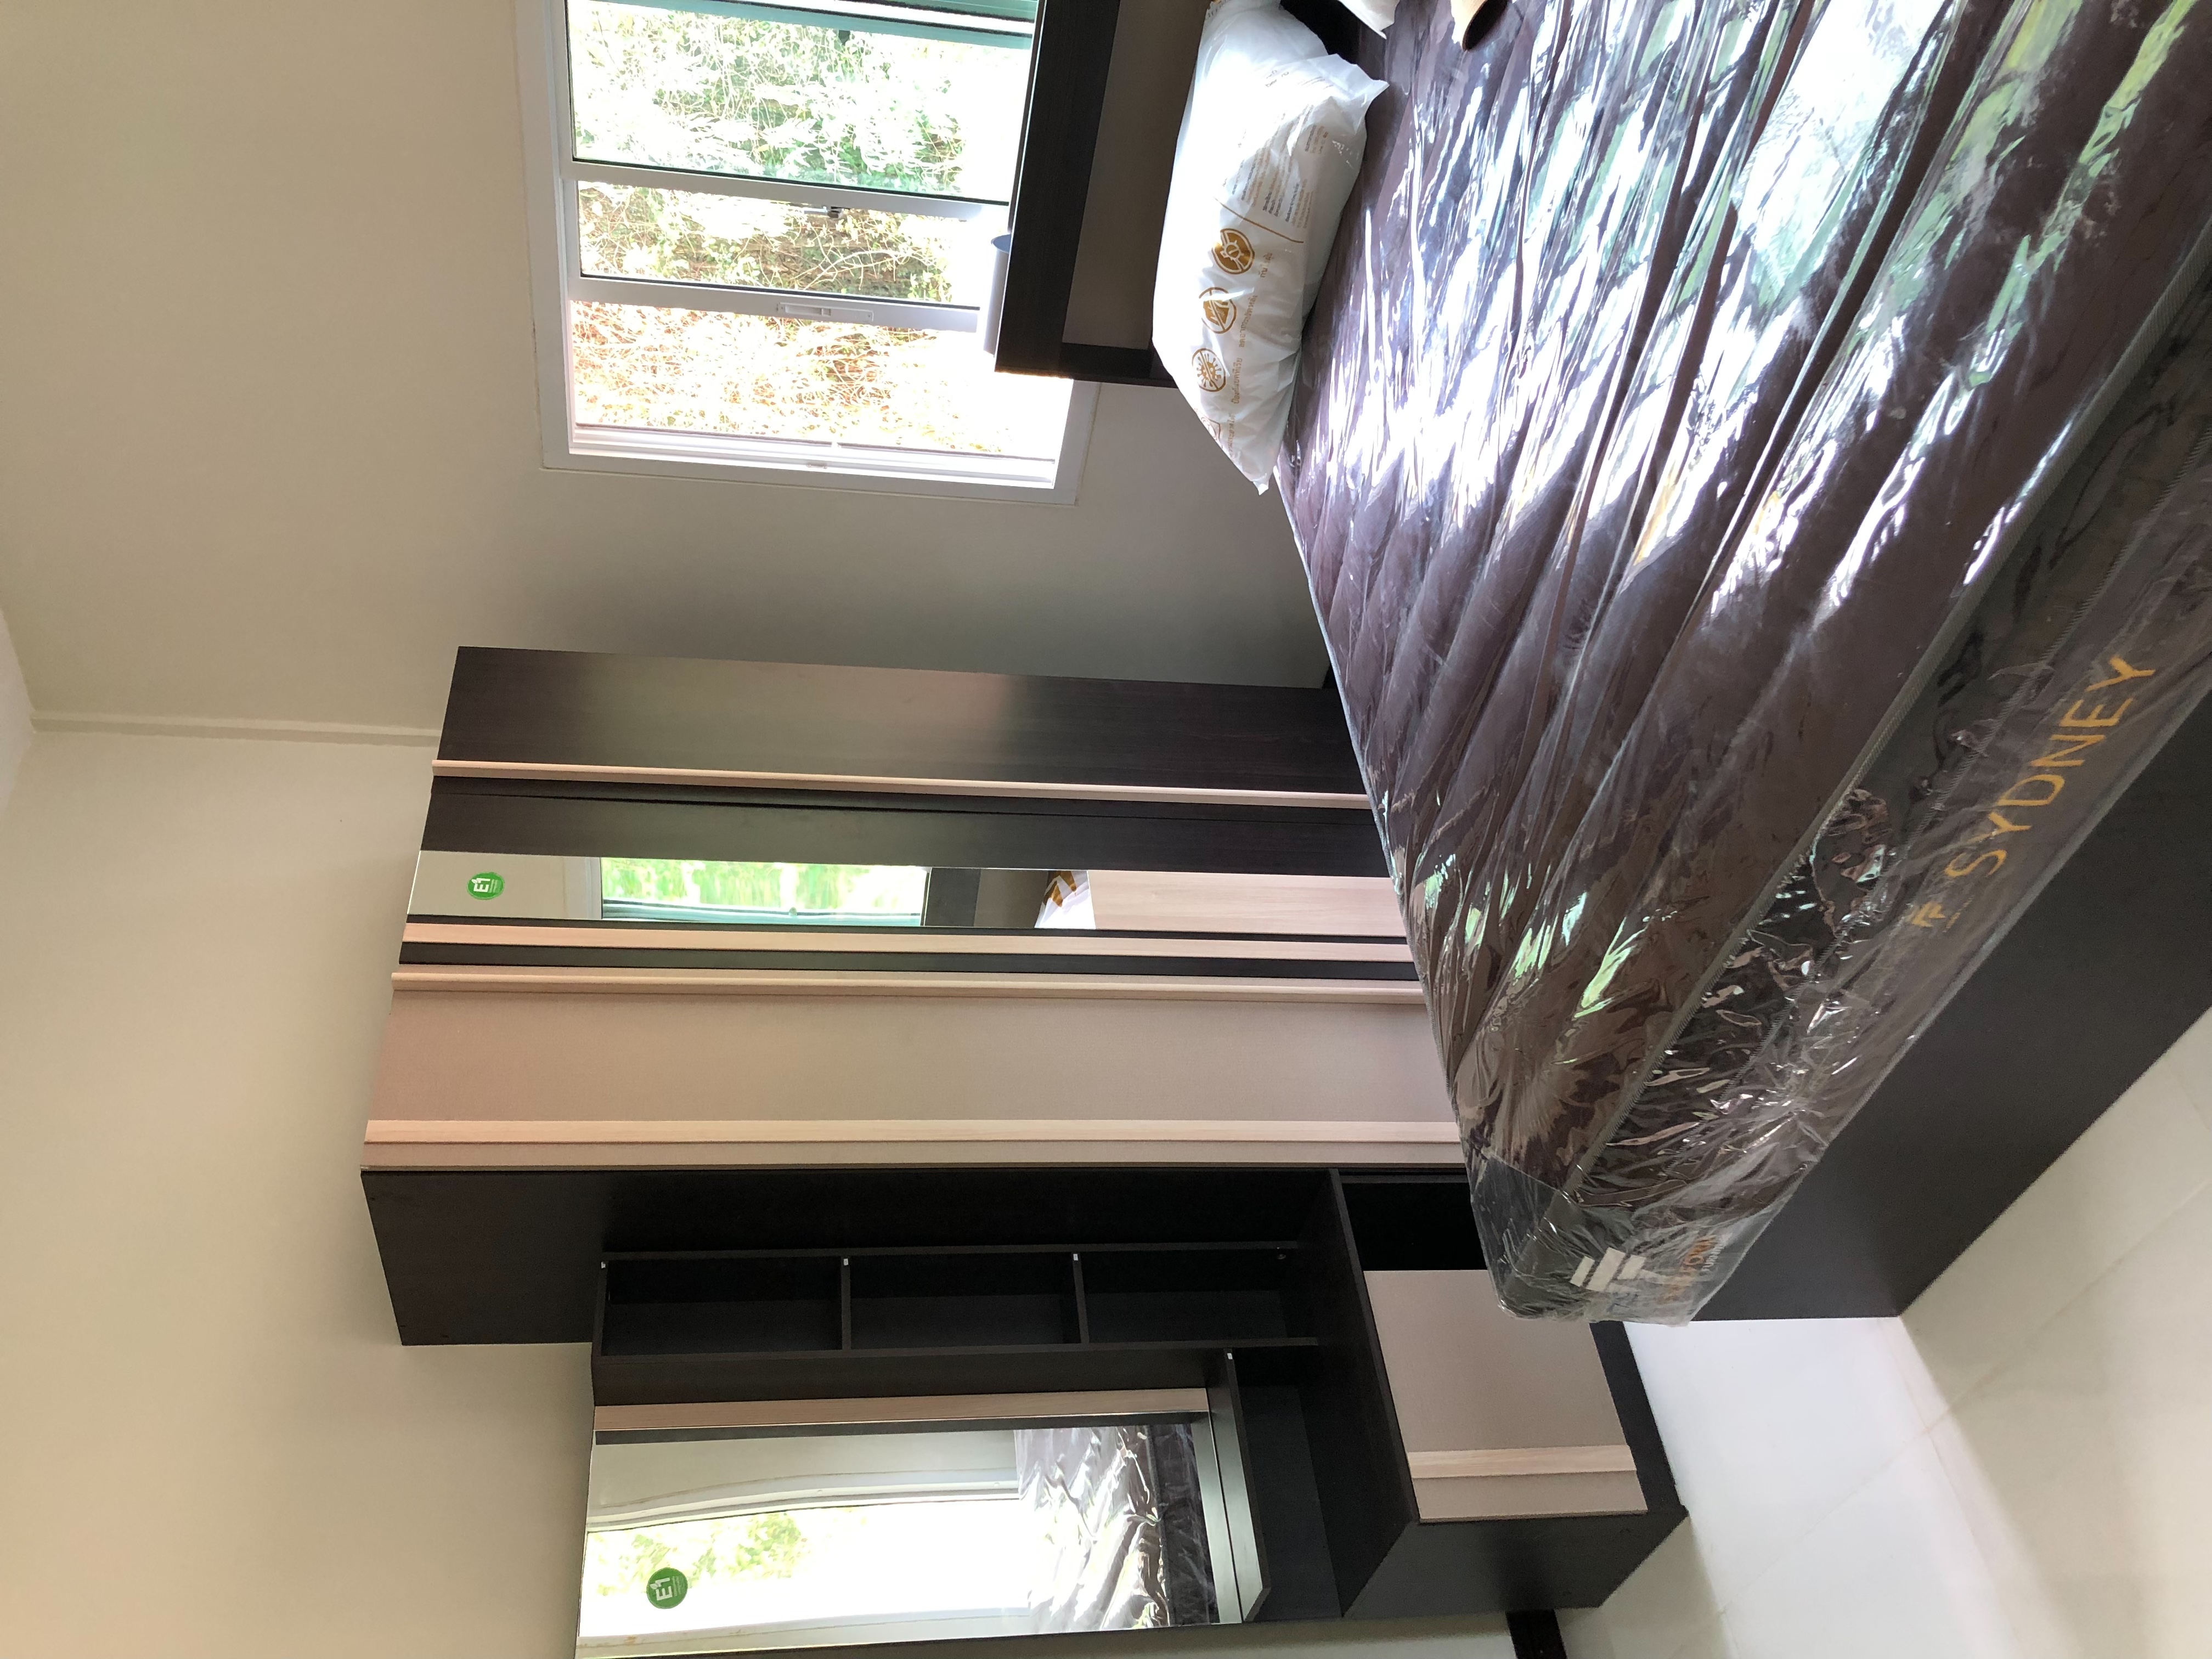
"I started with the bedroom first.
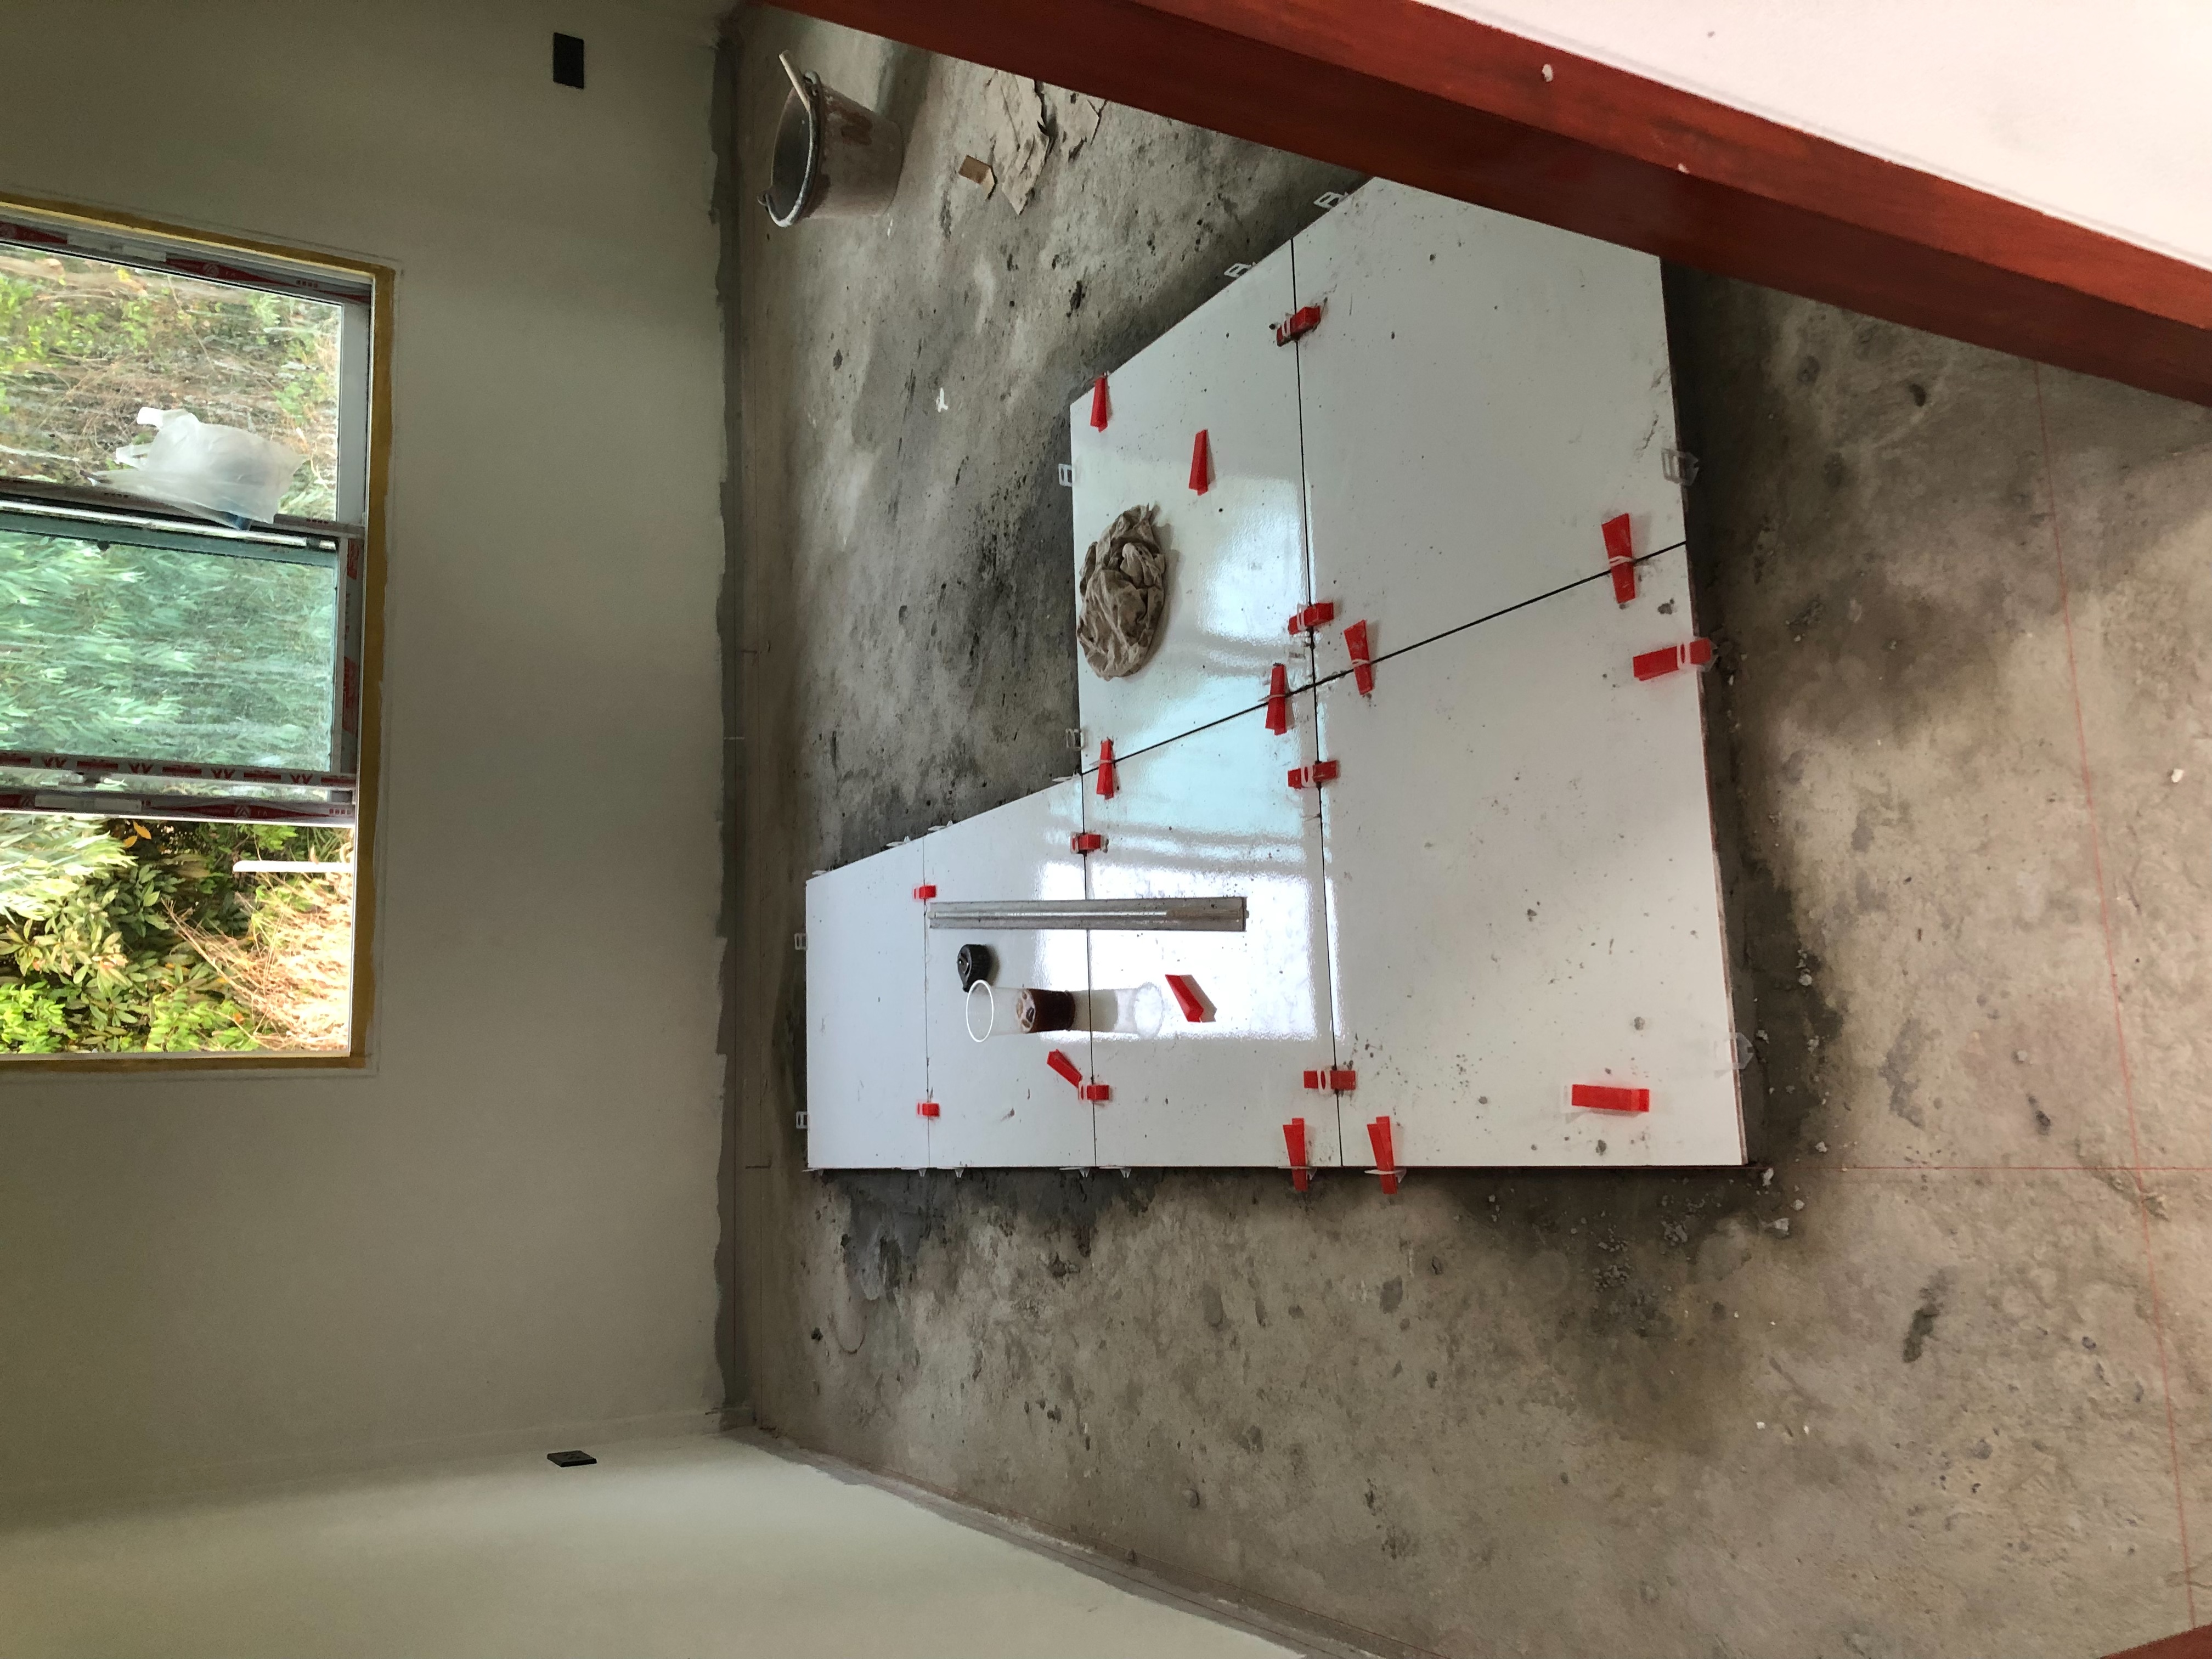
Once that was done, I began installing the baseboards. Laying the tiles seemed easy, but it was slow going since it was my first time doing it.
After that, I continued working on the flooring in the main hall.
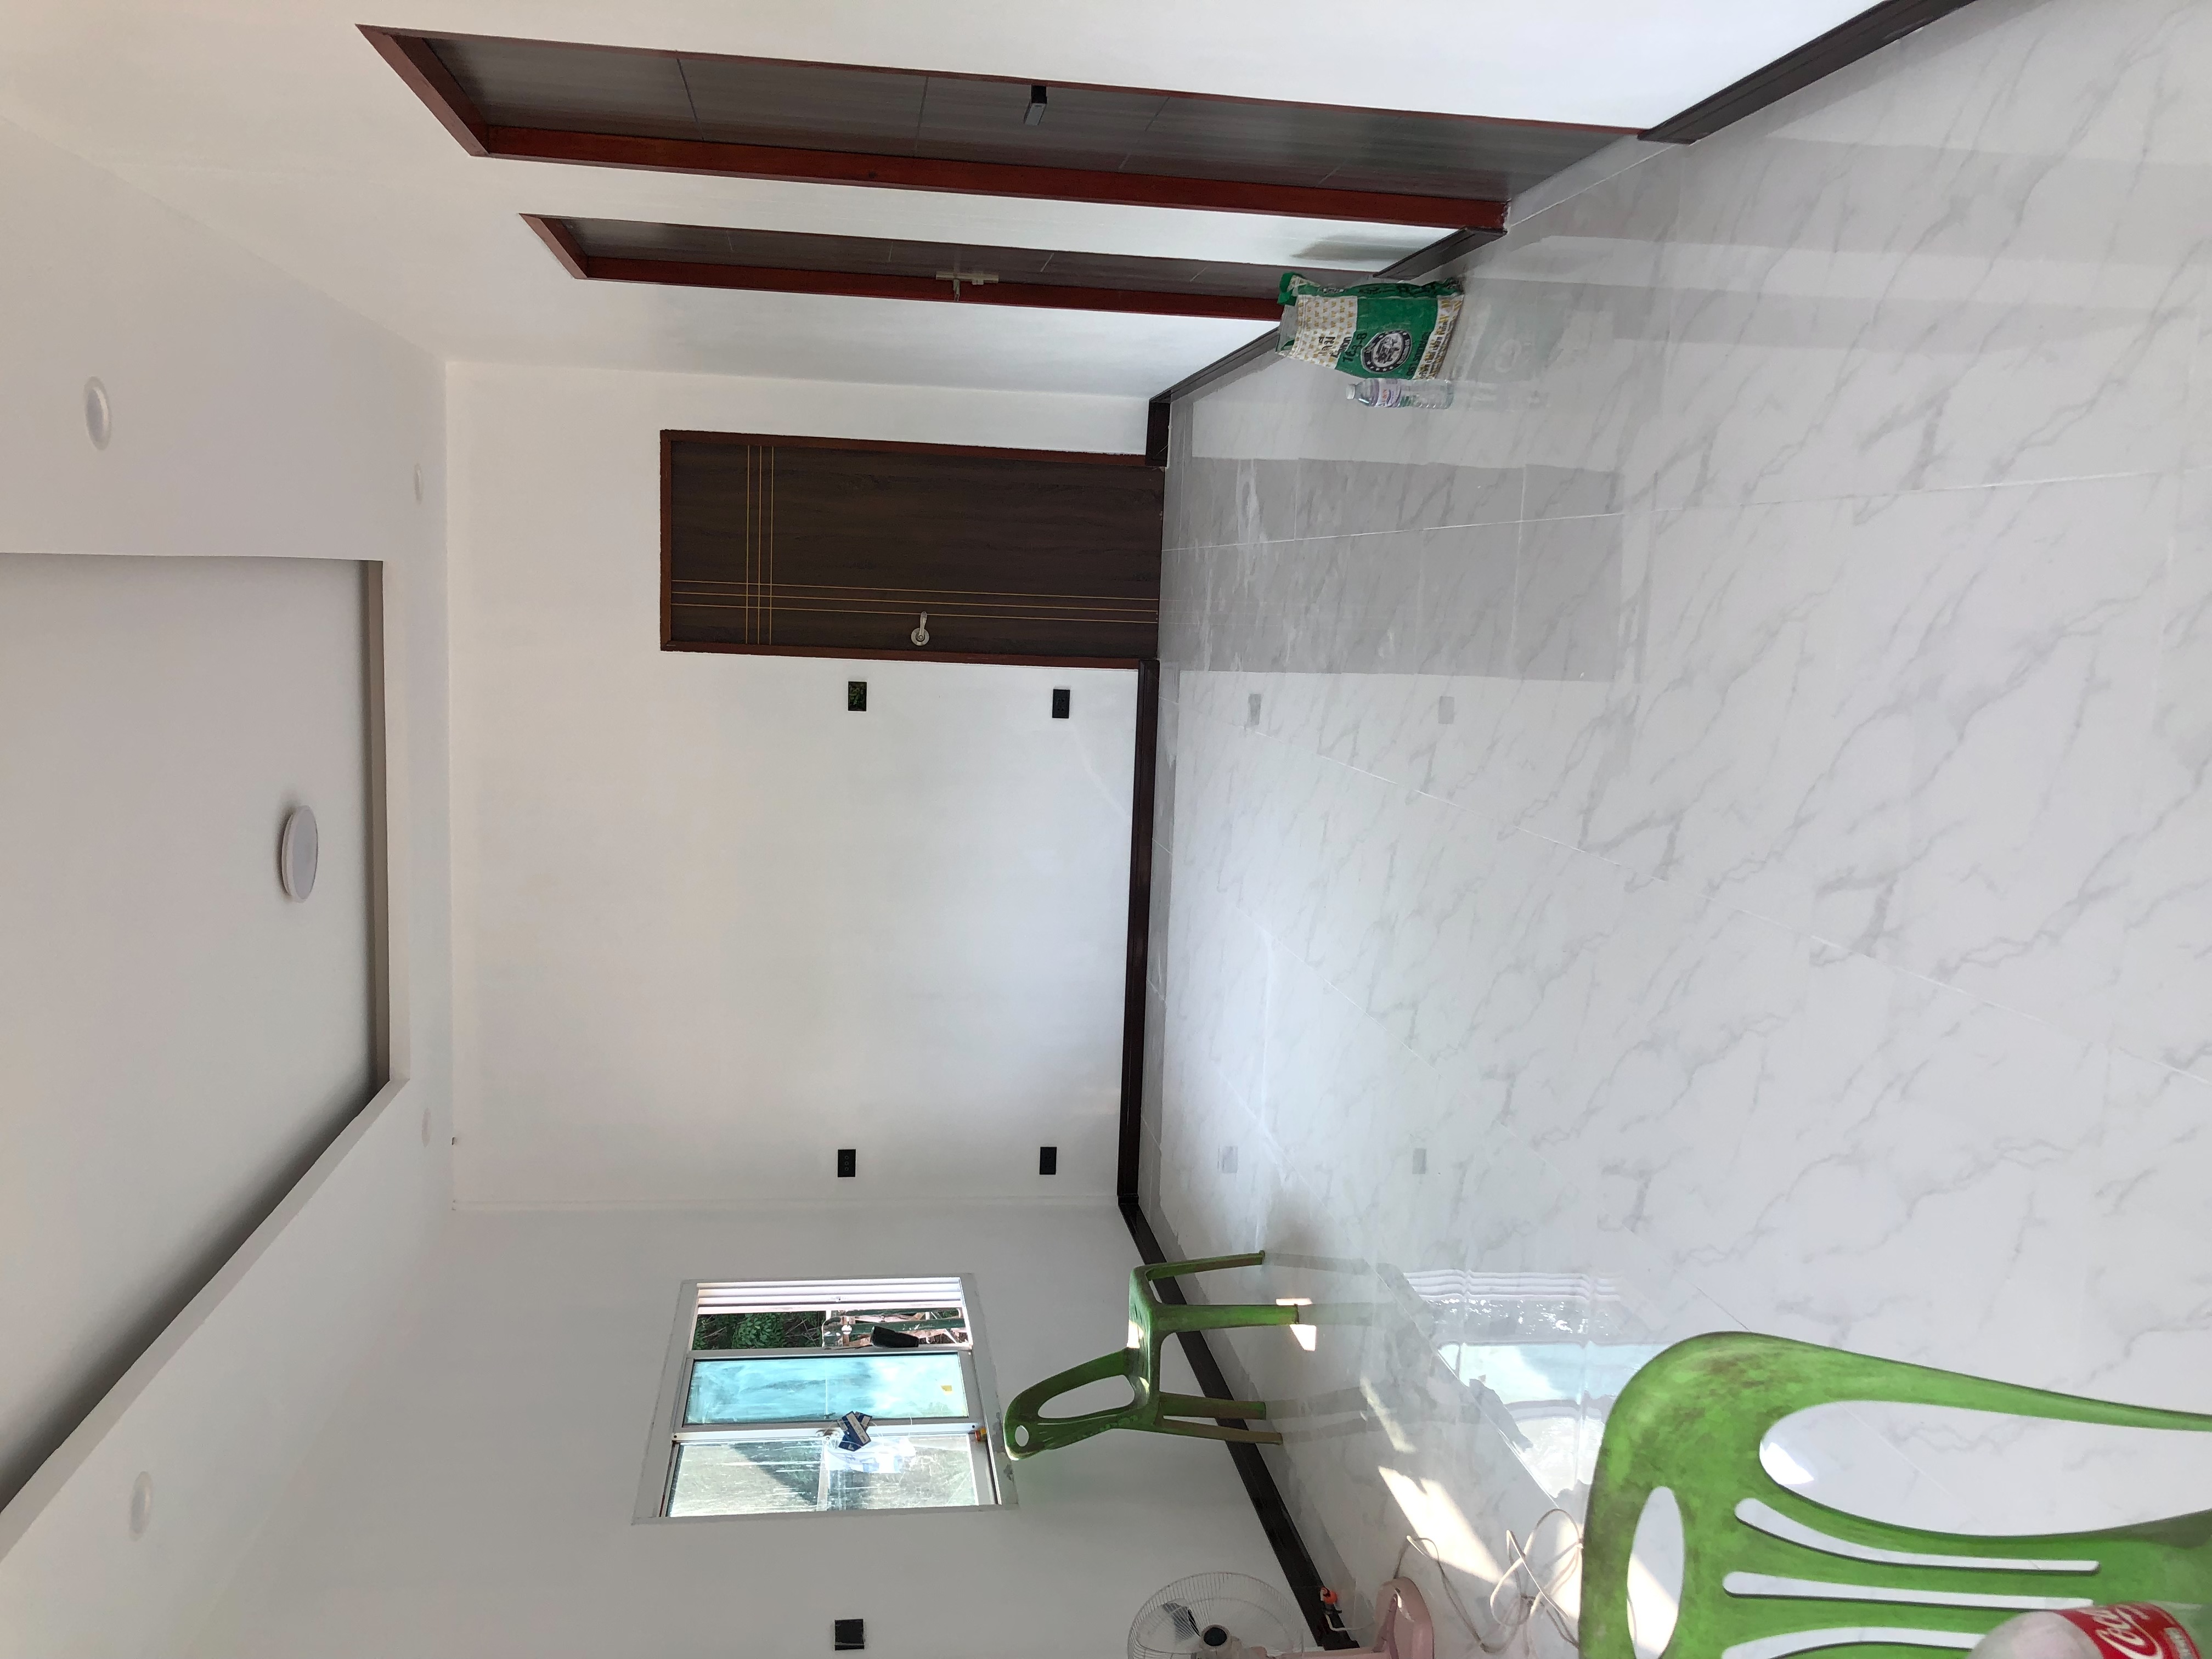
Being a bit impatient, even though the house wasn't finished yet, I went ahead and ordered furniture for the room.
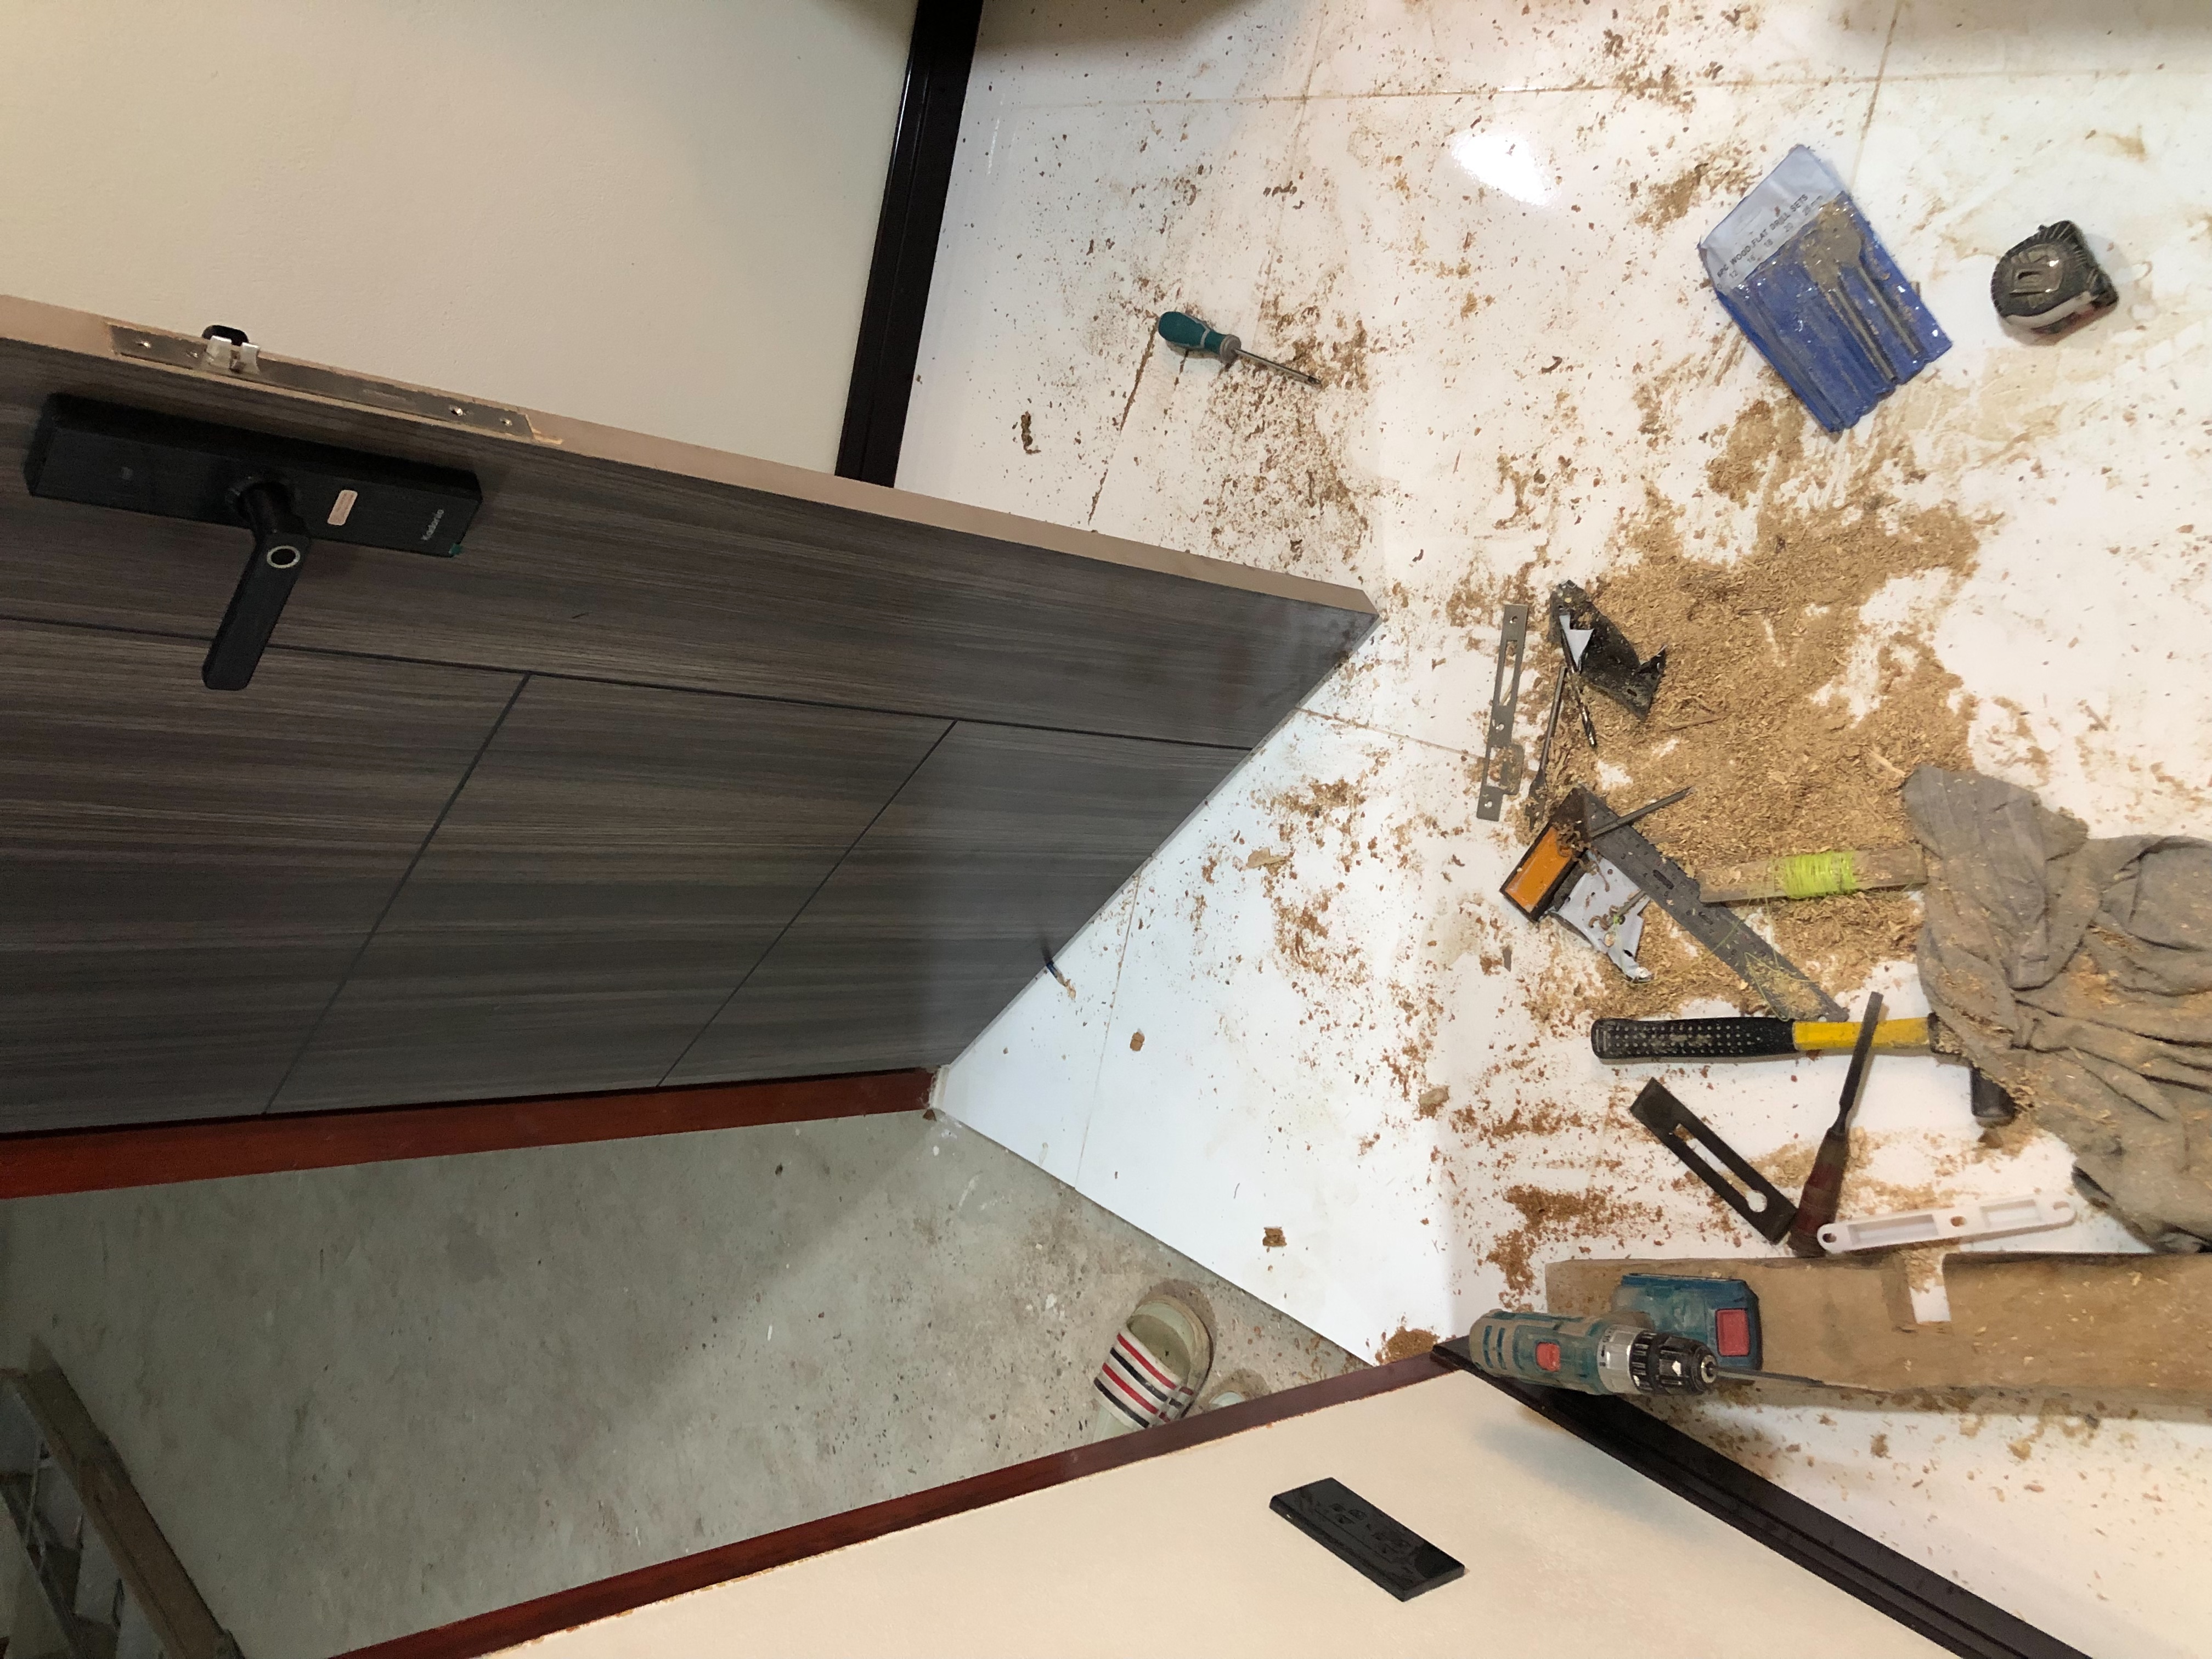
"Once the bedroom was finished, I quickly installed the door knob. I chose a smart lock that requires fingerprint, passcode, or keycard to unlock, while still allowing the use of a regular key.
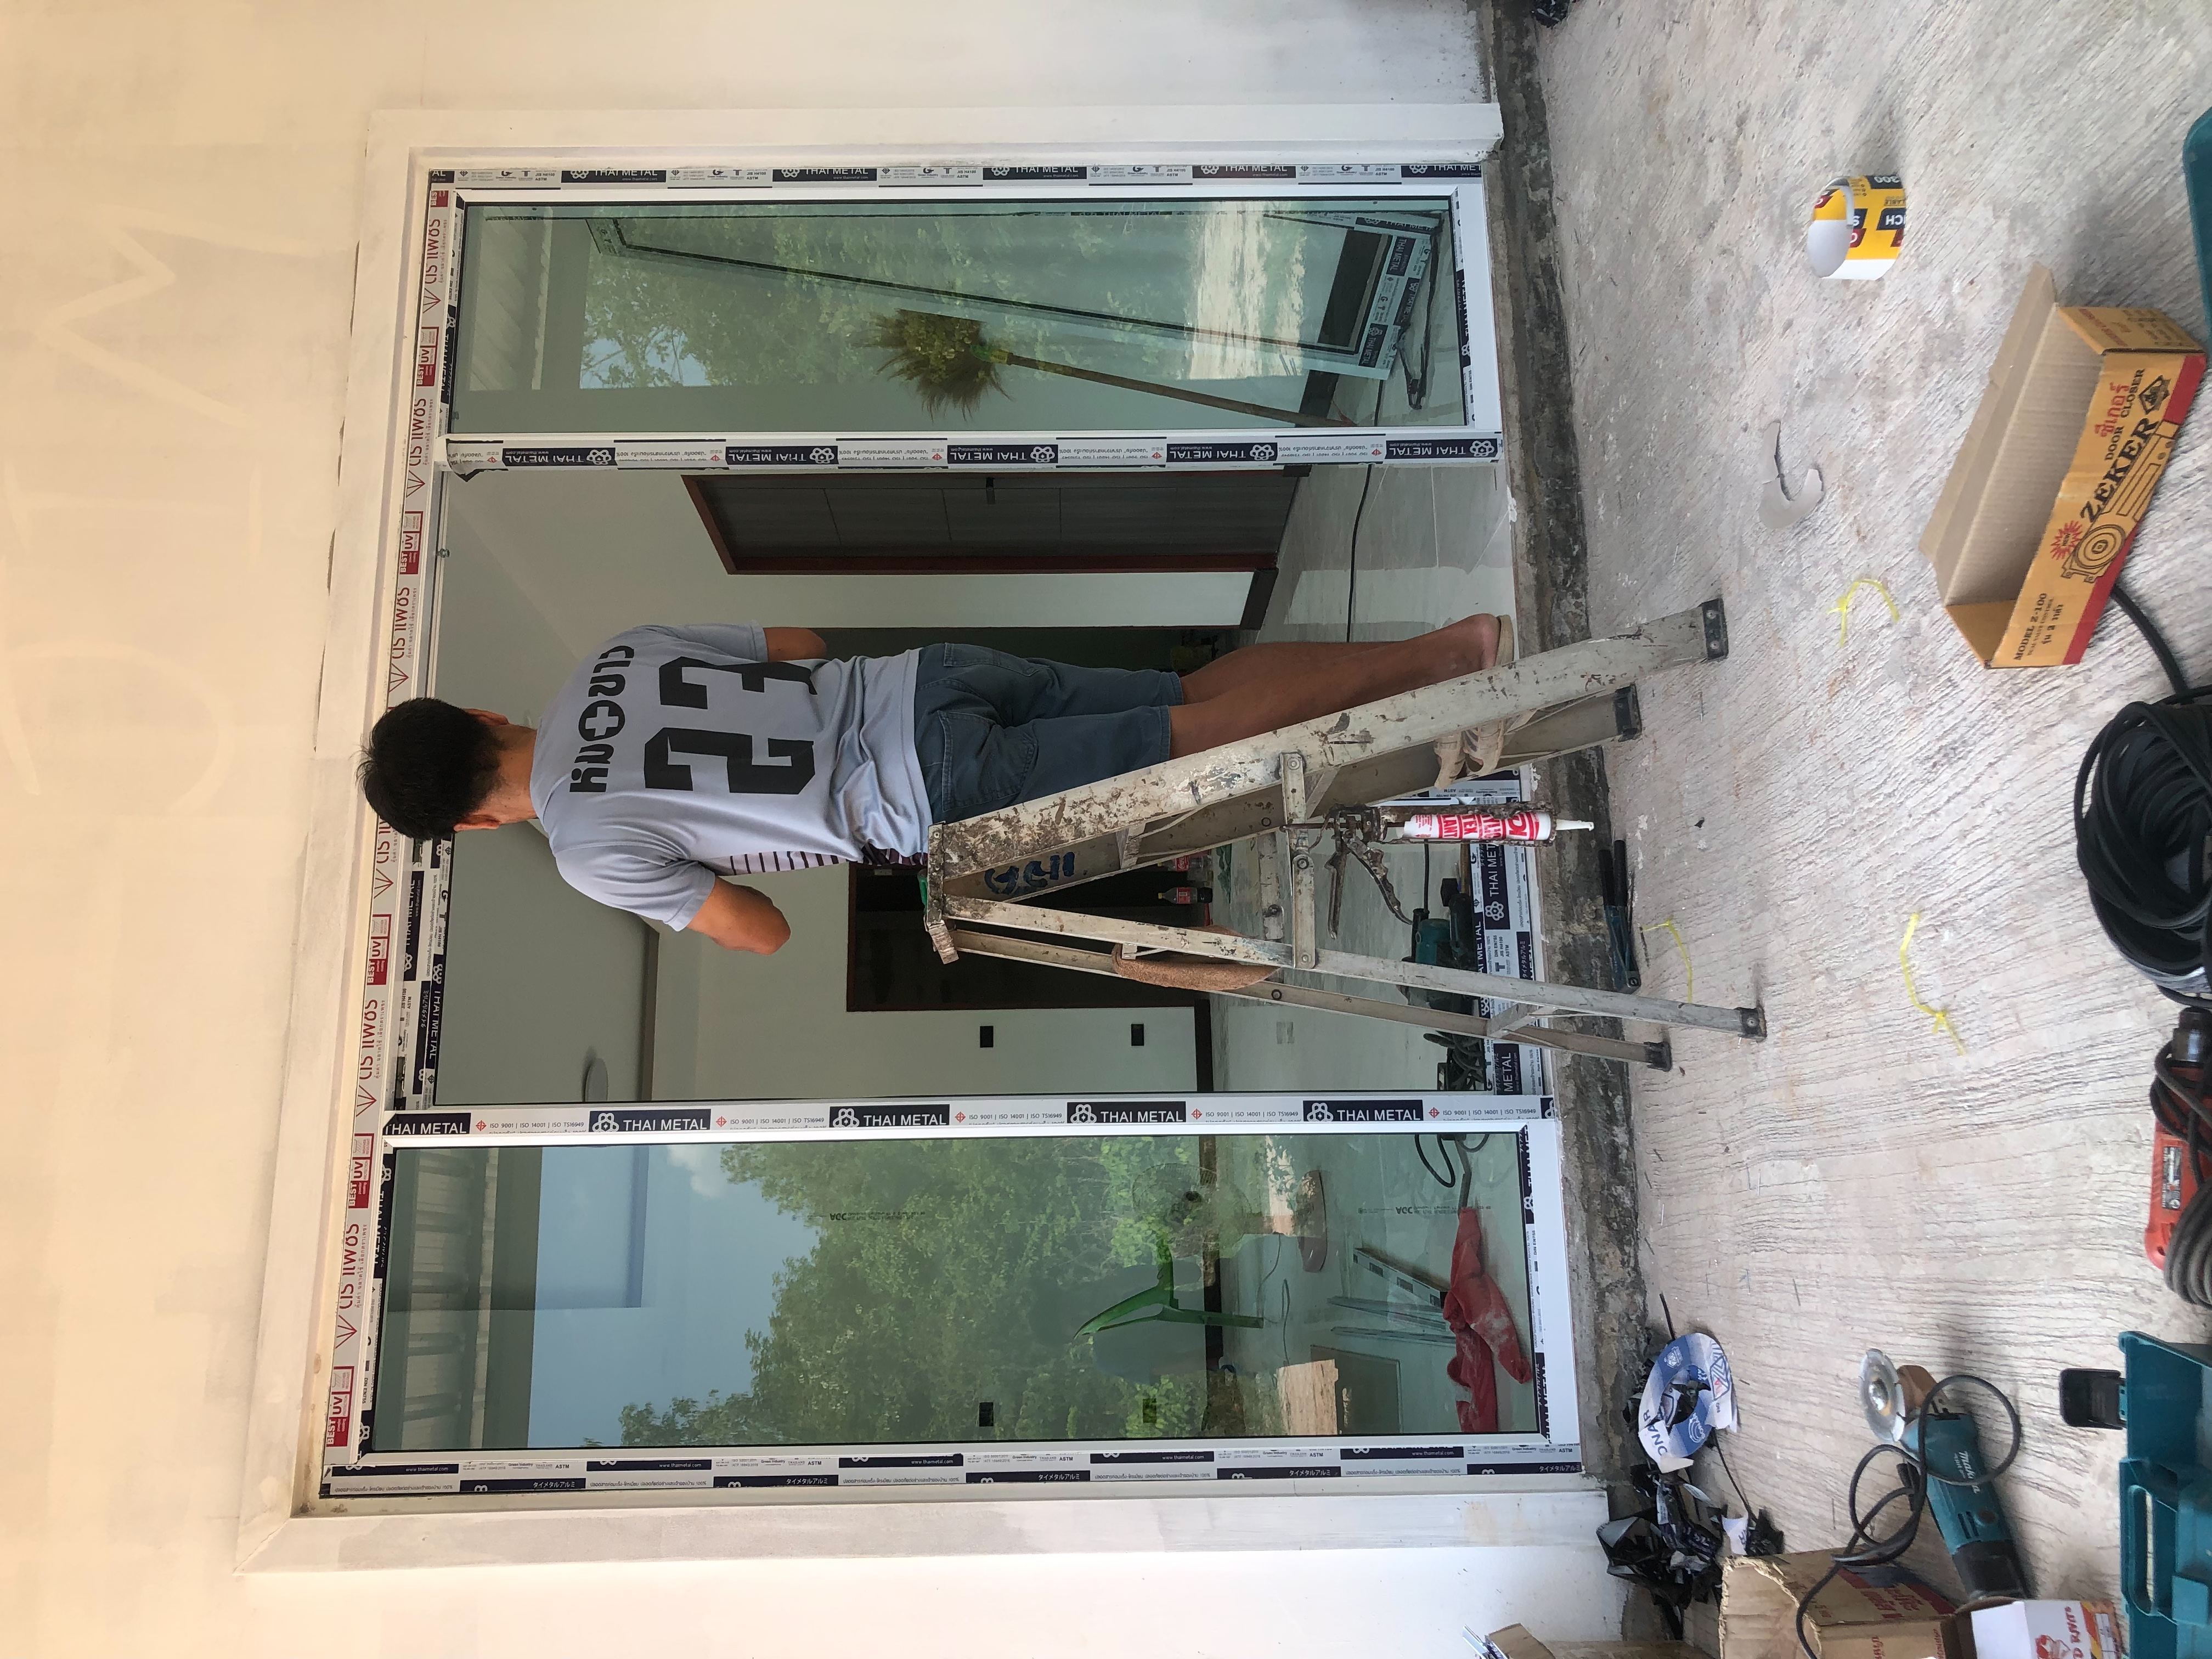
I hired a glass technician to install the front door because I wasn’t able to do it myself.
• Next, I began working on the flooring.
I started experimenting with plaster baseboard molding on my own, shaping it according to the dimensions I needed.
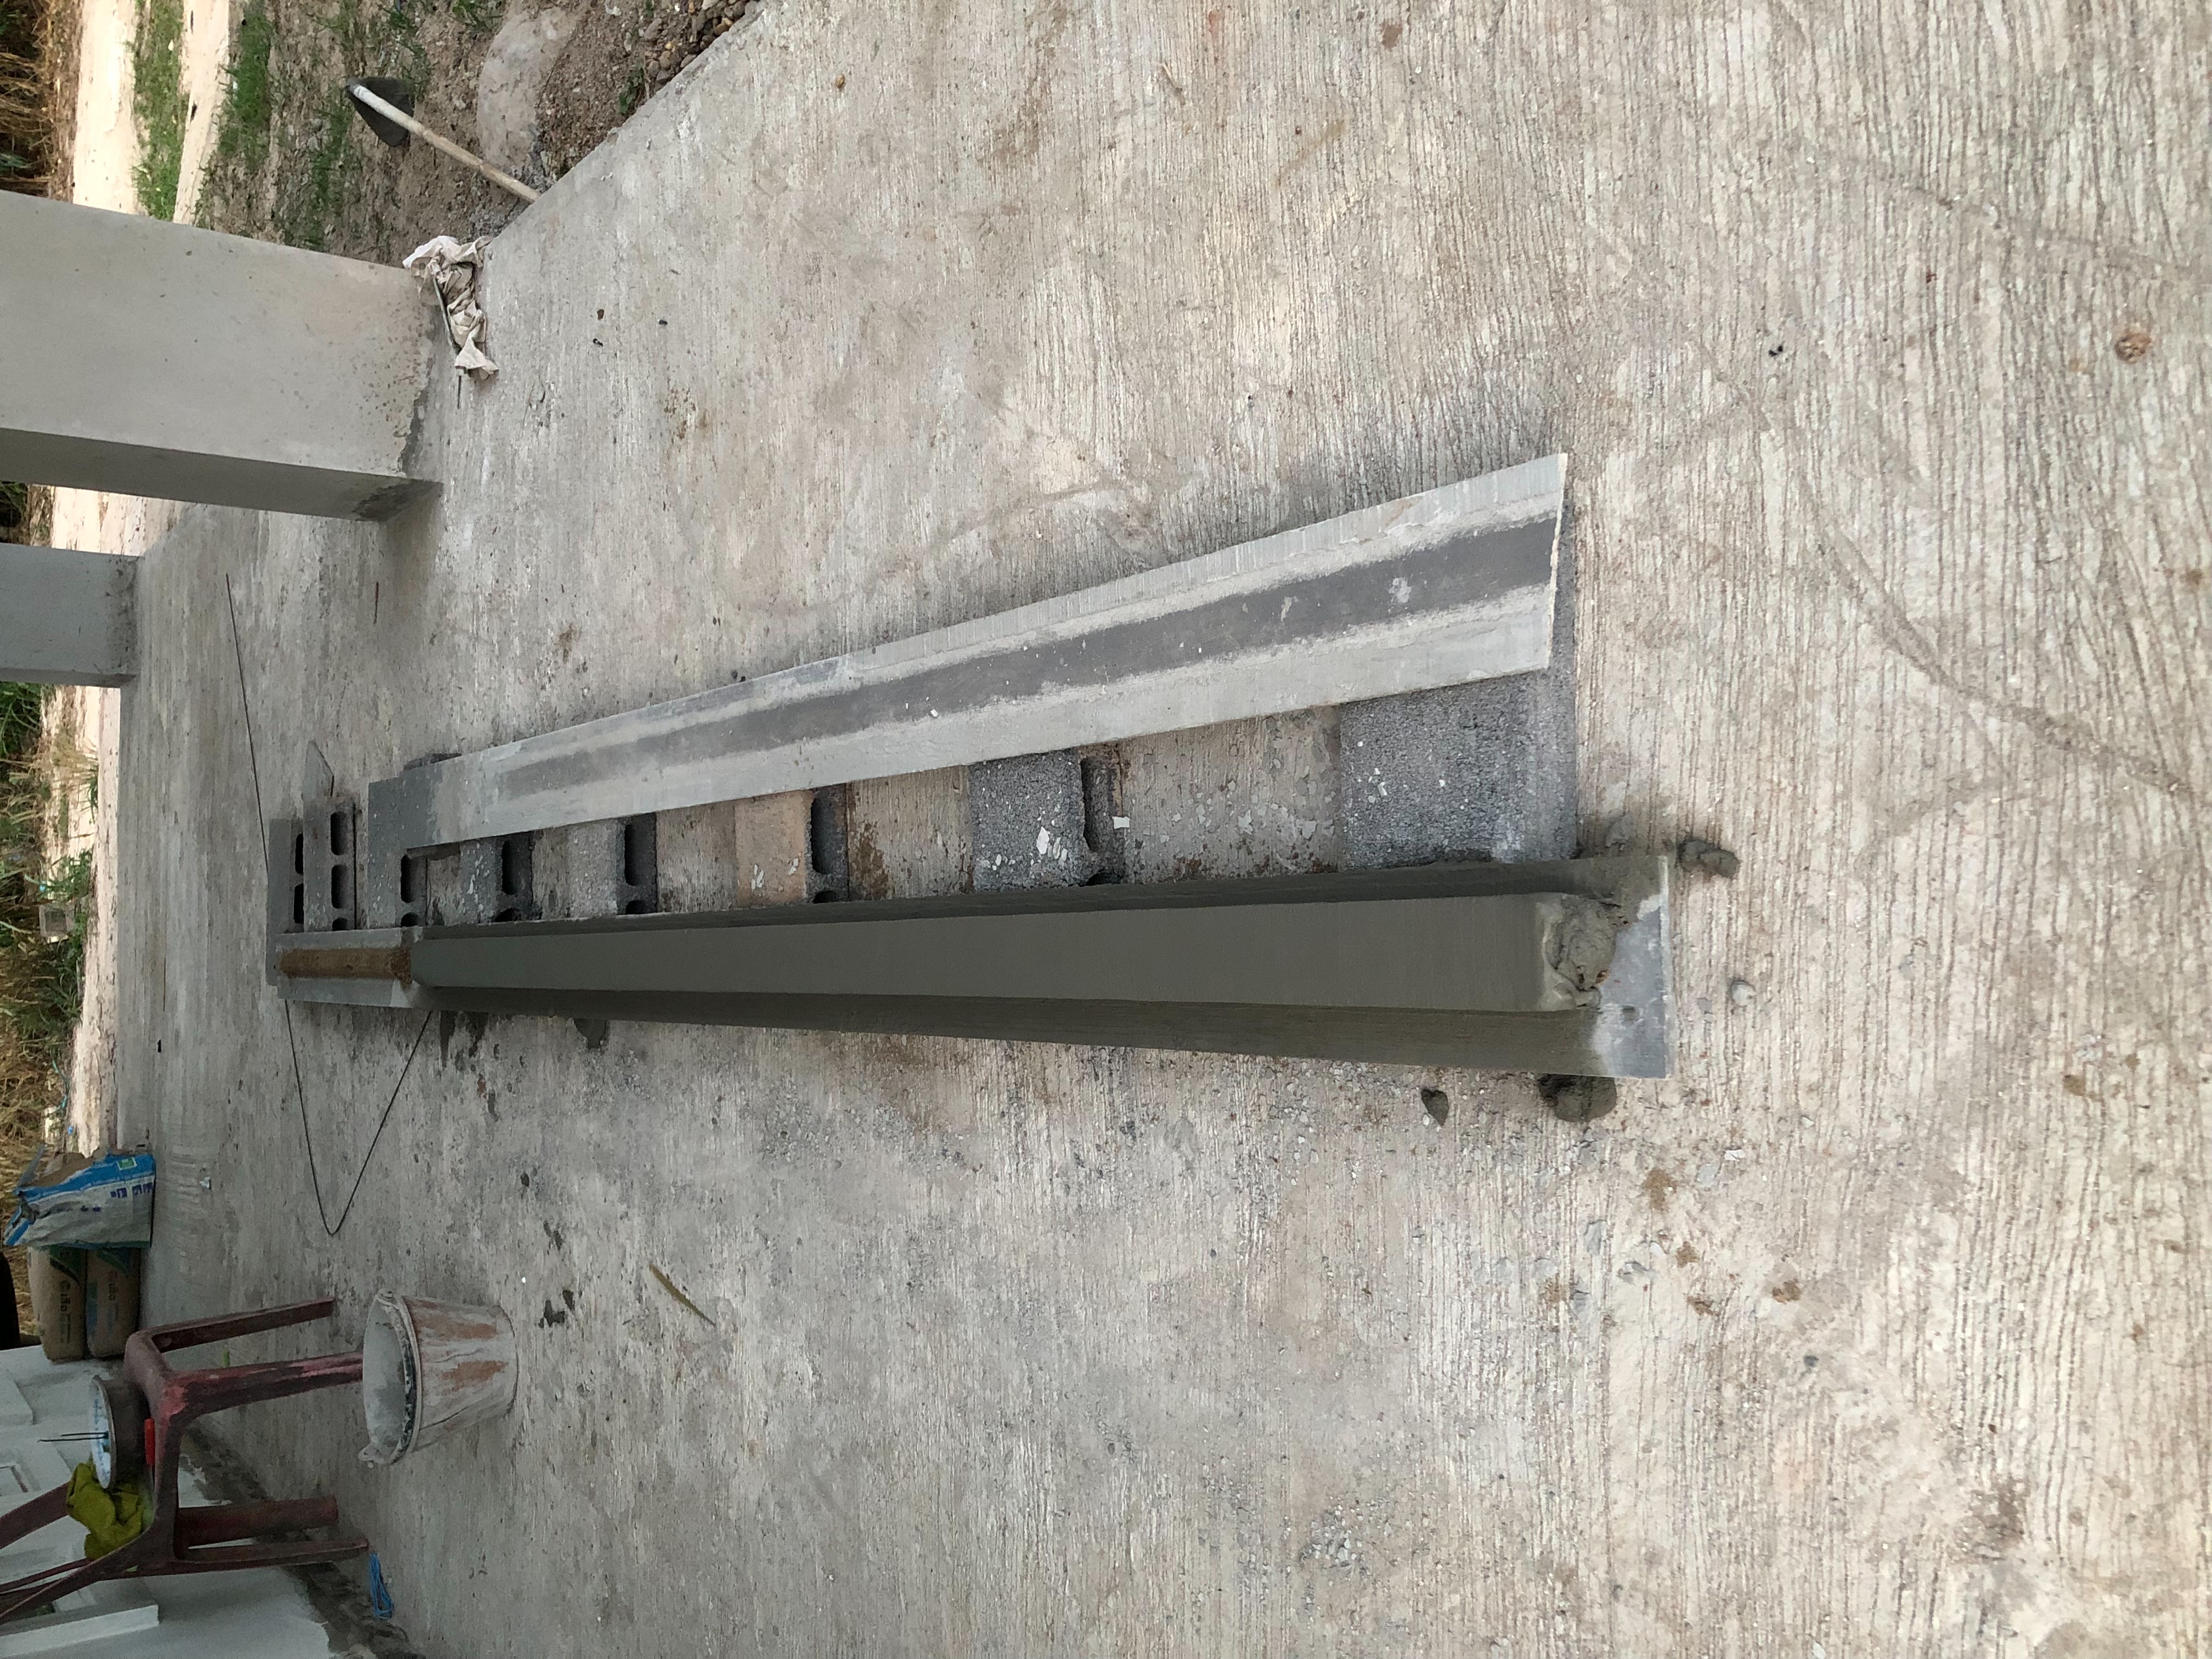
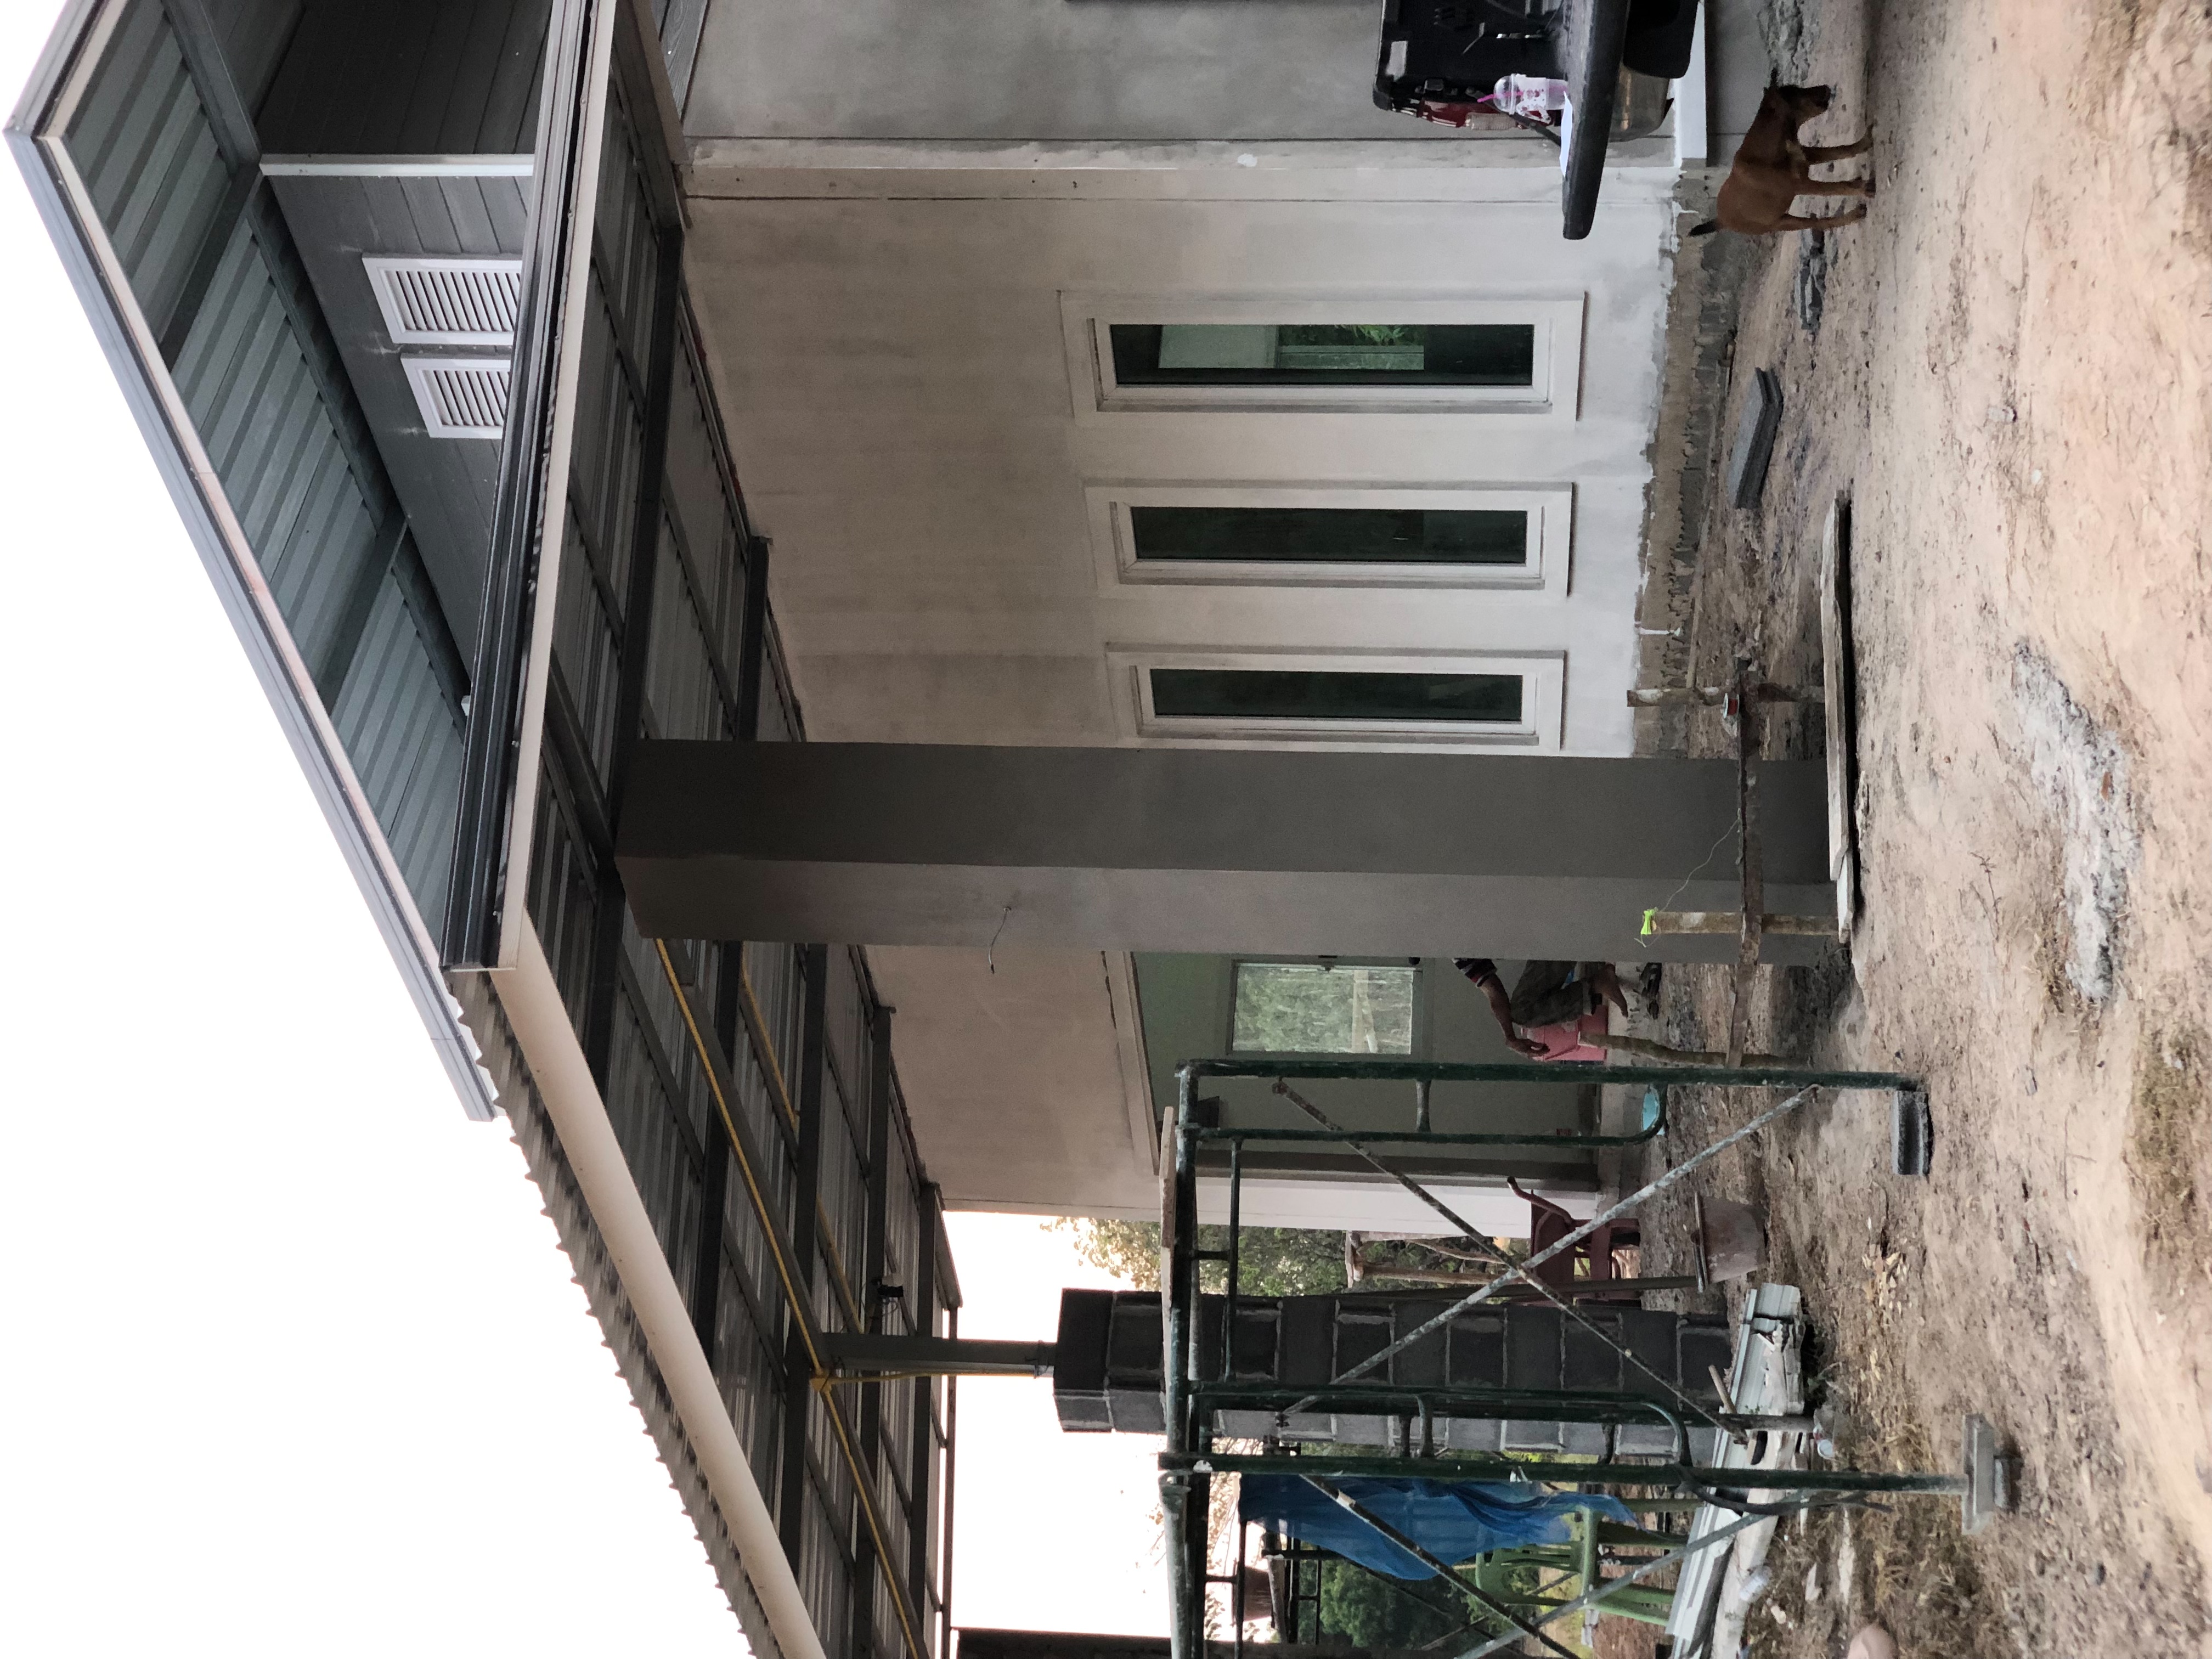
Next, I began installing the trim around the windows and enlarged the front pillars to enhance their appearance.
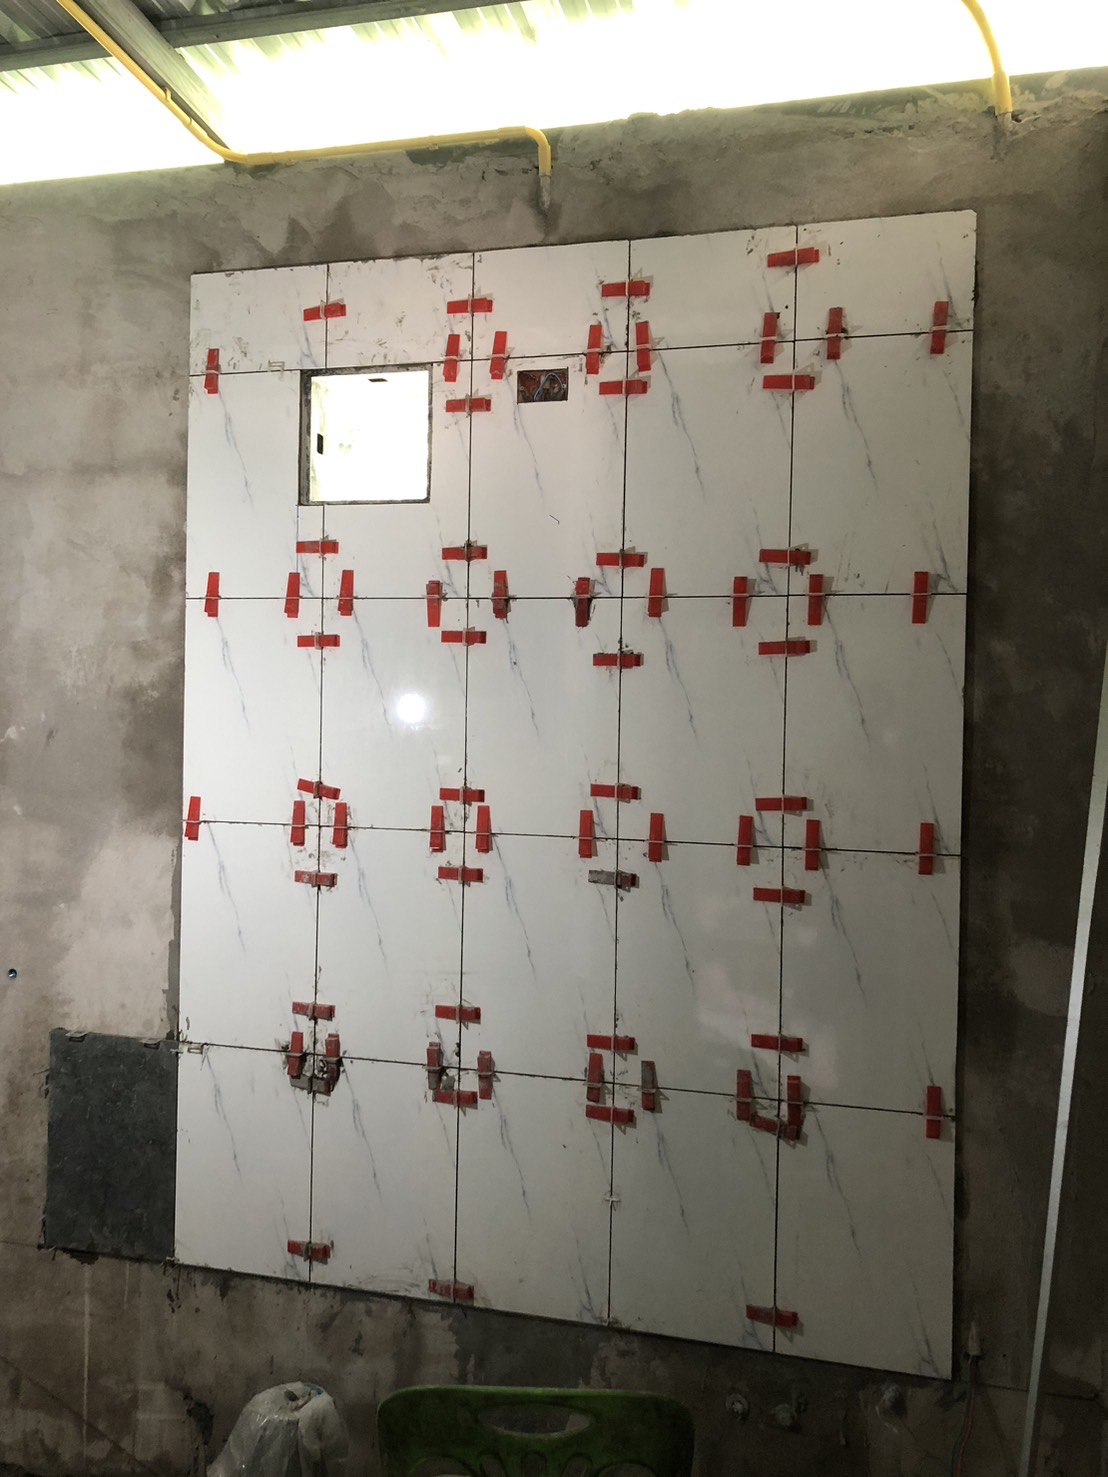
• Bathroom work
After finishing the plumbing installation, I started laying the tiles. This was my first time doing this, so I’m grateful for the advice I found on YouTube.
Once the tiling was almost complete, I began working on the ceiling installation next.
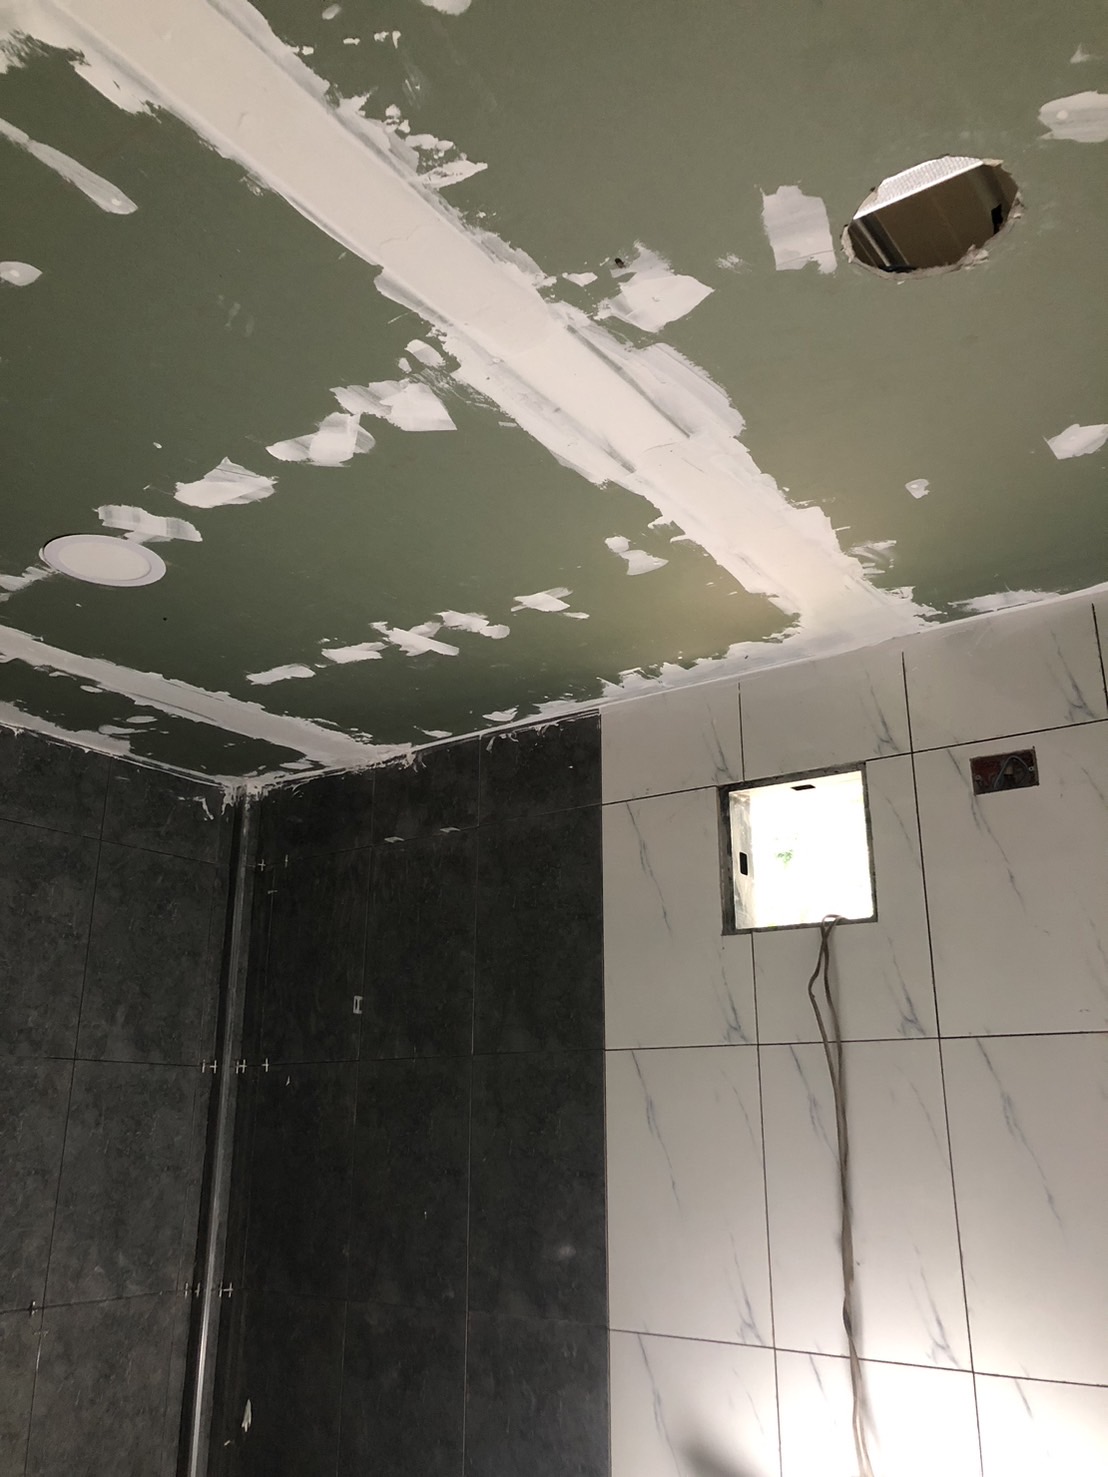
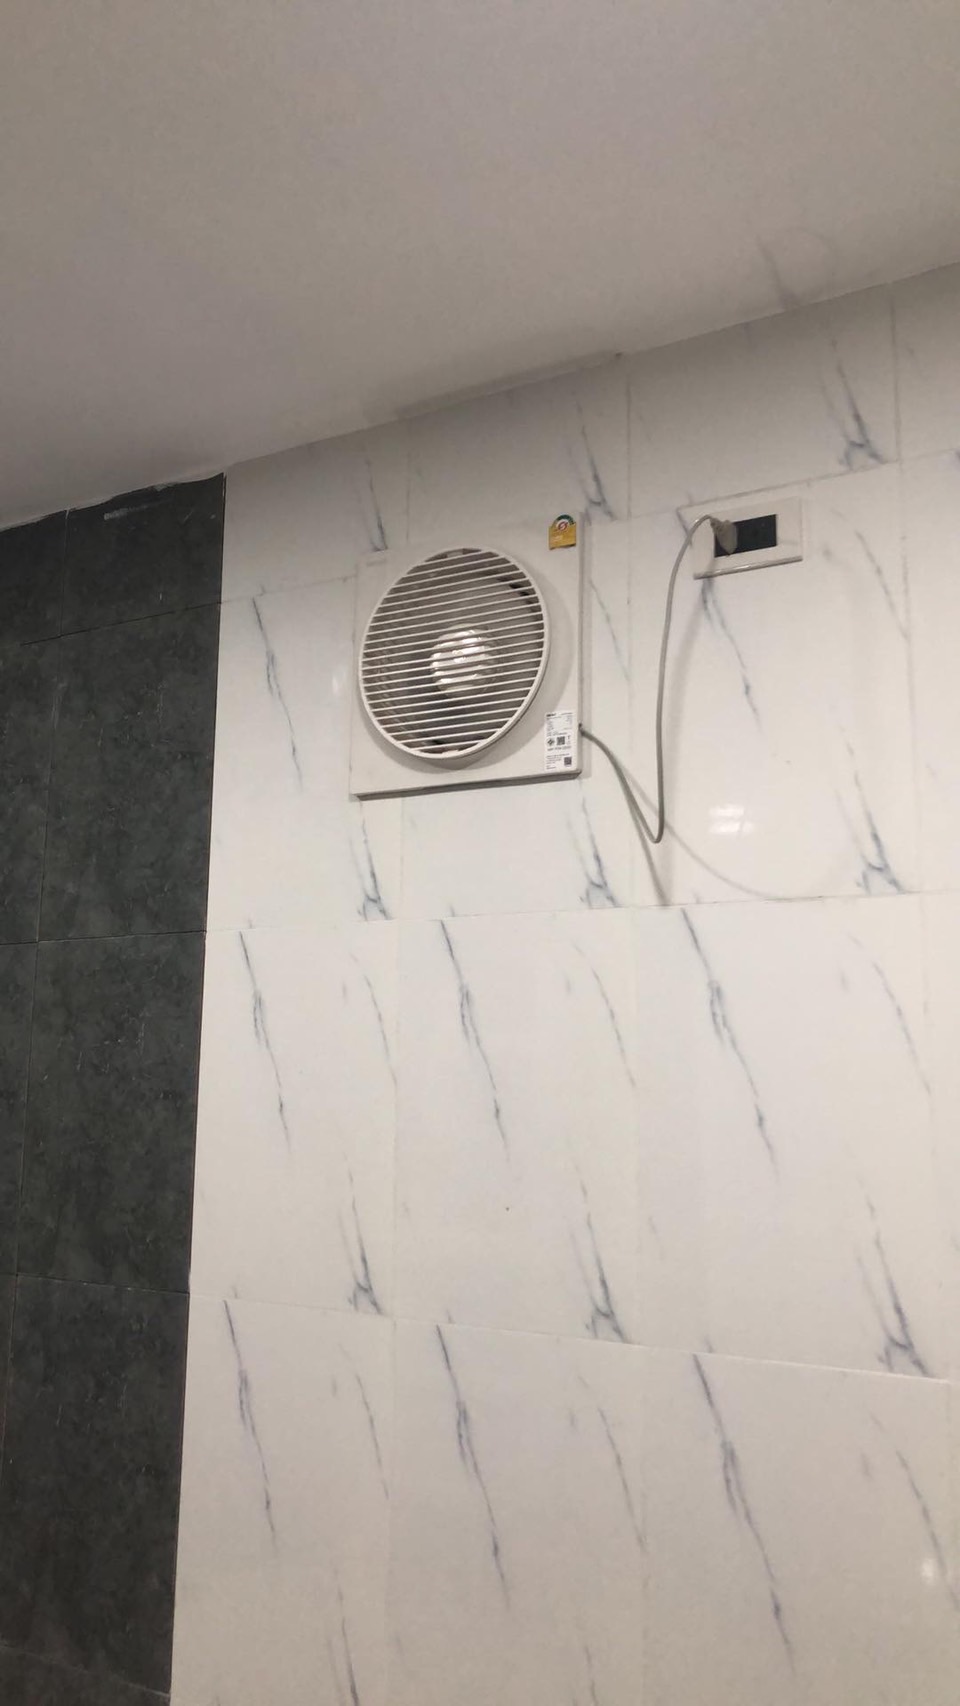
Started installing the exhaust fan.
Next, I installed the toilet. Then, I installed the sink and mirror.

Installed the showerhead—just one final step away from being ready for use.

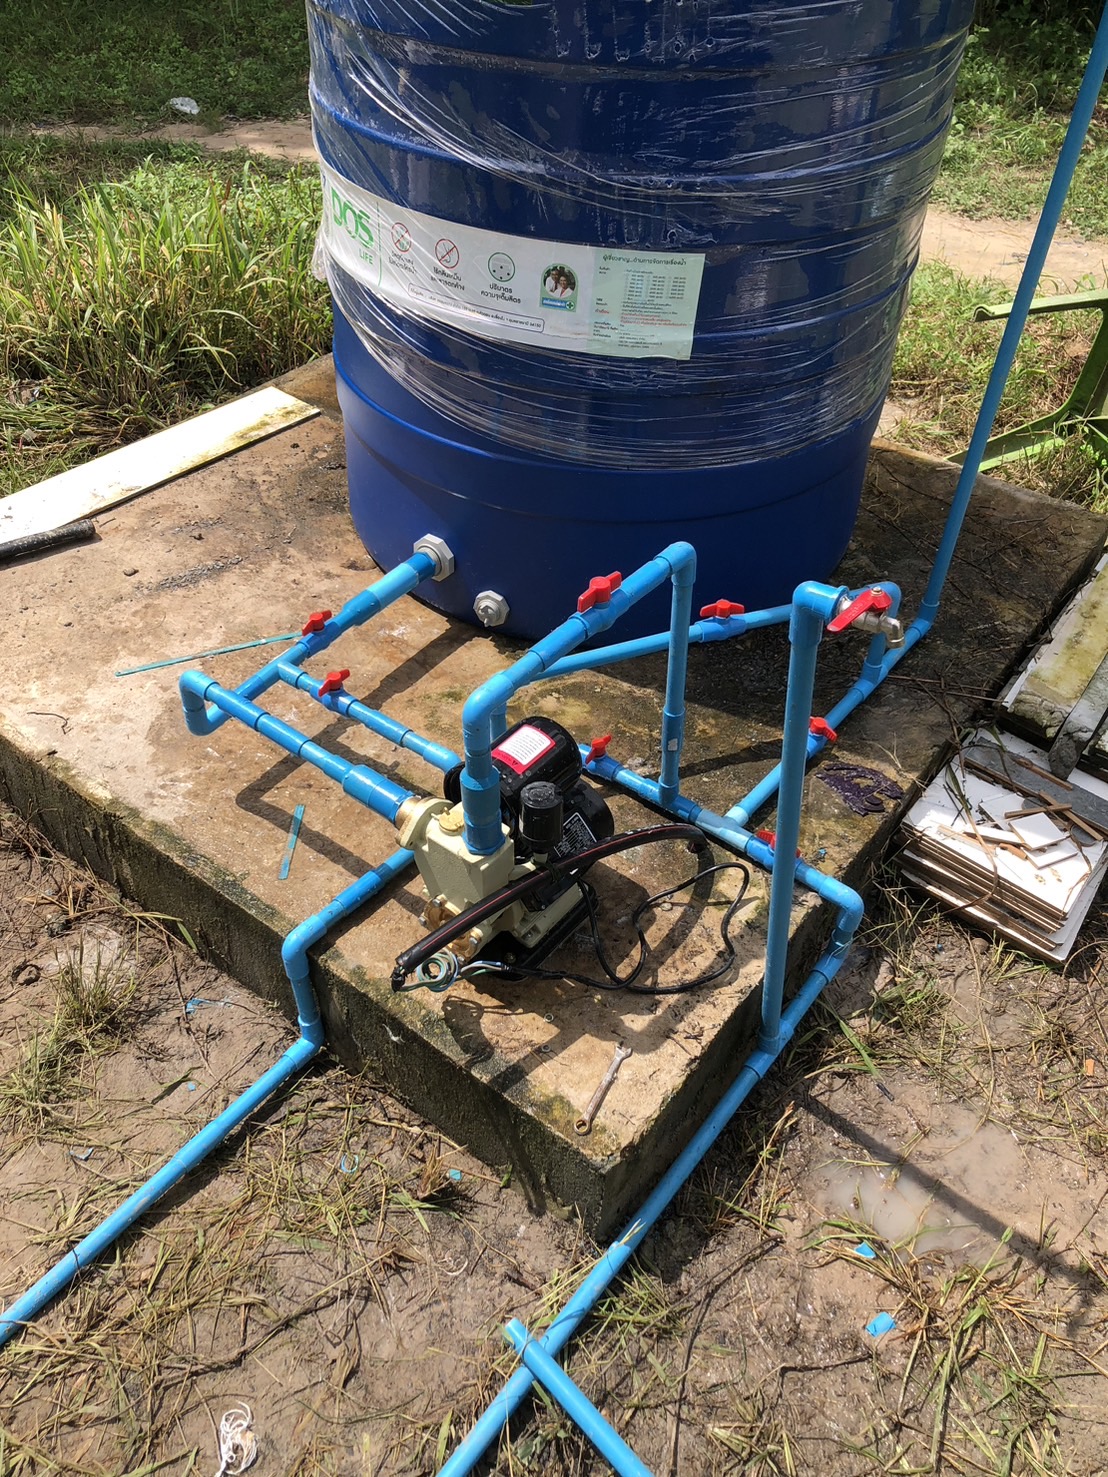
Final step: Installed the water pump and connected the pipes to the bathroom. Now, everything is ready for use.
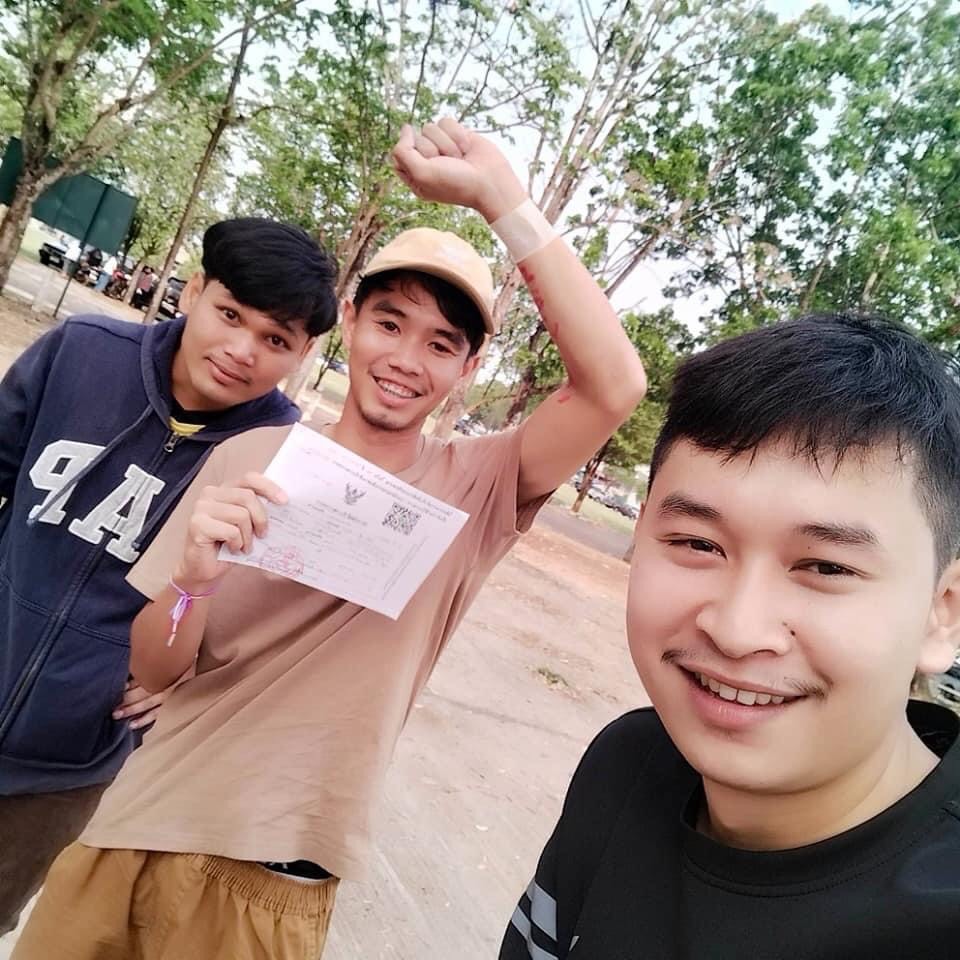
• It was then that disappointment arrived.
At one point in my life, I received a red card and had to serve in the military. The disappointment and sadness were overwhelming, as it felt like my life goals were shattered just because of having to serve.
I was in the process of building my career, but everything seemed to fall apart. As a freelance programmer, I hadn’t moved on from my work, and the construction of my house was almost complete—just a little more to go. But then, I had to go serve in the military first. It’s really hard to come to terms with.
Finally, I would like to express my heartfelt gratitude to everyone who took the time to read this article until the end. Thank you.